Kanger Glass-ceramic Co., Ltd.
Oven door glass screen printing durability depends on the chosen glass, printed surface, color system, edge and viewing-zone layout, cleaning exposure, and the oven’s thermal cycles. A graphic that looks correct on a sample can still fail after assembly if its face orientation, registration, opacity, or contact with a gasket or coating is unclear. OEMs should release the print as a controlled functional feature and validate it on the intended glass in the real door design.
This drawing-led guide for oven door glass screen printing durability is written for appliance OEM, supplier-quality, and glass-engineering teams. It does not set a universal dimension, material approval, test limit, or performance guarantee. Use the released product drawing, supplier data for the exact glass and process, applicable appliance requirements, and validation on production-intent assemblies.
Map viewing, control, and masked zones
Divide the panel into viewing window, decorative border, control icons, display area, sensor or adhesive zones, and any hidden edge regions. Define which features must transmit light, which must obscure the oven cavity or frame, and which must remain readable under the appliance’s actual lighting.
Use a dimensioned artwork layer tied to the glass drawing datums. Identify no-print, protected, and contact zones separately. The SCHOTT oven-glass application literature illustrates that appliance doors can use different glass constructions and printed designs; that supplier example is not a substitute for approval of the selected Kanger glass and process.
Specify face, layer, and orientation
State whether the print is on the cavity-facing or outer face, how the panel is oriented in the door, and how the supplier marks or controls that face. Include the print side in assembly instructions and incoming inspection, especially where coatings, touch sensors, adhesives, or gaskets are also present.
Show a section through the glass, print, coating, adhesive, and frame where layer order affects appearance or function. A rendered artwork alone does not communicate which surface receives ink or frit. Include a unique artwork revision and an unambiguous orientation feature that cannot be mistaken after cutting or packing.
Choose a print system with supplier evidence
Screen printing, ceramic color, organic ink, and other decoration systems have different substrate, curing, adhesion, and service constraints. Ask the printer to identify the proposed material and process for the specified glass type, face, thickness, and application. Do not infer durability from the word “ceramic” or from a sample tested on another pane.
Request process evidence for the actual substrate and print stack, including cure or firing window, compatibility with coatings and sensors, and changes caused by edge processing. A supplier may recommend ceramic colors for high temperature resistance, but the OEM must approve the color, process, and finished assembly for its own service conditions.
Control registration, opacity, and appearance
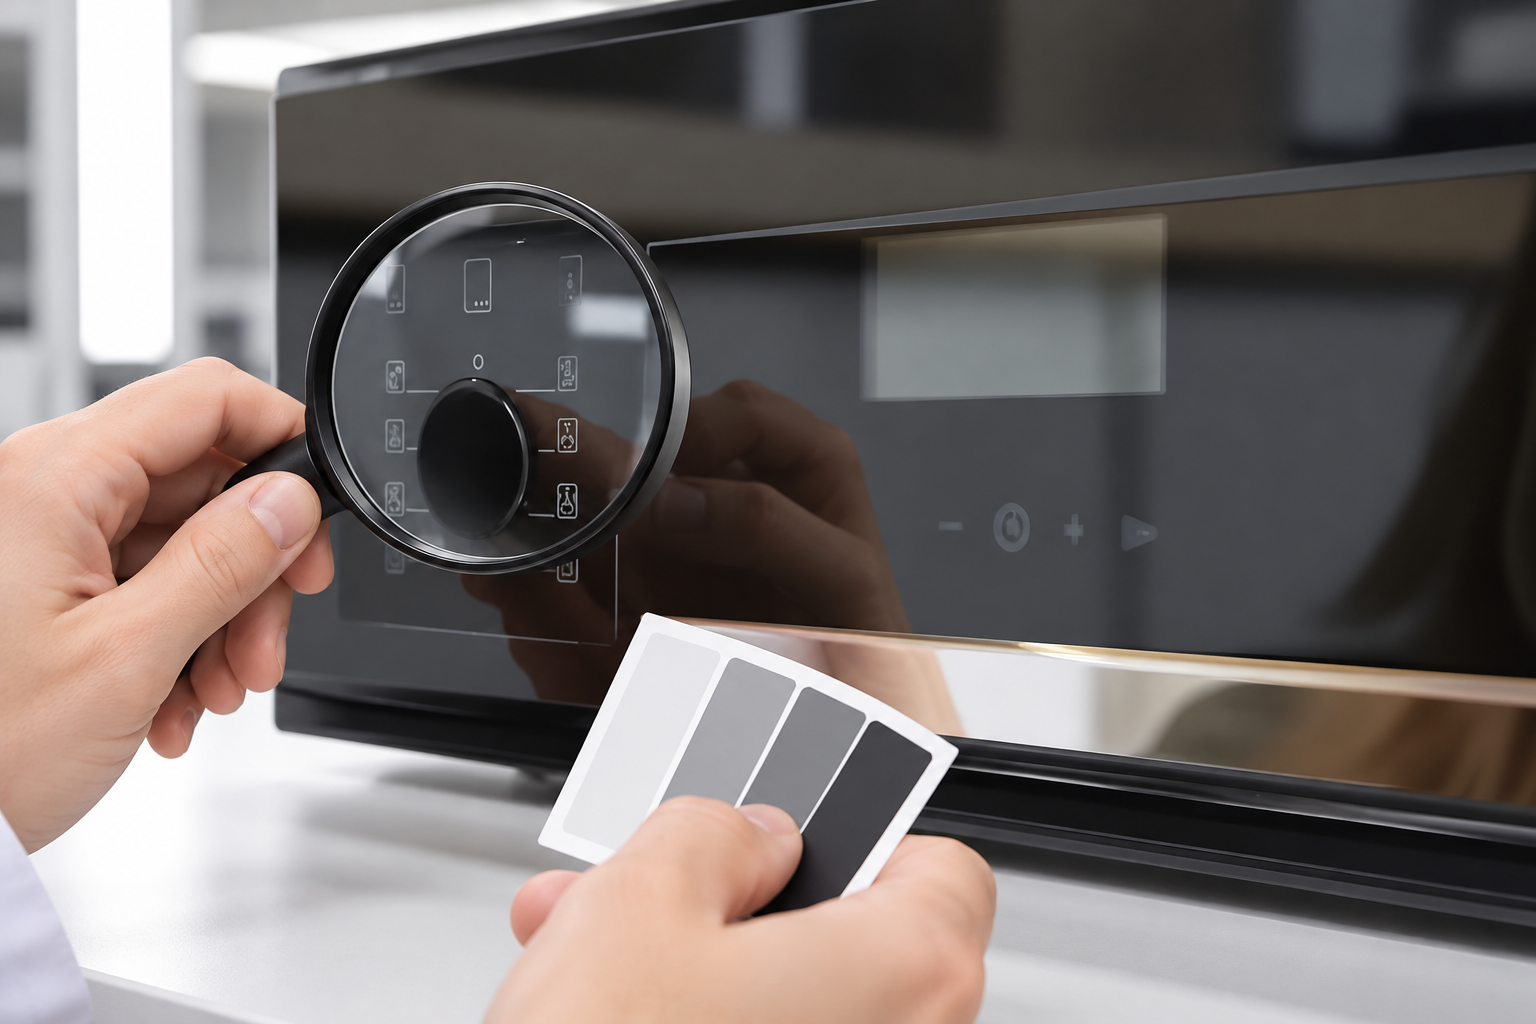
Define the position and allowable registration of borders, icons, logos supplied by the buyer, and display windows relative to glass datums. State color reference, gloss or matte appearance, opacity or transmission where function depends on it, and inspection lighting. Avoid using photographs as the sole acceptance reference because exposure and reflection vary.
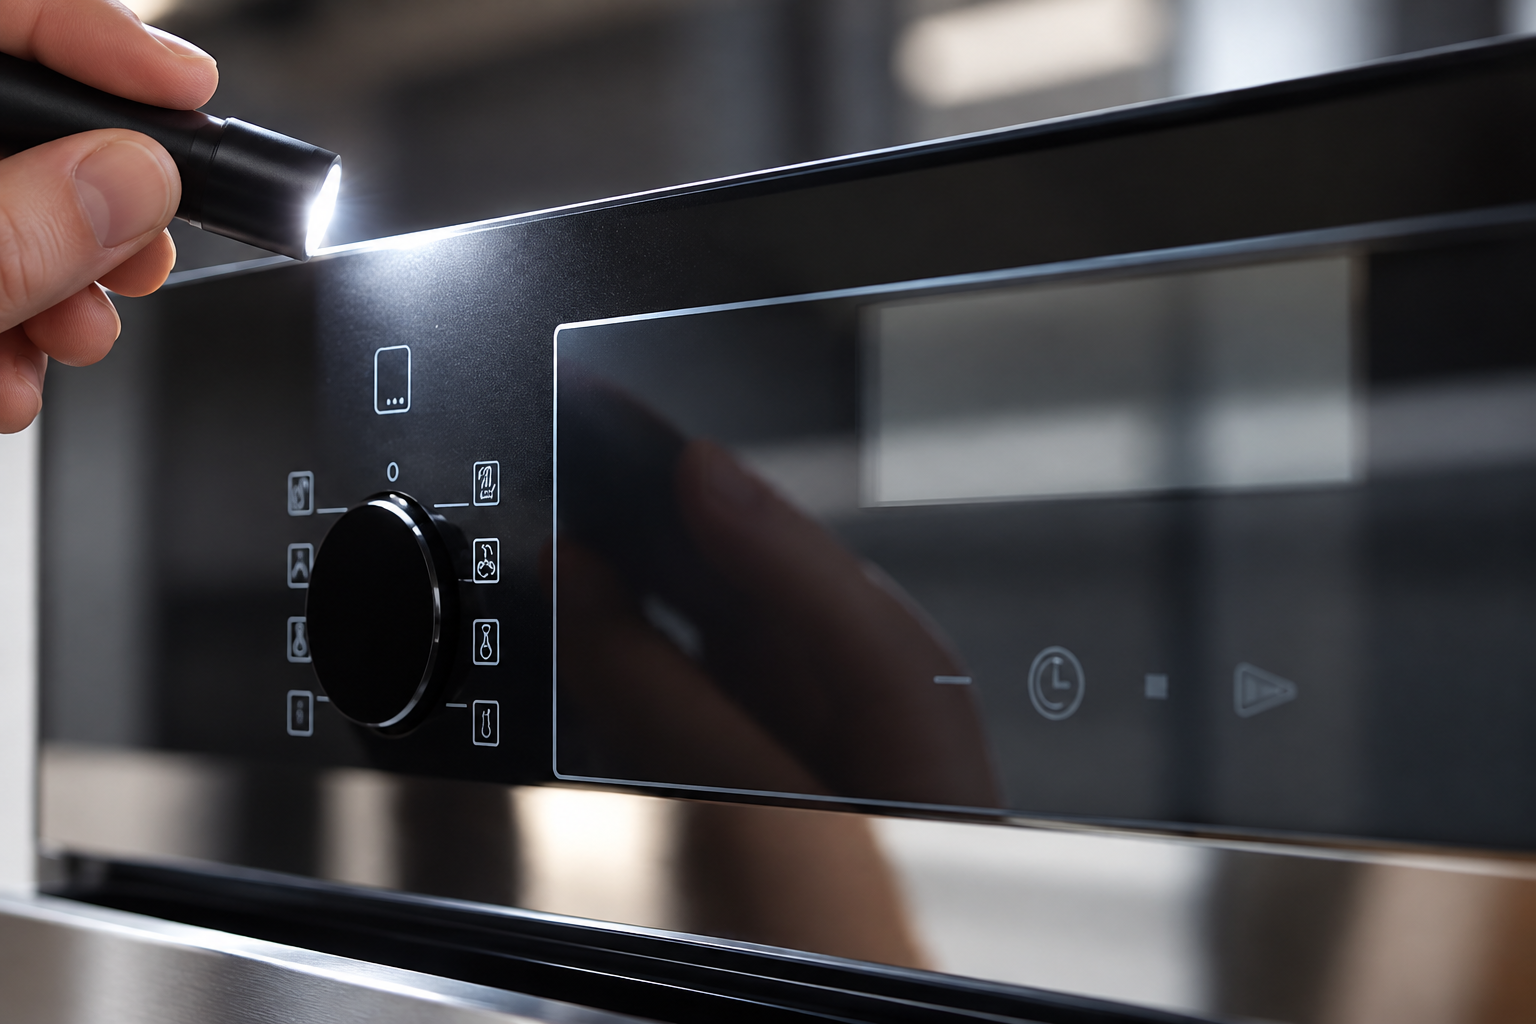
Create approved limit samples or instrument-based criteria for critical color or transmission features when visual review alone is not repeatable. Check the printed part in the assembled oven door and under the display or control lighting. Confirm that touch areas and viewing zones remain functional after decoration.
Qualify adhesion, abrasion, and cleaning
Build test methods around expected handling and use: dry and damp wiping, approved cleaner, abrasion or rub cycles, adhesion checks appropriate to the coating system, and exposure to heat and cooling. Define the tester, applied load or media, strokes or cycles, conditioning, inspection lighting, and acceptance. Run checks in a documented sequence and retain photographs before and after each stage. If cleaning follows heat cycling in service, evaluate that order rather than assuming separate pass results predict combined durability.
Use coupons only for process screening; qualify the finished shape when edge position, coating, curvature, glass tempering, or assembly contact can affect the print. Record failures such as lifting, color transfer, haze, gloss change, edge bleed, cracking, or loss of legibility. Do not apply a metal-substrate paint test as if it were automatically valid for glass. Define whether a small visual change is acceptable only by relating it to the approved viewing and control functions.
Validate print after oven exposure
Test production-intent panels in the intended door construction, including coatings, spacers, gaskets, sensors, and heating profile. Include the operating modes that can expose the print to different heat or cleaning conditions, such as self-clean only when that mode is part of the product.
Inspect after each defined stage for color shift, adhesion loss, blistering, cracking, smudging, contamination, opacity changes, or effect on touch and display functions. The public IEC 60335-2-6 scope describes the appliance safety context for household ovens; it does not set universal print-color or adhesion acceptance values.
Release inspection and lot traceability
The controlled file set should include artwork revision, glass drawing revision, material and ink identifiers, surface orientation, print zones, color criteria, approved samples, process window, and incoming or in-process checks. Tie every accepted lot to its print batch and inspection record.
Establish a reaction plan for misregistration, contamination, incomplete coverage, wrong face, color mismatch, and damaged graphics. Revalidate changes to glass family, coating, ink, screen, mesh, artwork, cure, equipment, cleaning agent, packaging, or oven duty. If artwork is revised, review affected dimensions and functional zones, not only the visual file.
Engineering table
| Print feature | Control in artwork or process | Evidence |
|---|---|---|
| Surface and orientation | Named face and layer order | First-article assembly check |
| Position | Datums, zone boundaries, registration | Overlay or measured alignment |
| Appearance | Color, opacity, gloss, transmission | Approved sample or instrument result |
| Durability | Cure, adhesion, cleaning, abrasion, heat | Method, exposure, post-test images |
| Revision | Artwork, glass, and process identifiers | Lot traceability and change review |
RFQ, first-article, and production workflow
For an RFQ, send the controlled glass drawing, appliance and door configuration, glass type or approved alternatives, glass thickness, edge and corner details, coating or print files, annual and lot quantities, packaging, and the required validation conditions. Ask the supplier to identify assumptions, proposed process limits, and deviations in writing. Keep quotation, purchase order, drawing, and inspection plan aligned to the same revision.
Before first-article approval, verify document identity, dimensions, edge quality, viewing zones, surface orientation, artwork or seal interfaces, packaging, and the topic-specific evidence in this guide. Assemble the sample with the production-intent frame, gasket, hinges, retainers, controls, and coatings when those parts influence the result. Record sample lot, equipment, setup, measured results, exposure, photographs, and disposition.
For serial production, define incoming and in-process checks with named methods, instruments, sample identity, limits, and reaction owners. Trend results by glass batch, supplier, print or seal batch, fixture, and production line. If a nonconformity appears, contain related stock, preserve original evidence before rework, compare the sample with the approved setup, and verify corrective action on a subsequent production lot.
Educational video
This neutral Corning Museum of Glass video offers background on glass coloration and surface appearance. It is educational context only and does not qualify oven-door glass or replace a product-specific test.

Related Kanger resources
- Household appliance tempered-glass product page
- Oven glass buyer guide: select by heat duty
- Oven glass-panel RFQ inspection inputs
For an application review, provide the oven-door drawing, glass position, thermal duty, coating or print files, assembly interface, and lot requirements. Kanger can review whether the RFQ package identifies the inputs needed for a drawing-based quotation.
Frequently asked questions
Does ceramic ink always guarantee oven-door print durability?
No. Suitability depends on the actual substrate, surface, process, assembly, and appliance exposure.
Which face should carry the print?
The drawing and supplier process must define it. The choice depends on design, cleaning, coatings, sensors, and assembly contact.
Can color be approved from a phone photograph?
Not reliably by itself. Use defined lighting and an approved reference or measurement method for critical appearance.
When should the print be requalified?
Review changes to glass, coating, ink, screen, artwork, cure process, cleaning exposure, packaging, or thermal duty.