For induction cooking, choose a braiser or Dutch oven by the food arrangement and liquid needs first, then verify the exact vessel’s induction approval and base fit. A braiser generally offers a broader, shallower working shape; a Dutch oven generally gives more depth for a liquid-rich preparation. Equal stated capacities do not mean equal floor space or the same working fill. Neither shape is automatically better on every hob. Compare the interior geometry, underside, lid and lifting space for the actual task before selecting a model, and keep appliance and cookware instructions together.
A capacity figure describes volume, but it does not show where that volume is located. A wider shallow vessel can spread food over a larger floor, while a taller vessel puts more of its volume above the base. This distinction affects how ingredients are arranged and how easily a utensil reaches them. It does not establish a universal cooking speed or a guarantee of even heating.
Le Creuset’s explanation of the braiser identifies a shallow form with sloping sides, while its broader braiser guide contrasts that form with a deeper Dutch oven. Treat those descriptions as a starting point for comparing shapes. Product names vary, and a shallow Dutch oven may overlap some of a braiser’s uses. Measure and document the actual candidates instead of relying only on the category name.
List the main preparation tasks before comparing products. Are you arranging pieces in a shallow layer, turning them with tongs and then cooking under a lid with a limited amount of liquid? Or are you preparing a more liquid-rich dish that needs extra depth? These questions describe the job more usefully than deciding that one category is fashionable or more versatile.
A braiser may be a logical candidate for the first arrangement, while a Dutch oven may fit the second. These are selection directions, not recipes or permission to fill a vessel to its rim. The exact recipe, working-fill guidance and manufacturer instructions still determine the usable arrangement. If one dish needs both generous floor space and substantial depth, compare actual dimensions rather than forcing it into a simple category rule.
Ask for the internal flat cooking area separately from the rim width. Sloping walls can make an upper diameter look generous while leaving less flat floor than expected. A deep pot can also have a large nominal capacity without enough floor space for the planned first stage. Photographs from above help, but a supplied dimension is more useful than estimating scale from a lid or handle.
With cold equipment, consider how pieces of food and the intended utensil will fit without crowding. Use a paper sketch or the recipe’s portion arrangement to compare options, keeping paper away from an active appliance. Do not treat that layout exercise as a heat-performance test. It establishes physical access and spacing, while the actual cooking method must follow the selected equipment and recipe.
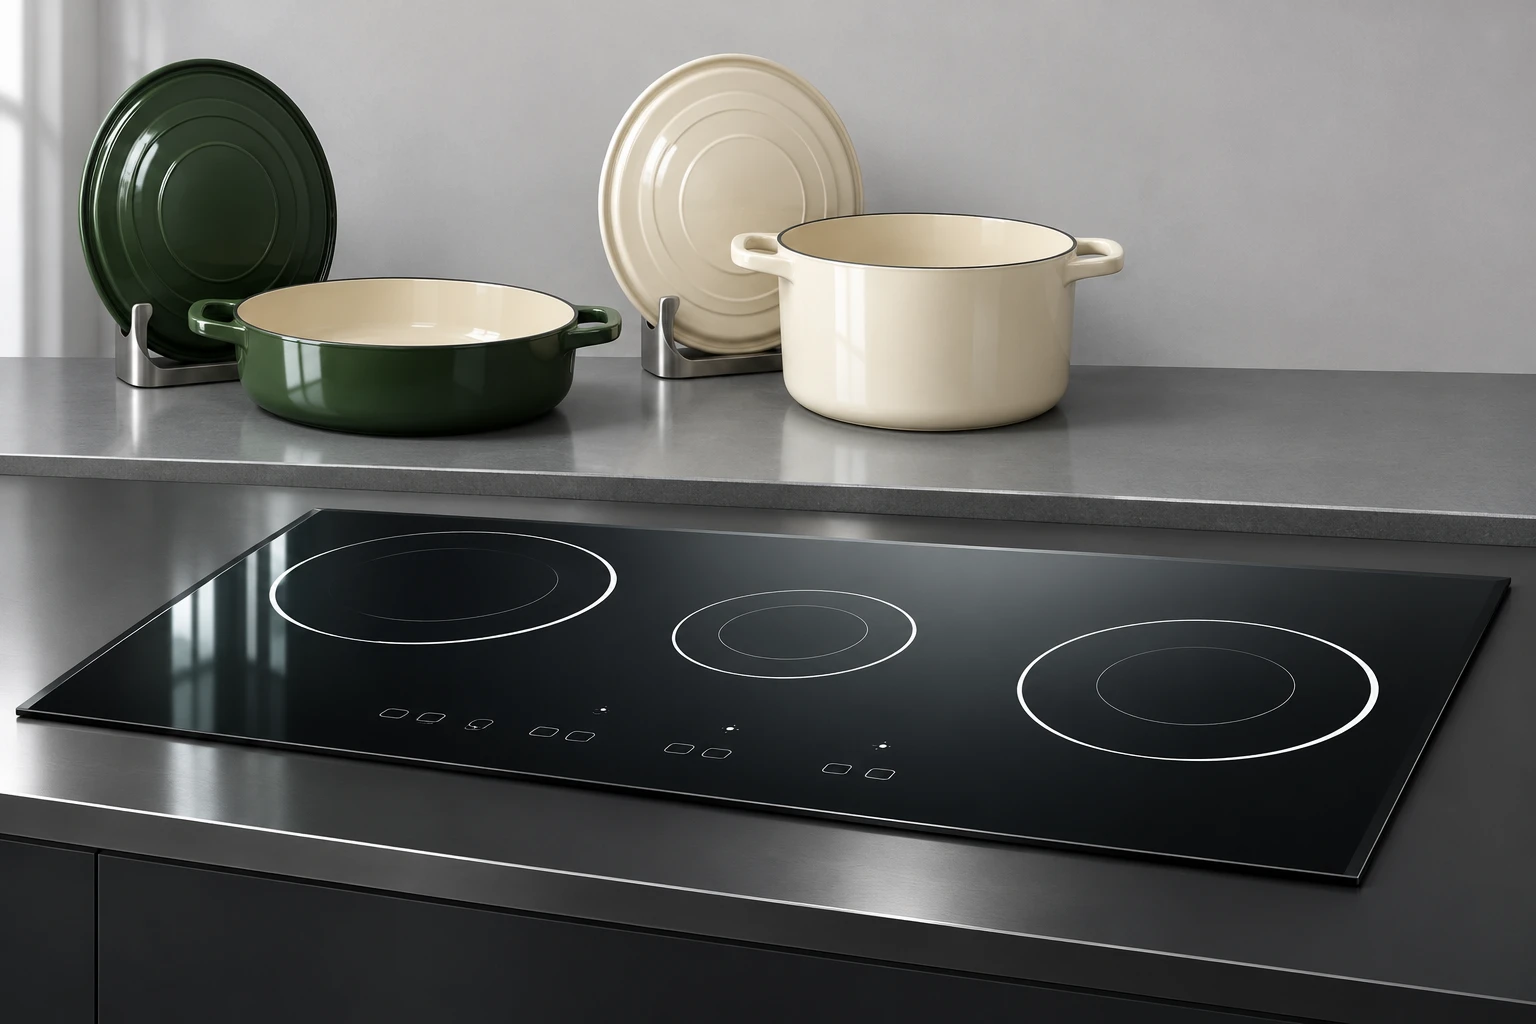
A published capacity does not define a permitted working fill. Leave room for stirring, movement and the recipe’s behavior according to the maker’s instructions. A shallow vessel and a deeper vessel holding the same nominal volume may need different arrangements to remain manageable. Do not transfer a full recipe between them solely because both product listings show the same unit of capacity.
When comparing tenders, ask suppliers to distinguish nominal volume, relevant internal dimensions and any working-fill directions. Avoid inventing a percentage reduction as a universal rule. If no working guidance is available, request clarification rather than promising that a certain number of portions will fit. Record the chosen recipe size alongside the vessel identification so future substitutions can be checked.
| Selection issue | Braiser candidate | Dutch oven candidate |
|---|---|---|
| Food layout | Assess shallow floor arrangement | Assess floor within deeper body |
| Liquid needs | Check working depth and fill guidance | Check depth for liquid-rich task |
| Capacity | Record volume plus actual shape | Record volume plus actual shape |
| Induction | Verify exact model and underside | Verify exact model and underside |
| Lid and oven | Check complete approved assembly | Check complete approved assembly |
| Movement | Check wide footprint and grip access | Check depth and grip access |
This qualitative checklist organizes the identified manufacturer and government guidance linked below. It does not supply universal limits or measured performance.
ENERGY STAR explains that induction heats compatible cookware through electromagnetic energy. A shape description does not establish that compatibility. Obtain the exact model’s heat-source designation and compare its usable base with the appliance requirements. Do not assume every item sold as a Dutch oven, casserole or braiser has the same construction or approved uses.
The supporting bottom is also different from the interior cooking floor. One matters to the appliance fit discussion, while the other helps plan food arrangement. The usable pan-base measurement guide explains base measurement in more detail. Keep both dimensions in the record without treating a larger rim as proof of recognition, heating coverage or performance on your particular hob.
Compare lid fit, the clearance needed to remove it and the manufacturer’s handling directions. A domed lid changes the covered space above the food but does not convert a shallow vessel into a deep liquid container. Check that utensils or ingredients do not prevent the lid from seating as intended. An accessory borrowed from another pan requires its own approved fit rather than a visual guess.
If the recipe includes oven transfer, verify the body, lid, knob and other relevant components as a complete assembly. Do not assign an oven limit from the pot body alone. The casserole hob and oven checks guide discusses separate hob and oven permission, and the replacement cookware lid-knob identification guide explains why component identification matters when a replacement lid knob is involved. Neither overrides the actual candidate’s instructions.
A broad braiser can occupy more counter and hob space than a deeper vessel with similar capacity. Check handles against neighboring cookware, controls and the edge of the worktop. With everything cold, rehearse the required grip and movement using the protection specified for the task. A vessel that physically fits the zone may still be awkward to lift in the surrounding kitchen arrangement.
Consider the lid as another item that needs somewhere appropriate to go. Plan where it will rest while ingredients are checked and where the full vessel can land after cooking. Do not use the cooktop controls as a storage area. If either vessel requires a movement you cannot control comfortably, choose a different setup or an appropriate alternative before any heat is applied.
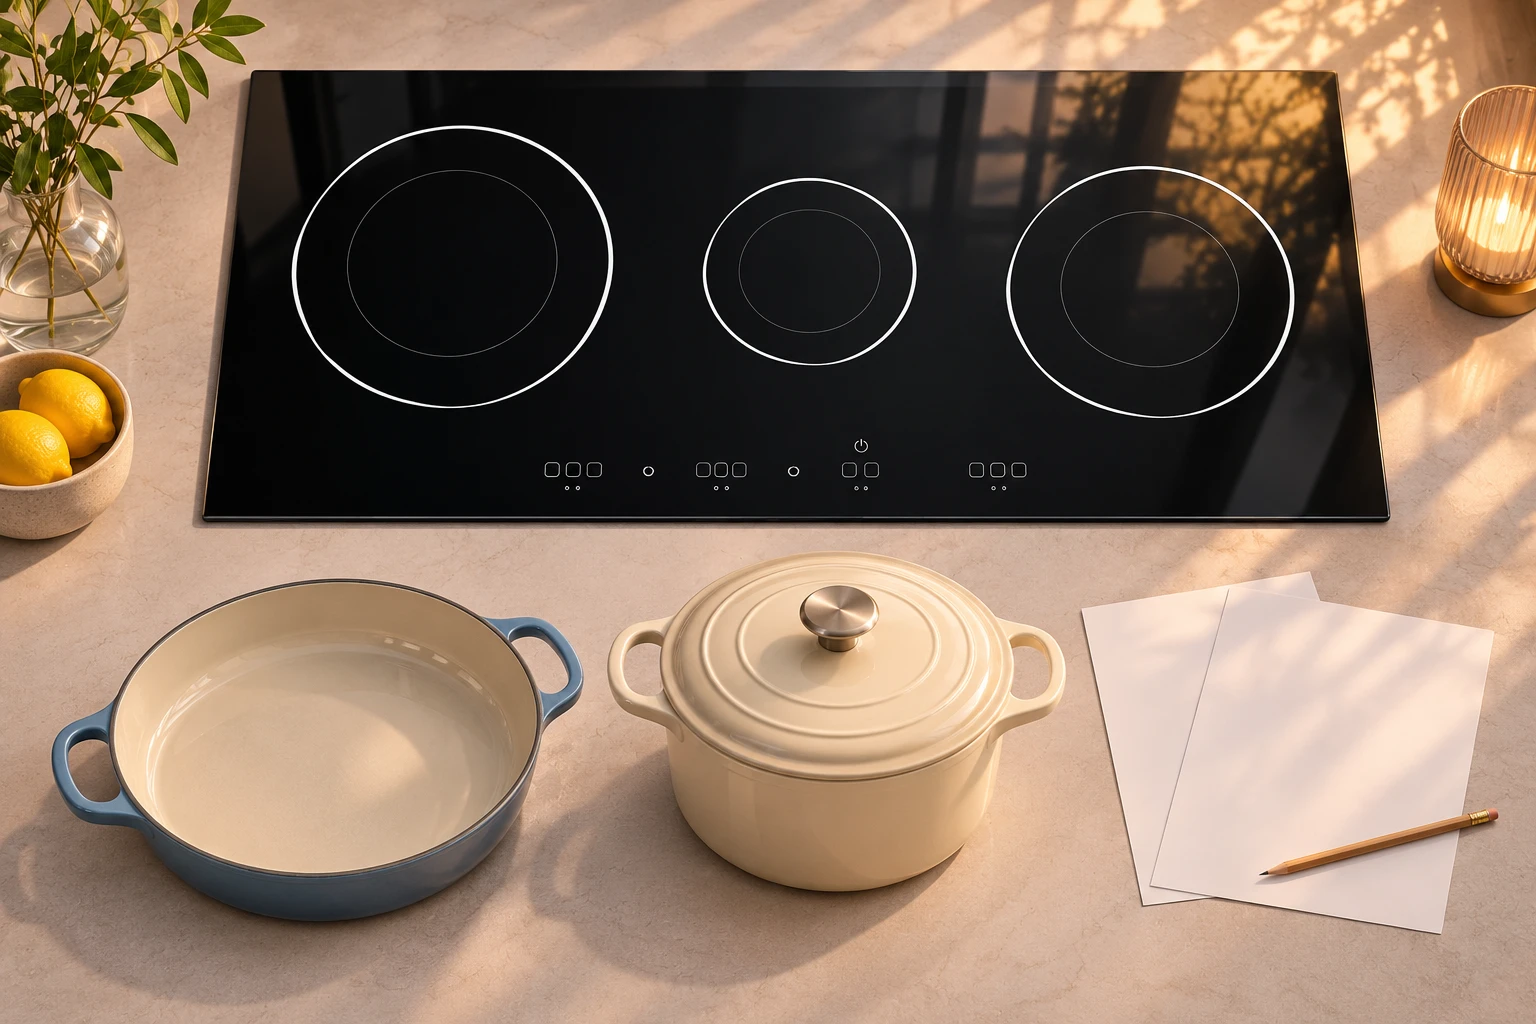
A broad vessel is not a reason to select maximum power automatically. Follow the appliance and cookware directions for the identified combination. A setting used successfully with another pot does not establish a suitable setting for this model, quantity and preparation. This comparison supplies no universal temperature, preheating time or numbered control setting.
Likewise, a deeper vessel does not guarantee that food can be left unattended for longer. Monitor the actual preparation and follow recipe and equipment instructions. If a batch behaves differently after a vessel change, record the shape, quantity, starting condition and method rather than deciding that the glass panel has changed the recipe. Geometry is one part of a complete cooking arrangement.
The shape label does not tell you whether the interior is seasoned iron, enamel, stainless steel or another finish. Match the maintenance procedure to the identified construction. Ask what utensils, cleaning products and storage arrangements are permitted, and consider whether the kitchen can follow those requirements consistently. A finish that requires a different routine should not be treated as interchangeable merely because the vessel has the same name.
Le Creuset’s care information illustrates why instructions are organized by material and product type. Use the correct section for the purchased item. Avoid copying a cleaning method from another finish or applying cookware chemicals to the glass surface. Inspect the supporting bottom, handles and lid in accordance with the maker’s directions and resolve damage before returning the vessel to use.
For each candidate, record model and size, interior floor, depth, usable underside, heat-source approval, lid details, care instructions and the source of each item of information. Add the intended dish arrangement and the available lifting and landing space. Where an entry is missing, label it as unknown instead of substituting a measurement taken from a similar product.
A short cold layout check can then complement the documentation. It may reveal that the wider vessel blocks another zone, that the deeper vessel leaves insufficient stirring access or that a lid cannot be removed under an overhead obstruction. Keep those observations factual. They support the buying decision but do not establish thermal performance, service life or a safety certification.
Kanger’s black glass-ceramic cooktop panels serve the appliance surface and component discussion. They are separate from a cookware brand’s shape, finish and approved uses. When a project needs a panel enquiry, describe the real component application and the complete appliance requirements rather than asking a panel material to approve every vessel called a braiser.
The practical selection outcome is a documented match between a task, an identified vessel and an appliance. If the recipe or equipment changes, revisit the relevant entries. Retaining this record helps a shared kitchen or purchasing team preserve the reason for choosing the shape, instead of replacing it later based only on a nominal capacity or a familiar product name.
The educational video below provides background on how cookware geometry and the induction system interact. It is not a head-to-head test of a braiser and Dutch oven, a recipe or an approval of either illustrated vessel. Use it to understand the heating context while keeping the shape and documentation checks above as the basis for selection.
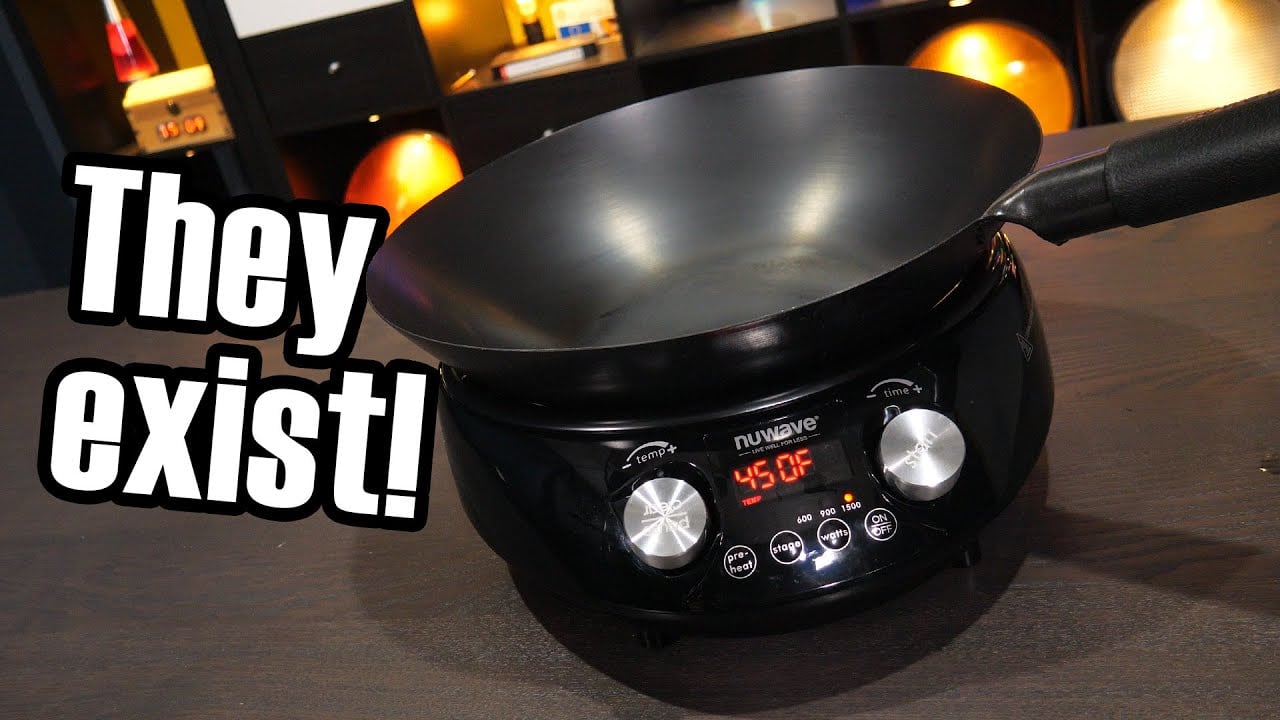
Video: Induction cooking – but what about woks?, Technology Connections. Open the educational video on YouTube.
No. Choose the geometry for the dish, then verify the exact model and appliance combination. Neither category name establishes induction suitability, base fit or the best arrangement for every preparation.
Yes. Volume can be distributed across width and depth in different ways. Compare the actual interior floor, wall shape and working-fill instructions rather than assuming equal capacity means equal usable space.
Not necessarily. The rim, interior floor and supporting underside are separate dimensions. Obtain each relevant measurement and compare the actual underside with the appliance’s requirements.
Do not transfer a limit by appearance. Verify the identified vessel, lid, knob and other relevant components together, including any replacement parts, using the manufacturer’s current instructions.
Cookware makers are cited for their own cookware documentation, not as competing glass suppliers or endorsements of Kanger. These sources do not certify the illustrated arrangement. Exact model and appliance instructions control each use.