Induction cookware with a loose handle should be taken out of use until its attachment and condition have been assessed under the cookware manufacturer’s instructions. Magnetic compatibility does not make an insecure grip safe. Stop heating, follow the equipment’s safe stopping guidance, and do not lift a hot filled vessel to test whether the handle will hold. Once everything is safely cold, identify the exact model and document the problem for service.
This guide helps distinguish a permitted maintenance question from a damaged attachment that needs replacement or professional support. It provides no universal tightening torque, rivet repair method or adhesive recommendation. The selected manufacturer’s directions govern what can be adjusted, which parts may be replaced and how serviceability is confirmed.
Induction concerns how suitable cookware receives heat from the appliance. Handle security is a separate mechanical requirement. A pan can be detected and heat normally while its grip is damaged. Do not take successful recognition, an induction symbol or a magnetic underside as evidence that a weakened joint can support the vessel during handling.
If a problem appears during cooking, use the equipment’s documented stopping procedure and keep others clear. Avoid improvising a carrying arrangement around hot contents. Follow the responsible manufacturer or appropriate emergency guidance for the actual situation. This article begins its inspection process only after the vessel and surrounding equipment can be handled safely in a cold, stable condition.
Find the cookware model, size and identifying information from the supplied documents or product markings. Similar-looking pans can use different screws, rivets, welded brackets or removable interfaces. A replacement handle advertised for the same brand may still belong to another range. Obtain the instructions and parts information for the actual item before attempting maintenance.
Photograph the full pan and the joint without dismantling it. Record which part moves: the grip relative to the bracket, the bracket relative to the body, or a removable interface relative to its matching connection. These observations help support identify the assembly. They do not authorize disassembly or prove that the visible movement has a simple fastening solution.
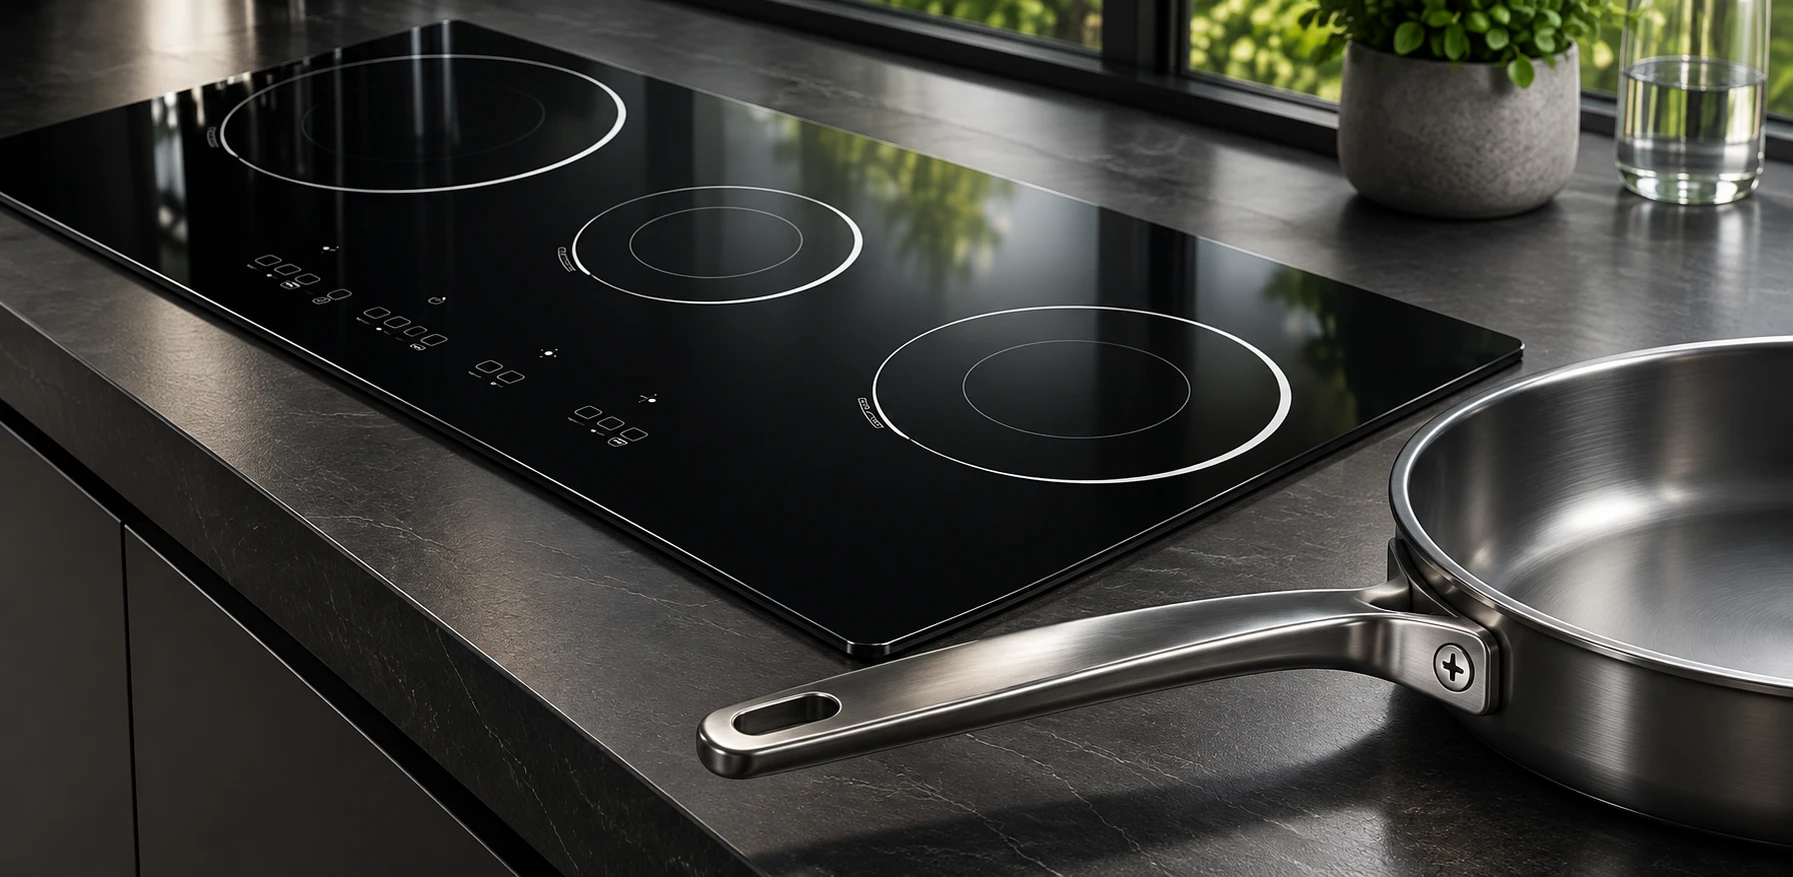
Place the empty pan on a stable separate worktop and inspect the joint as instructed. Look for visible damage around the handle, bracket and body. Avoid bending the grip to reproduce a failure or filling the pan to demonstrate the problem. An inspection should gather information without turning an uncertain attachment into a load test.
A model may allow an accessible fixing to be checked, but that permission must come from its instructions. Do not assume every screw head is intended for user adjustment. Some assemblies contain spacers or parts whose position matters. If the original documents are unclear, send photographs to the manufacturer and wait for the appropriate maintenance or replacement direction before returning the pan to use.
Cracks, broken grips, visible separation or corrosion that weakens a fixing call for a stop-use decision and manufacturer assessment. Tefal’s model-specific care guidance addresses damaged handles and matched components for its own system. It does not authorize a universal repair for other brands or attachment styles.
Do not hide a crack with tape, fill a joint with household glue or substitute a larger screw because the original no longer holds. Those changes can alter the assembly and obscure the original fault. Record any previous repairs for support. A handle that becomes temporarily firm after an improvised intervention has not thereby passed the manufacturer’s serviceability requirements.
Some cookware instructions permit tightening a particular accessible screw. That is different from replacing a rivet, drilling a bracket or dismantling a welded joint. Follow the specific method and parts requirements for the model. This article intentionally supplies no common torque value, screwdriver size or tightening direction for unknown cookware.
For the products addressed, WMF’s Fusiontec instructions discuss handle screws and replacement of damaged components. This illustrates why a maintenance instruction must match the product. Le Creuset’s care instructions also distinguish room-temperature fastening checks from hot handling and warn against overtightening. These are model-specific examples, not interchangeable repair procedures.
The table separates information gathering from repair authorization. The exact cookware manufacturer’s instructions remain the authority for whether a component can be adjusted or replaced.
| Observation | Information to gather cold | Next decision |
|---|---|---|
| Grip feels insecure | Model, joint photographs and location of movement | Keep out of use pending assessment |
| Accessible screw appears loose | Exact model maintenance instructions | Adjust only if the permitted procedure is clear |
| Crack, break or weakened fixing | Visible condition and relevant history | Seek service or matched replacement |
| Removable interface will not lock | Handle and vessel identities, locking condition | Use matching-system support; do not improvise a clamp |
| Repeat loosening after maintenance | Previous authorized work and recurrence | Escalate rather than repeatedly retightening |
A detachable grip is designed around a particular interface and locking sequence. A handle that appears to fit another rim is not necessarily approved for it. If the connection feels insecure or fails its prescribed checks, stop using the combination and obtain guidance for both exact parts. Do not use an unrelated clamp to turn a damaged fixed-handle pan into detachable cookware.
This is a fault-response question, separate from choosing a removable-handle range for storage convenience. Keep the handle identity and vessel identity together in the service record. Check for updates or replacement parts supplied for the actual model. A listing photograph or an informal demonstration cannot establish that a mixed assembly has the necessary fit or retention.
A cookware set can contain several attachments with different functions and materials. A secure main handle does not prove that a lid knob or helper grip is sound. Inspect each according to the supplied instructions. Avoid using another attachment as a substitute carrying point unless the manufacturer specifically describes that handling method for the vessel and task.
Glass-lid fixings deserve particular care because overtightening can damage the surrounding glass. Do not transfer a procedure from a metal body to a glass component. If damage is suspected, obtain service advice before use. Keep replacement lids and knobs matched to the intended assembly rather than selecting them only by nominal diameter, finish or the apparent size of a screw hole.
Provide the model, purchase reference if available, photographs and a concise account of when the movement was noticed. State whether the item was dropped, altered or previously repaired if known. Describe what you observed without claiming a cause that has not been verified. Clear factual evidence helps support decide whether inspection, a matched part or replacement is appropriate.
Do not repeatedly heat and cool the vessel to reproduce the issue for a video. Nor should a demonstration involve lifting a hot load or forcing an attachment. If support asks for a check, confirm the instructions and perform only a safe, authorized procedure. Retain the response with the cookware record so that the next user understands the service decision.
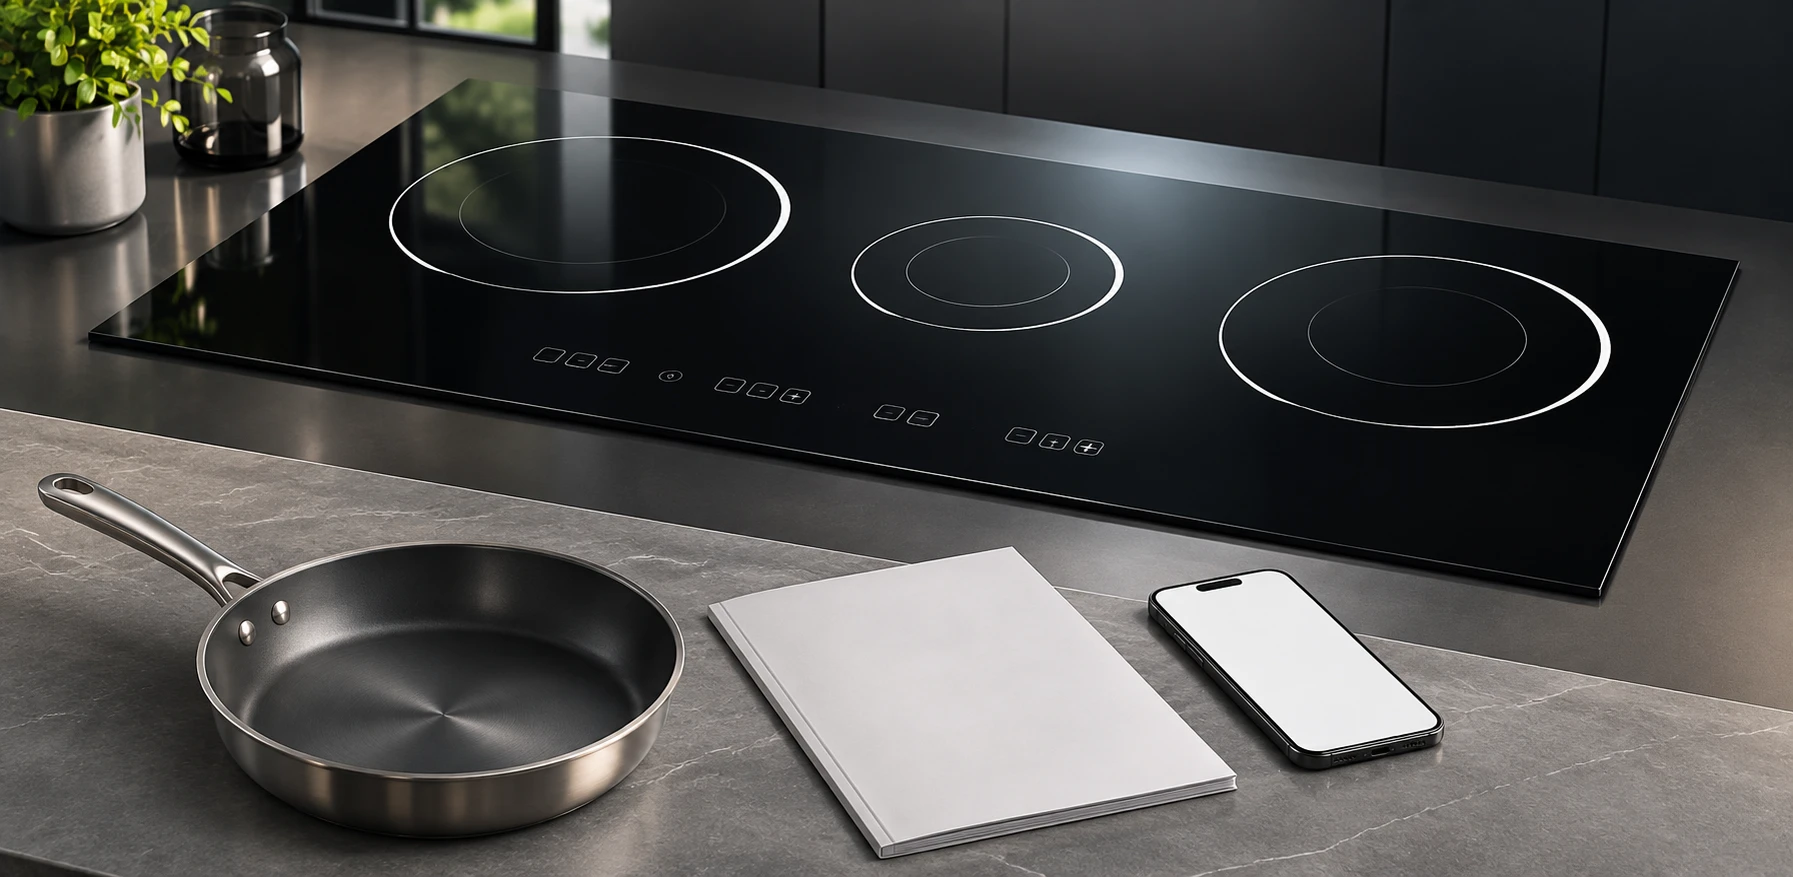
If the manufacturer authorizes return to service, review the complete equipment arrangement before cooking again. Use planning handle clearance to check surrounding access and measuring the usable cookware base to confirm the intended zone. A replacement grip can have a different outline even when it is an approved part. Keep controls and neighboring cookware accessible within the appliance’s placement requirements.
Check the base and glass for cleaning or damage concerns separately. Our guide to checking marks on the glass surface addresses surface observations, not handle strength. Do not add a mat or shift the vessel outside its permitted position to accommodate an unresolved grip problem. An improved layout cannot compensate for a defective attachment, just as a repaired handle cannot make an unsuitable base compatible.
After service, follow the model’s cleaning, drying and inspection directions. Pay attention to the attachment areas without using aggressive chemicals or disassembly that the instructions do not permit. If looseness returns, record the recurrence and contact the manufacturer rather than accepting repeated tightening as a permanent solution. The reason for movement may require a different decision.
U.S. Fire Administration cooking safety guidance supports attentive cooking and an orderly workspace. Keep tools and repair materials away from active zones. Maintenance belongs in a cold controlled setting, separate from meal preparation. A busy cooking session is not the time to experiment with an uncertain fastening, and another person should not inherit an undocumented repair without knowing the manufacturer’s instructions.
Kanger’s Kanger black glass-ceramic cooktop panels and black glass-ceramic material guide describe the glass-panel supply context. They do not specify cookware fasteners, handle load limits or replacement-part approval. Handle assessment belongs to the cookware manufacturer, while finished-hob faults belong to the appliance supplier. Keep those responsibilities distinct when collecting evidence or asking for support.
For procurement, retain model-specific maintenance information and a route to genuine compatible parts. Include attachment condition in the ordinary inspection routine without inventing a common service interval for every vessel. The useful outcome is a documented stop-use, maintenance, service or replacement decision. It is not a generic repair recipe or a promise that every loose handle can be restored safely at home.
This independent educational video explains induction heating and cookware geometry. It provides background on the cooking system, not a demonstration or approval of storage protectors, handle repair or any specific cookware model.
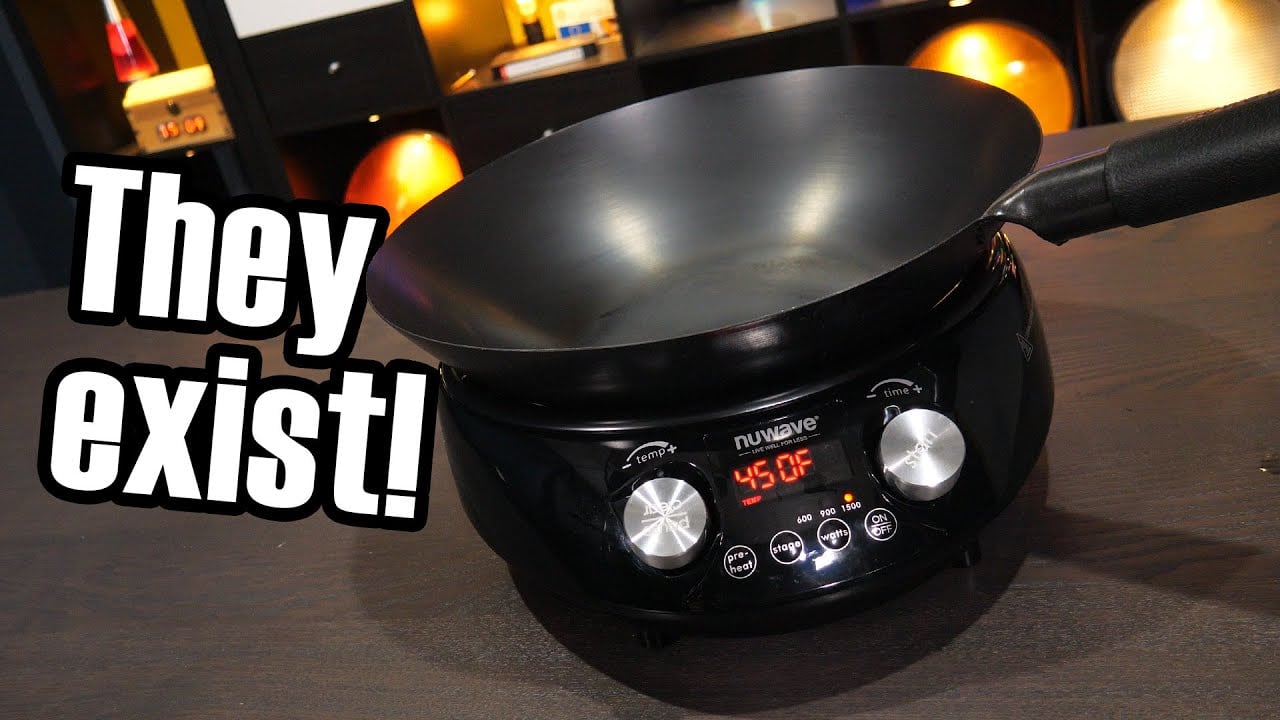
Video: Induction cooking – but what about woks?, Technology Connections. Open the educational video on YouTube.
Yes. Induction response does not establish mechanical serviceability.
No. Follow the exact model instructions; not every fixing is a user-service item.
Do not improvise. Obtain the manufacturer’s authorized service or matched replacement direction.
Keep the cookware out of use and report the recurrence for further assessment.