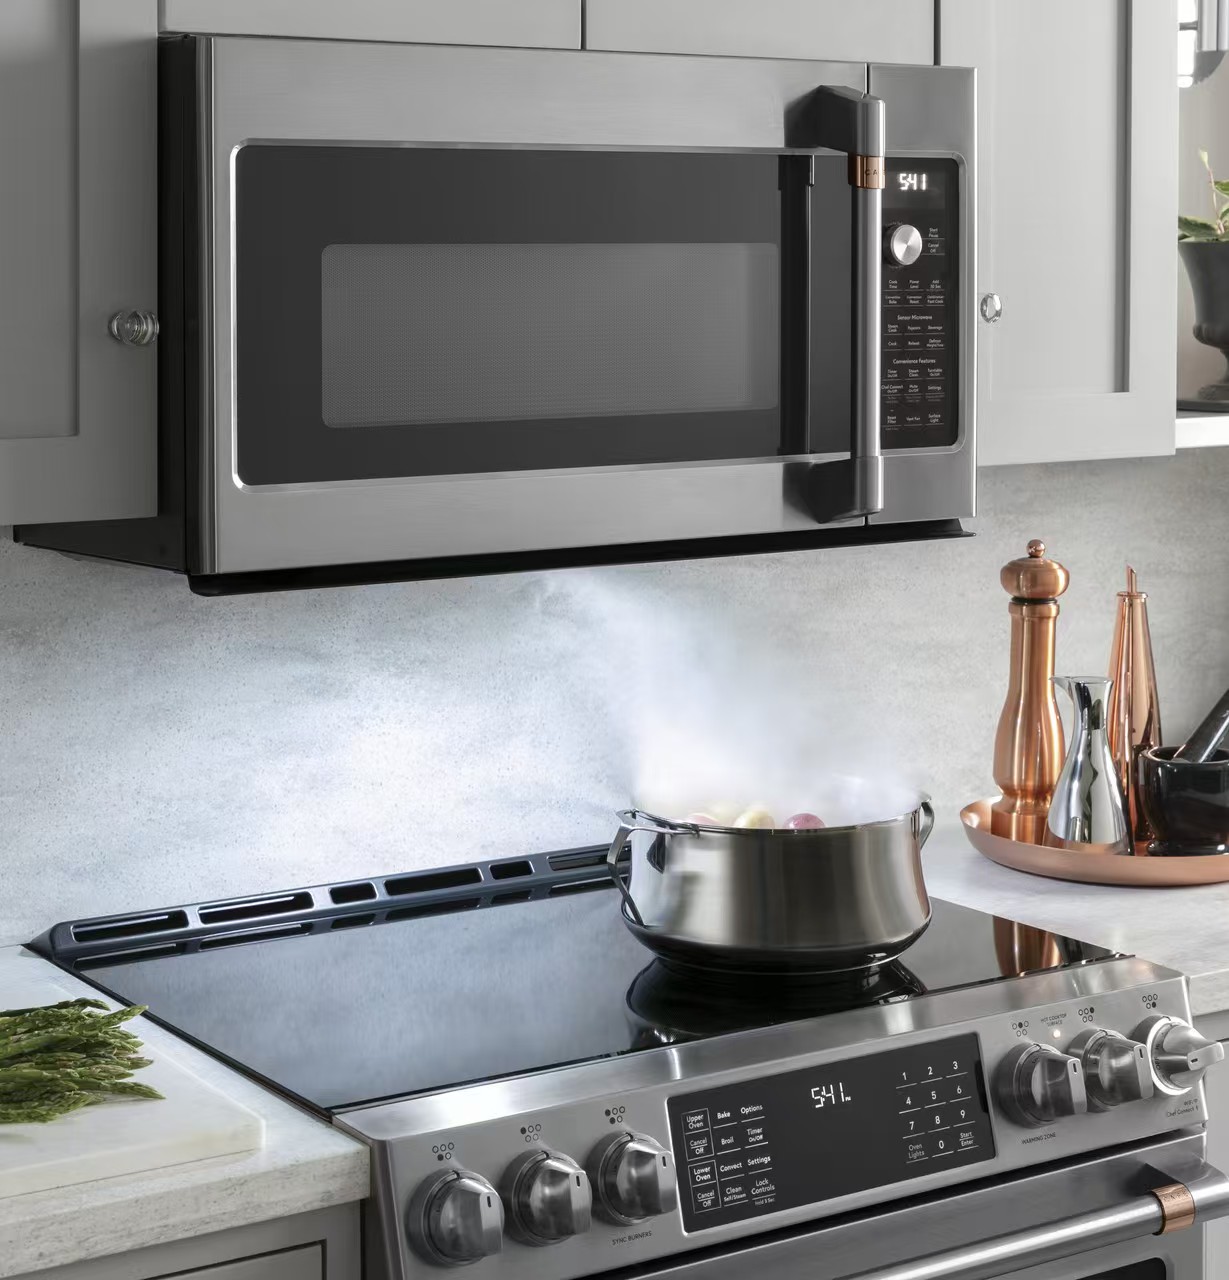
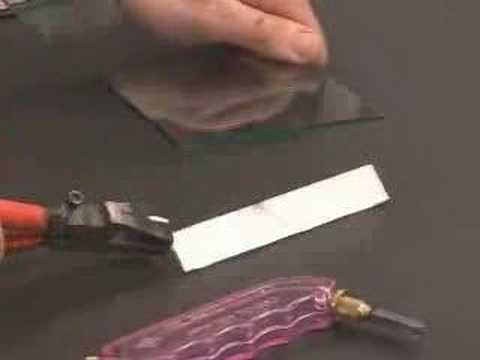
Tempered glass cannot be safely cut, drilled, ground, or notched after tempering. Mechanical work disturbs the balanced surface-compression and internal-tension system, so the panel is likely to fracture into small pieces. All dimensions, holes, cutouts, and edge finishing should be completed before the tempering cycle.
This guide explains the main decisions buyers, engineers, and service teams should document before selecting or ordering can tempered glass be cut.
Thermal tempering heats processed glass and then cools its surfaces rapidly. The surfaces enter compression while the interior remains in tension. This stress profile improves strength and changes the break pattern.
A cutter wheel, drill, grinder, or abrasive jet creates a flaw that penetrates the compressed layer. Once that flaw reaches the tensile zone, stored energy can release across the panel.
Look for a permanent safety mark near a corner, supplier documentation, or the original appliance drawing. Polarized light may reveal stress patterns, but visual checks alone are not a reliable material certificate.
Do not assume every glass door, shelf, or appliance panel is tempered. Laminated, heat-strengthened, annealed, and glass-ceramic products require different decisions.
The supplier should receive a complete drawing before heat treatment.
The normal solution is to remake the panel from annealed stock, complete all processing, and temper it again. If the design is still changing, validate templates or inexpensive prototypes before ordering the final heat-treated lot.
For a repair, use the exact material and geometry required by the appliance or enclosure. Substituting acrylic, ordinary glass, or a thinner pane can create a serious hazard.
Online demonstrations sometimes claim that special equipment can modify tempered glass. Even if a laboratory process produces a local change, the resulting part may no longer meet the original safety classification or performance evidence.
For production and safety applications, treat post-temper cutting as a redesign requiring new engineering and validation, not as a normal fabrication method.
Freeze the drawing revision, identify the safety-glazing requirement, define edgework and holes, and approve a first article before volume production. Kanger can review custom tempered-glass drawings before processing.
For a drawing-led project, review Kanger’s custom tempered glass and send the application, dimensions, material requirement, annual quantity, and validation criteria with the enquiry.
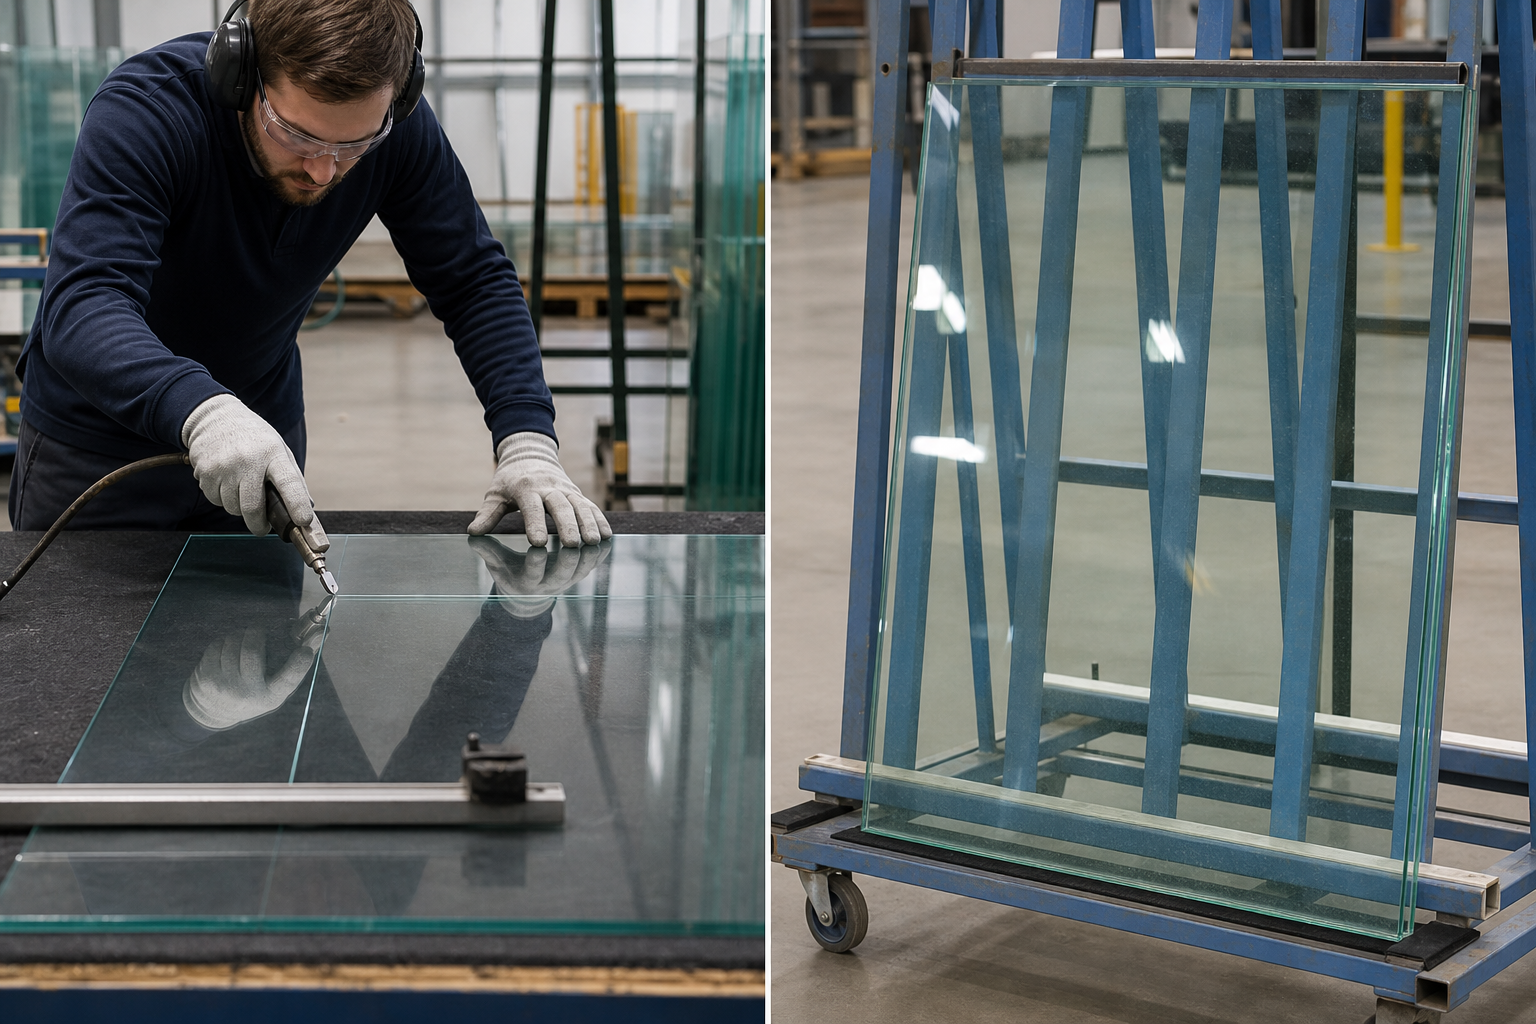
Do not try to rescue the panel with a glass cutter, drill, grinder, waterjet, laser, or local heat. Even if a tool makes a superficial mark, it can penetrate the compressive layer and release stored energy without warning. Personal protective equipment does not turn post-tempering fabrication into a controlled production process.
The safe commercial response is to quarantine the incorrect part, confirm the drawing revision, and manufacture a replacement from annealed stock. Cutting, holes, notches, edge polishing, printing steps that require later firing, and any other approved fabrication are completed before the heat-treatment cycle. The final dimensions must also allow for the tolerances and distortion associated with tempering.
If the application can accept another material, an engineer may consider annealed laminated glass, heat-strengthened glass, borosilicate glass, or glass-ceramic. These are not automatic substitutes: load, impact behavior, breakage retention, temperature, optical quality, applicable codes, and the appliance or assembly listing must be reviewed before changing the specification.
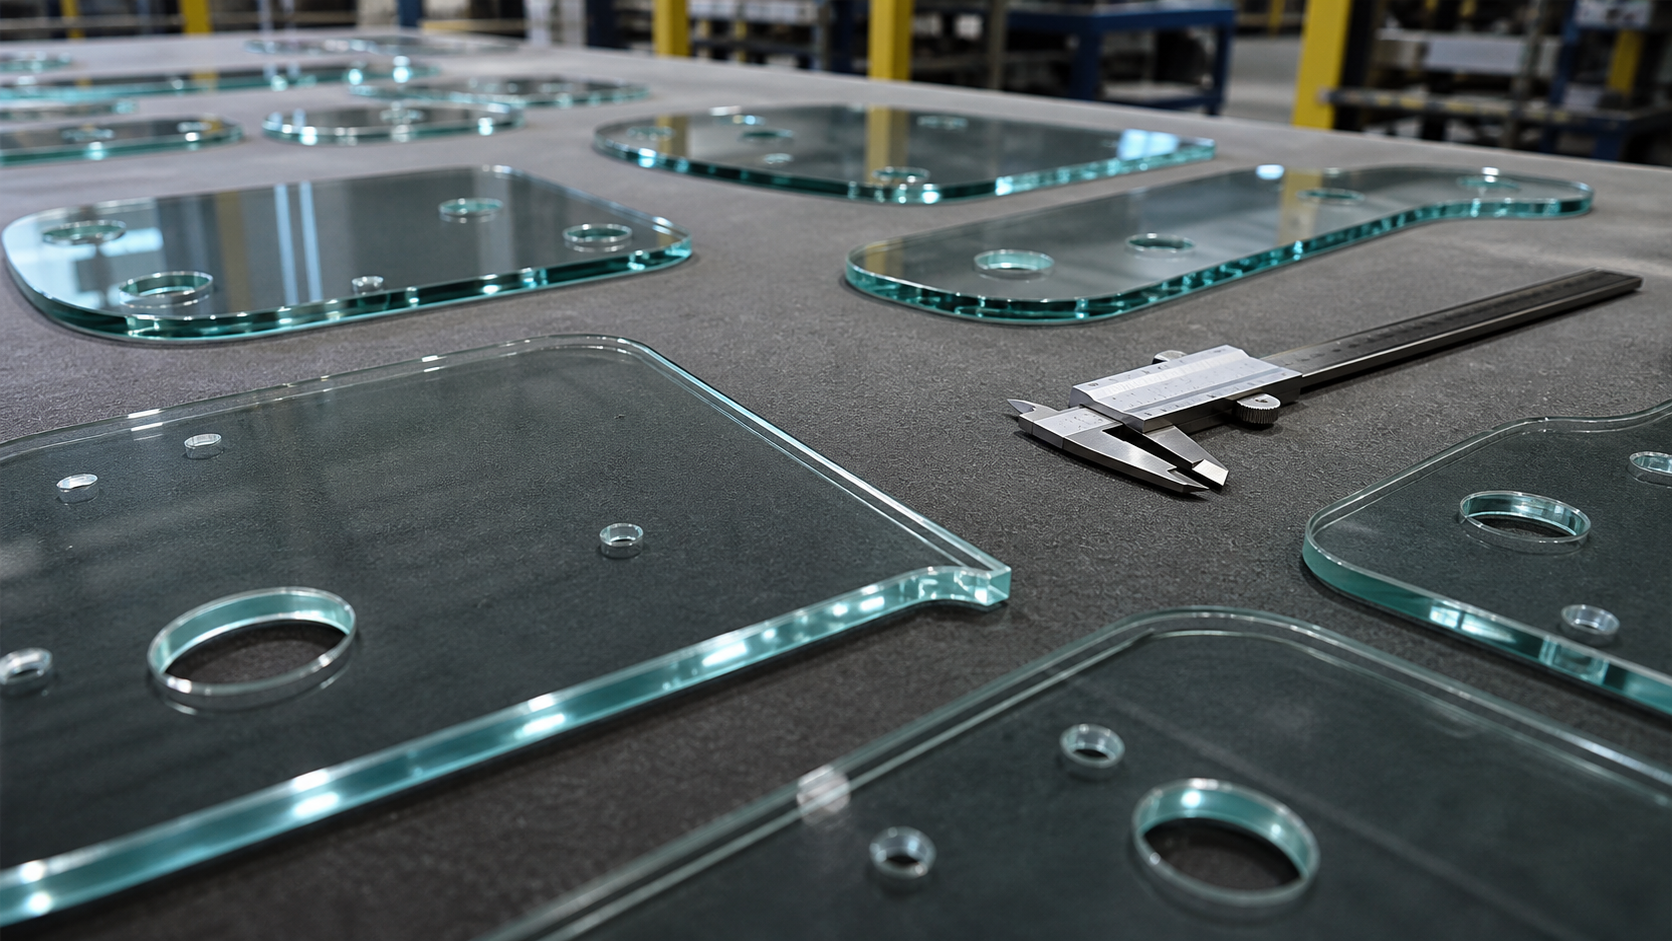
A reliable answer to this topic begins with a decision statement: whether a wrong-size tempered panel must be remade or the assembly can be safely redesigned. That statement prevents a broad material claim from replacing an application-specific requirement. The team should identify the annealed blank made to the final approved drawing before heat treatment as the qualification unit. Testing only a convenient coupon can miss interfaces, edge conditions, supports, coatings, seals, or process history that determine whether the finished product works. The approved drawing, revision, test sample, and operating assumptions should therefore use the same configuration.
Build the validation sequence around the damage and variation that the part will actually experience: all cutting, drilling, notching, edge finishing, printing, transport, tempering distortion, and final installation. These exposures should not be selected as impressive numbers without context. Their severity, order, dwell, recovery period, and sample orientation need to be written down. Combined exposure is often more revealing than isolated tests because cleaning can weaken a hot surface, a thermal cycle can change a seal, and handling damage can become critical only after the assembly is loaded.
Record evidence that can be compared before and after exposure. For post-tempering size correction, the useful evidence includes final dimensions, hole location, edge quality, bow, roller wave, safety mark, fragmentation requirement, and fit clearance. Define the instrument or inspection condition, sample count, acceptance limit, and treatment of borderline results before testing begins. Photographs help with traceability, but they do not replace measurements where a specification calls for a number. Conversely, a single numeric result does not replace a whole-part visual and functional inspection.
The failure review should remain tied to plausible mechanisms. In this case, cutting or grinding releases stored stress; a drawing revision can be missed; tight metal contact can damage a correct replacement. When a result fails, preserve the sample and process record, identify where the change began, and decide whether the cause lies in material, geometry, processing, assembly, operation, or the test itself. Repeating the same test without correcting an uncontrolled variable can produce a reassuring result without resolving the underlying risk.
Use staged approval. First confirm material identity and drawing completeness. Next approve a representative first article. Then run the defined durability or service simulation. Finally, verify that production controls can reproduce the qualified part. Do not alter tempered glass; approve a newly fabricated and heat-treated replacement against the complete drawing. Any later change to material source, geometry, surface treatment, thermal recipe, support, seal, or test method should trigger a documented review rather than an automatic carry-over of the old approval.
For purchasing, request a concise evidence package instead of a generic claim. It should contain the controlled drawing, material designation, critical-process statement, inspection method, acceptance criteria, sample or lot identification, and nonconformance path. For engineering, keep a signed master sample where appearance matters and store raw measurements with the report. This makes supplier comparisons fairer, shortens root-cause work, and prevents a marketing phrase from becoming an undocumented safety or lifetime promise.
| Stage | Control | Evidence | Why it matters |
|---|---|---|---|
| Before tempering | Cut, drill, notch and finish edges | Drawing dimensions and edge inspection | Fabrication is controllable |
| During tempering | Heat uniformly and quench to the specified process | Process record and required conformance | Safety behavior is created |
| After tempering | Inspect, clean and assemble only | Dimensions, bow, optics and marking | No material removal permitted |
| Wrong-size response | Quarantine, verify revision, remake | Replacement inspection and fit trial | Avoids unpredictable breakage |
Educational video: Cutting Glass by The Corning Museum of Glass. This neutral explainer supports the material or safety principle discussed above; it is not a substitute for the product drawing, appliance manual, or qualification test. Watch on YouTube.
Approval is not the end of the tempered glass fabrication and replacement process. Record the approved supplier, material designation, drawing revision, manufacturing route, inspection method, reference sample, and test-report identifier in one controlled release file. Purchasing should require advance notice when any of those inputs changes. Engineering can then decide whether the change needs document review, limited confirmation testing, or full requalification. This is especially important when two parts have the same nominal dimensions but differ in glass composition, edgework, coating, thermal history, support, gasket, or packaging.
Incoming inspection should verify the characteristics that can drift or be damaged before assembly, while periodic audits should confirm the properties that cannot be checked economically on every part. Keep nonconforming samples long enough to support root-cause analysis, and link corrective actions to the affected lots and assemblies. A clear deviation process allows a temporary concession only when the responsible engineer has reviewed function, safety, appearance, and traceability. Verbal approval or a supplier’s general datasheet should never silently replace the controlled product requirement.
No. Scoring normally triggers fracture because it penetrates the surface-compression layer.
Not after tempering. Drill holes before heat treatment.
Material removal after tempering can initiate breakage and invalidate the part. Specify final edges beforehand.
Remake the panel from suitable stock, complete all fabrication, and then temper it.