Kanger Glass-ceramic Co., Ltd.
White haze on tempered glass can be a removable deposit, a permanent surface change, or an optical effect that becomes visible under particular lighting. Start by identifying the affected face and testing the approved cleaning method on a small area. Do not assume that every pale patch is furnace damage, and do not use abrasive polishing to make an unknown defect disappear. For appliance control glass, the investigation also needs to protect printed icons, display windows, surface coatings, and touch performance. The useful result is a documented cause and a safe disposition for the affected lot.
Locate the haze before changing the surface
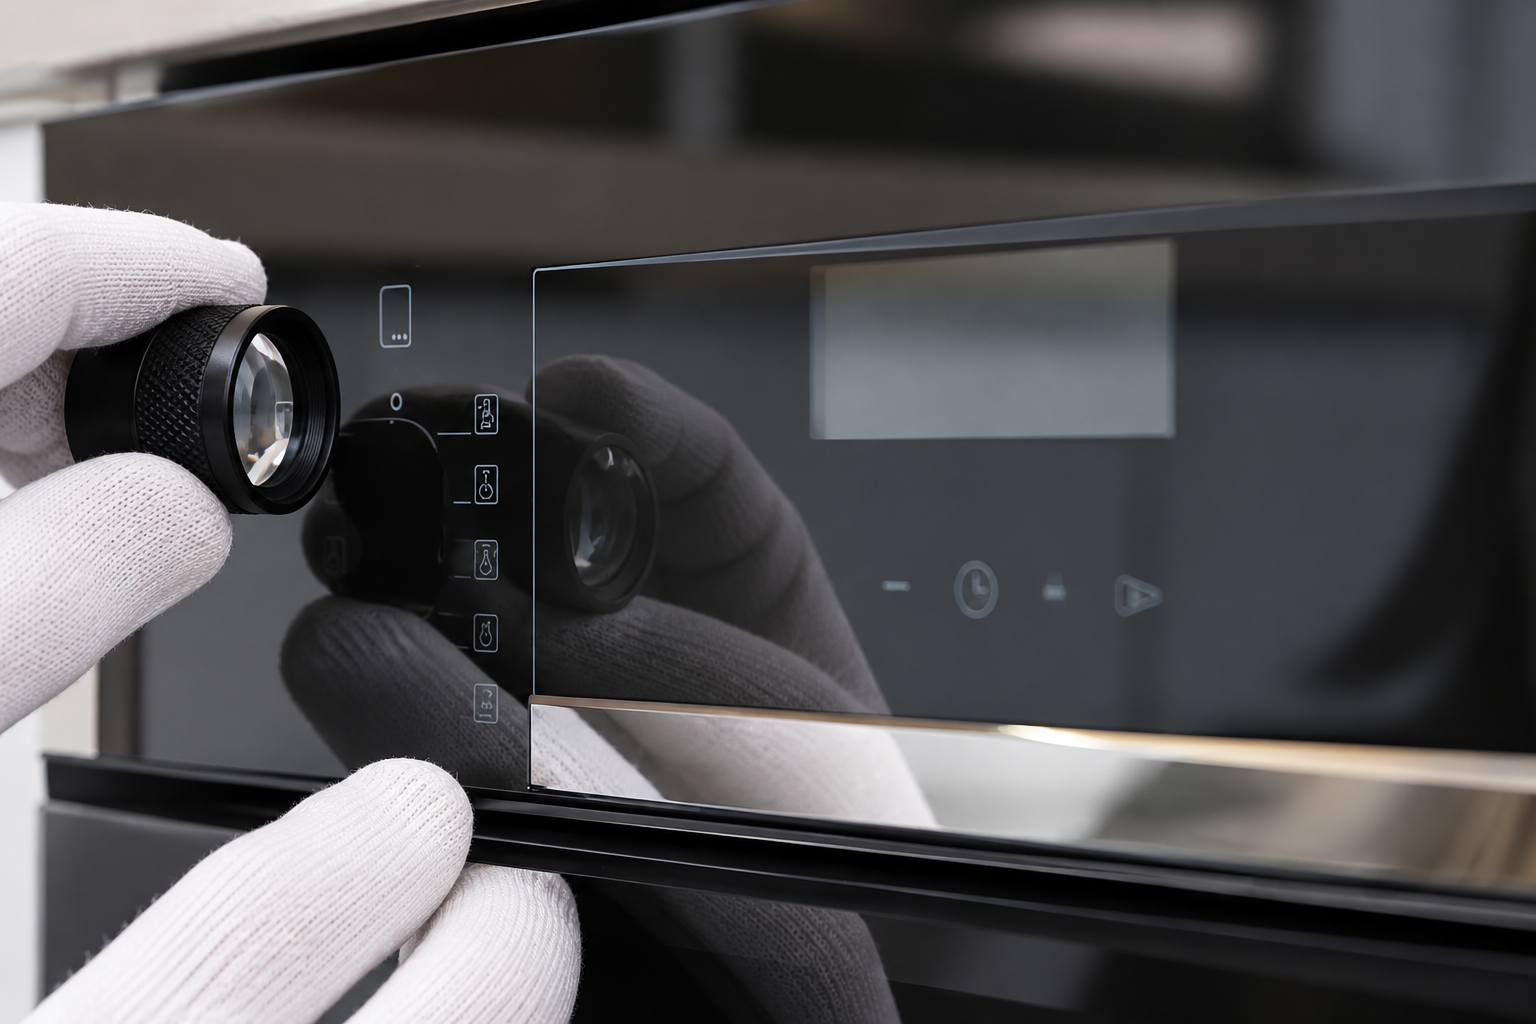
Inspect the panel both as a loose component and in its normal assembly, if that can be done safely. Reflections from a stainless bezel, a pale adhesive layer, a display diffuser, or a protective film can look like a glass defect. Record which face appears affected, the viewing direction, and whether the mark follows the glass when the lighting or background changes. A photograph should include an overall view and a close view with a clear reference to panel orientation.
Make a simple map of the marks. A continuous band near an edge suggests a different investigation from repeated small patches across the center. Note whether several parts show the same pattern in the same orientation. Compare the affected panel with an approved reference under the same conditions. A single photograph taken with a phone’s automatic exposure is poor evidence for accepting or rejecting a whole batch.
Separate deposits from permanent changes
Before trying a chemical, identify the approved glass, print, coating, film, and adhesive systems. A cleaner that is acceptable for plain glass may affect a functional coating or printed legend. Remove a protective film only when the handling instruction allows it. Use clean materials and the approved cleaning sequence, then allow the area to dry before comparing it with the untouched surface.
If the appearance changes, record exactly what changed and how the panel was treated. A deposit that can be removed without damaging the component calls for a cleaning and contamination investigation. A mark that remains requires further examination, but persistence alone does not prove the cause. Stop if rubbing changes gloss, spreads the mark, scratches the surface, or lifts print. Keep an untreated sample so the original condition remains available for the supplier’s review.
Consider where the panel has been in the process
A part can encounter cutting fluid, grinding residue, washing water, separator materials, protective-film adhesive, fingerprints, print materials, packaging dust, and assembly chemicals. Build a timeline that includes the last inspection at which the surface was acceptable. If incoming sheets were clear but haze appeared after washing, that is a useful boundary. If only packed parts show the mark, inspect packaging and storage conditions before changing the furnace recipe.
Ask the processor to review relevant records rather than suggesting a cause from appearance alone. Useful records include cleaning-material changes, maintenance events, water-management checks, glass orientation, furnace loading information, and the first affected lot. The GGF visual-quality material describes several optical characteristics of heat-treated glass. Its building-glass scope helps distinguish categories of appearance; it does not establish the acceptance limit for a particular appliance fascia.
Distinguish haze from stress patterns and distortion
Stress patterns can become more apparent with polarized light or polarized glasses. Reflected straight lines may reveal shape distortion that is difficult to see against a plain background. These observations help classify the issue, but neither is a substitute for the agreed inspection method. Avoid calling every visible pattern a coating fault or claiming that a panel has failed tempering because a photograph looks cloudy.
Set separate observations for transmission, reflection, surface texture, and functional-zone appearance. A display window may require a different evaluation from an opaque perimeter mask. Record whether the mark affects visibility of a symbol or the uniformity of backlighting. When the problem is only visible under unusual lighting, compare the result with the released cosmetic criteria and the actual service environment instead of quietly changing the inspection conditions.

Use a controlled comparison to narrow the cause
Select affected and unaffected parts that share as many process conditions as possible. Compare lot, glass source, thickness, print revision, coating, washing sequence, and packaging. The purpose is to isolate a meaningful difference, not to collect a long list of unrelated observations. Keep part identifiers on a record or removable label rather than marking the viewing surface with an unapproved pen.
For example, imagine that a pale band appears only on panels stored with one separator material. An appropriate next check is a controlled comparison using the same panel type, storage duration, and inspection setup with a different approved separator. This is an investigation example, not a Kanger test result. If both groups develop the band, the original packaging explanation has weakened and the team should look elsewhere. Record negative findings as well as positive ones.
Agree on a disposition before production resumes
A component can be cleaned, held for investigation, rejected, or accepted under a documented concession when the responsible team allows one. Base that choice on the released specification and the effect on the complete product. Passing a touch test does not automatically make a visible display defect acceptable. Likewise, a cosmetic concern does not establish an unsafe condition without evidence.
Do not specify field polishing of finished tempered appliance glass as a routine remedy. Fabrication or surface modification after heat treatment needs careful engineering review; the NGA guidance on fabrication before heat treatment is a useful boundary. Replacement may be the more controllable route when a permanent mark lies in a functional viewing area. Keep the rejected sample, lot identity, photographs, and original cleaning record until the investigation is closed.
Inspection and investigation checklist
| Observation or record | What to capture | Decision it supports |
|---|---|---|
| Surface and orientation | Front or rear face, panel datum, protective-film state, and marked area | Prevents confusing an assembly reflection with a surface defect |
| Viewing conditions | Background, lighting arrangement, viewing distance, and comparison sample | Makes supplier and buyer observations repeatable |
| Approved cleaning trial | Cleaner identity, cloth type, method, drying condition, and before/after appearance | Separates removable contamination from a persistent mark |
| Functional zones | Display aperture, touch region, printed icon, and opaque border | Shows whether the issue affects appearance, operation, or both |
| Process timeline | Last acceptable inspection and first affected process or lot | Narrows the investigation to a useful process boundary |
| Packaging comparison | Separator, protective film, storage exposure, and lot relationship | Tests a packaging explanation without assuming it is correct |
| Disposition | Specification clause, responsible approver, and retained sample identity | Supports a controlled acceptance, rejection, or rework decision |
This is a qualitative investigation table. It contains no universal defect-size allowance or cleaning recipe. Use the product drawing and approved surface-system instructions for numerical limits and compatible materials.
Prevent recurrence without hiding the evidence
Translate the confirmed cause into a specific control. A contamination problem might require a material change, a defined cleaning step, or separation of dirty and clean handling zones. A repeatable processing mark might require the processor to revise its process control and demonstrate that the change works. Ask for the evidence that connects the proposed correction to the observed defect.
Verify the correction on representative production parts and repeat the original inspection setup. Include the assembled display or touch module when those functions were affected. Define who checks the first corrected lot, how long enhanced inspection remains in place, and what happens if the mark returns. An action such as “pay more attention” is difficult to verify and leaves the original process weakness unresolved.
What to send with an OEM inquiry
For an appliance-control panel, send the drawing revision, finished dimensions, material description, print and coating details, affected face, quantity, and assembly photographs. Include the approved comparison sample or cosmetic specification and explain whether the issue existed before assembly. Describe any cleaning already attempted, including failed attempts, so the supplier does not mistake a changed surface for the original defect.
Kanger’s tempered appliance-glass page provides a relevant product context for these questions. It does not establish that a particular cleaning chemical, furnace process, coating, or cosmetic allowance has been approved. Keep those items in the quotation and qualification record for the actual part. A clear investigation package helps a supplier respond to the specific condition instead of offering a generic explanation for cloudy glass.
Frequently asked questions
Is white haze always caused by tempering?
No. Deposits, films, assembly reflections, surface changes, and optical effects can produce different pale appearances. Locate the affected surface and compare before and after an approved cleaning trial before assigning a cause.
Can I polish haze away from a finished tempered panel?
Do not treat polishing as a routine corrective step. It can change the surface and damage print or coatings. Ask the responsible engineer and supplier to approve any proposed modification, and retain an untreated sample.
Should an OEM inspect haze on loose glass or in the appliance?
Both views can be useful. Loose-panel inspection helps locate the defect, while assembled inspection reveals its effect on displays, symbols, and normal viewing. The released cosmetic criteria should define the acceptance conditions.
What evidence is most useful for a supplier?
Send identifiable affected and unaffected samples, controlled photographs, the part revision, lot information, process timing, and the cleaning history. The last acceptable inspection often provides a better starting point than a guessed defect name.
Related appliance-glass resources
- Thermal Shock Resisitance Tempared Glass For Household Appliances Panel Product
- Tempered Glass Appliance Panels: OEM Specification Guide
- How to Specify Durable Screen Printing on Appliance Control Panel Glass
- Tempered Glass Appliance Panels: OEM Specification Guide
Sources and further reading
- GGF Glazing Manual — architectural-glass context, not an appliance specification
- NGA — fabrication before heat treatment
- NIST — measurement uncertainty
Educational video: Annealing and Tension in Glass
This museum explanation introduces tension and thermal history in glass. It supports the material discussion; it is not a heat-soak procedure or a failure diagnosis.

Watch Annealing and Tension in Glass from Corning Museum of Glass