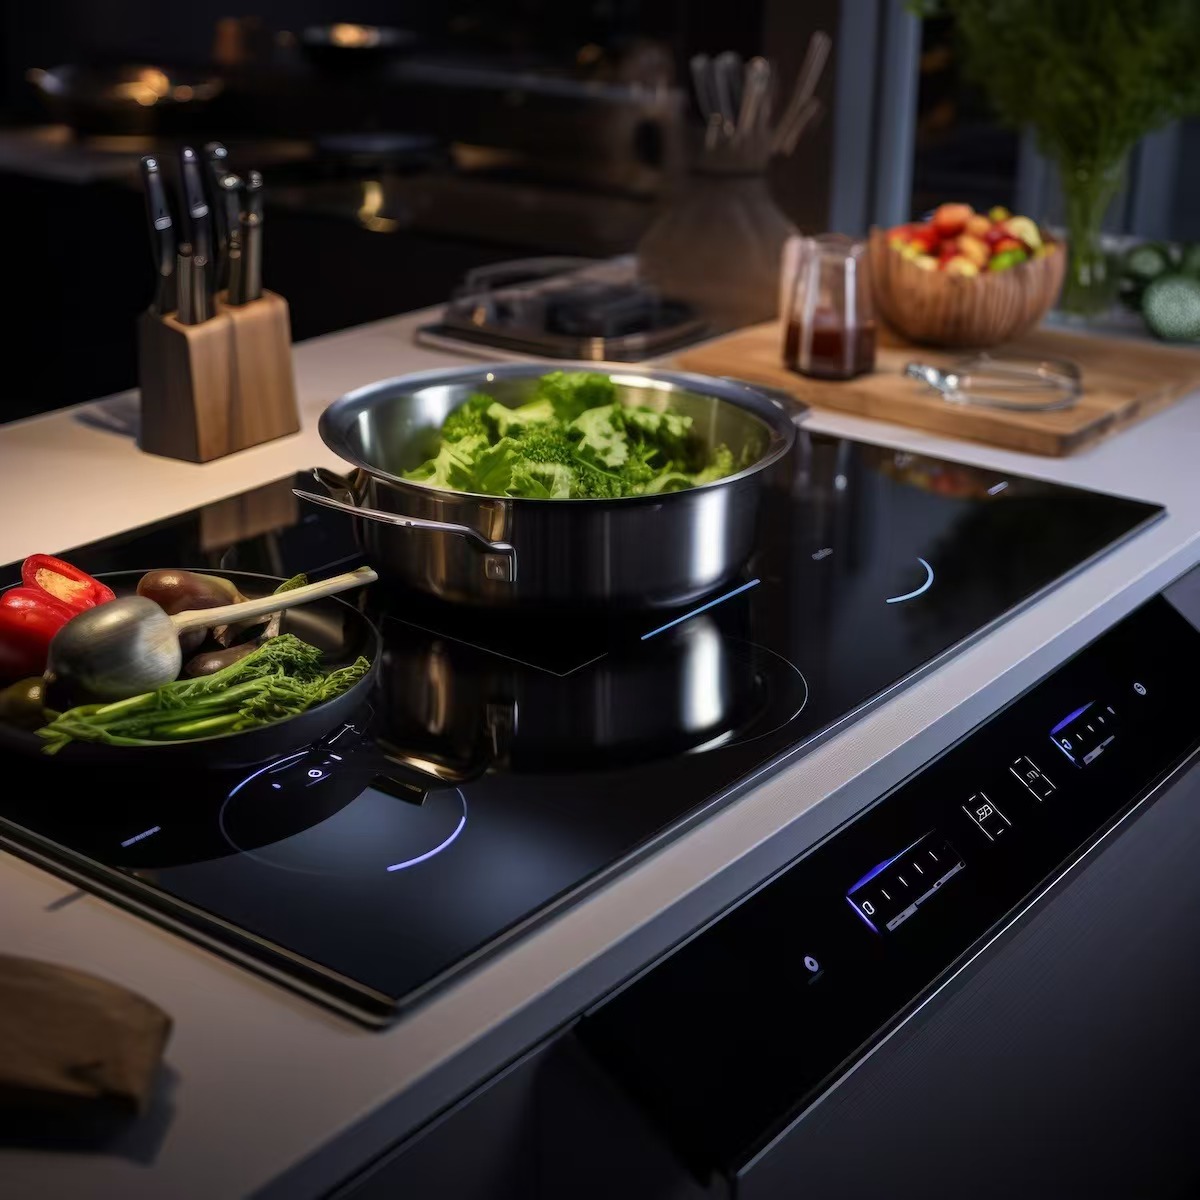
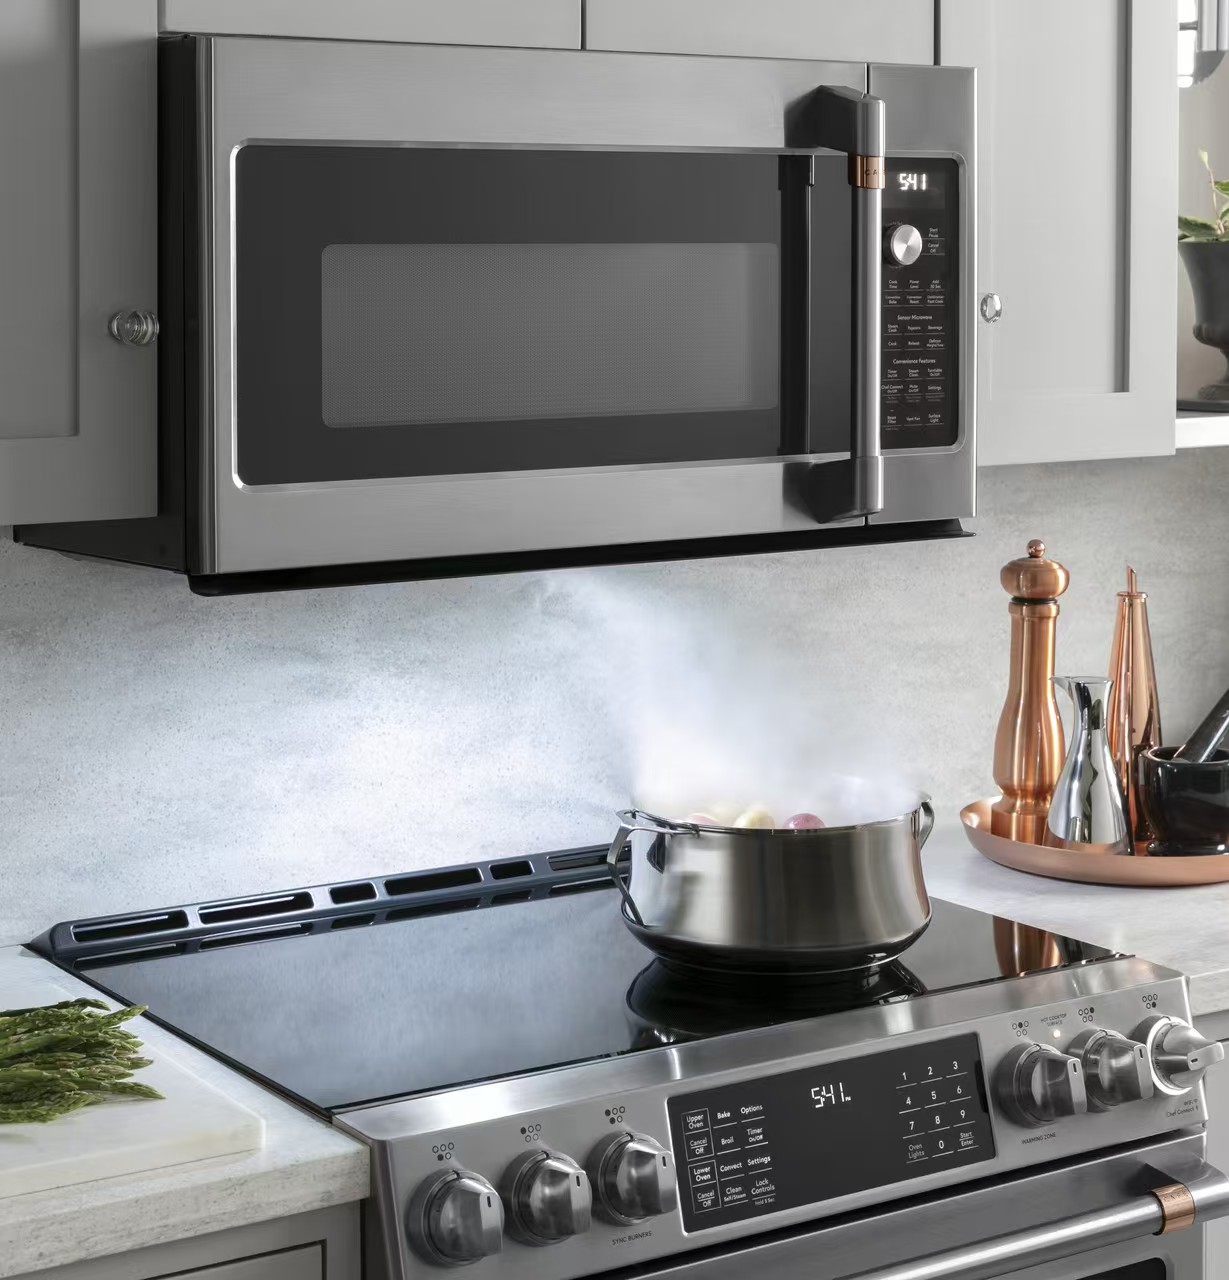
An induction hob pasta pot needs a suitable lower cooking vessel and a draining arrangement designed for that exact pot. The perforated insert or straining lid does not establish whether the base works on induction. Check the pot’s designation and usable bottom against the hob instructions, then verify how its matching draining component is seated, gripped and removed. These are separate checks, and both matter before heating water.
This guide focuses on the draining system rather than repeating general stockpot selection or food-steaming advice. A pasta insert sits within the cooking vessel and supports a different workflow from tipping a pot through a straining lid or using a separate colander. Identify the intended method first. Do not combine parts simply because their nominal diameters look similar or because they belong to the same brand.
Read the product description and supplied instructions together. A set may include a deep perforated pasta insert, a shallow steamer, a straining lid or no draining component at all. Photographs can show several accessories without making the purchased combination clear. Ask which exact parts are included in the selected model and size, and retain that answer with the order.
An insert that looks like a sieve is not automatically a pasta insert. Its depth, seating arrangement and intended relationship to the cooking liquid need to match its purpose. Do not transfer a steamer’s operating method to a pasta insert without documentation. Choose the system for the actual draining task instead of expecting any perforated accessory to perform every kitchen function.
ENERGY STAR guidance on electric cooking products describes induction heating through magnetic interaction with suitable cookware. In a pot-and-insert arrangement, the lower vessel is the part selected and placed according to the hob’s cookware requirements. Verify the exact pot model and its induction designation. A stainless insert above it does not turn an unsuitable lower vessel into a compatible induction pot.
Obtain usable base dimensions, not just the diameter at the upper opening. Our guide to measuring the usable pan base explains the distinction. Compare the measured or documented bottom with the appliance guidance before filling the pot. Keep the manufacturer’s compatibility information because a convenient insert and a generous total capacity do not settle zone recognition, placement or load restrictions.
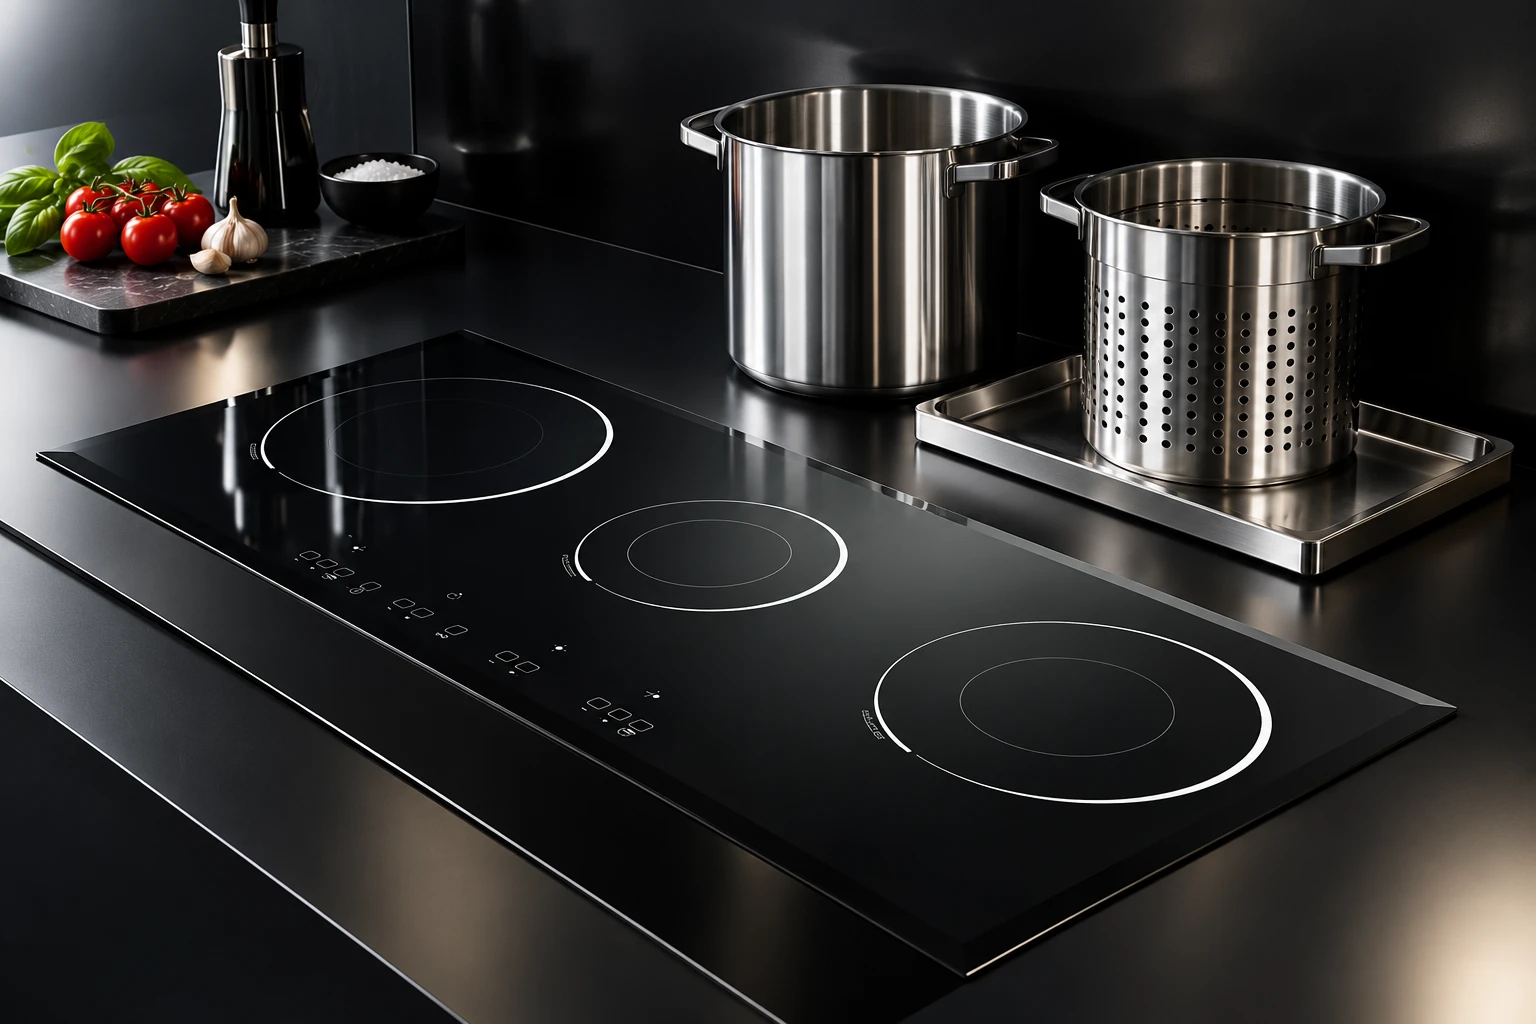
Check the intended insert model, rim seating and depth for the chosen pot. Two parts can share a nominal diameter while having different supporting rims, handles or lower clearances. A poor fit should be resolved with the supplier before heating. Do not bend the rim, remove supports or add makeshift spacers to imitate a matched assembly.
Follow the set’s instructions for water level and food quantity with the insert fitted. The advertised capacity of the empty outer pot is not automatically its permitted working fill for this arrangement. This article provides no universal fill fraction. If the supplied guidance is unclear about the insert, ask for the exact model’s instructions or choose a documented combination rather than testing guessed levels with boiling water.
A purpose-made pasta insert generally makes draining a lift-and-rest task, while a straining lid can involve tilting the complete vessel according to its own instructions. Those methods need different grips and receiving spaces. Determine which one the purchased system permits. Never assume that an ordinary lid can be held against a rim and used as a strainer.
Where the product uses a straining lid, confirm its intended position, any retention method and the required grip before use. Where it uses an insert, confirm how the insert is lifted and where it rests. Do not improvise a halfway position by balancing an unsupported insert on the pot edge. Only use a rest or drainage position that the actual product documentation permits.
The induction principle follows ENERGY STAR guidance on electric cooking products. Accessory fit, fill and handling requirements belong to the exact cookware instructions. This comparison identifies decisions to resolve; it does not authorize a particular hot-water handling method for every pot.
| System | What to verify | Space to rehearse cold |
|---|---|---|
| Deep pasta insert | Matching rim, depth, grips and documented lifting method | Vertical removal and an approved stable resting area |
| Straining lid | Exact lid, retention and permitted pouring grip | Controlled route to the intended receiving point |
| Separate colander | Suitable receiving support and the pot’s pouring guidance | Unobstructed transfer without crossing the hob |
| Steamer accessory | Its stated purpose and relationship to the liquid | Do not assume it replaces the matched pasta insert |
Arrange the cool, empty pot and its intended draining parts on stable surfaces. Check the lifting height under a cabinet or extractor, the user’s approach and the route to the approved resting place. Include the insert handles in the layout. The pot fitting on a cooking position does not prove that the taller insert can be removed comfortably in the actual kitchen.
Our guide to keeping cookware handles clear of controls covers access around the control area. Keep other pan handles and loose items out of the route. A tray shown in an illustration is not universal permission to rest a hot insert there; choose a surface suitable for the actual equipment and follow the maker’s method. Resolve an awkward arrangement while everything is cold rather than finding it during draining.
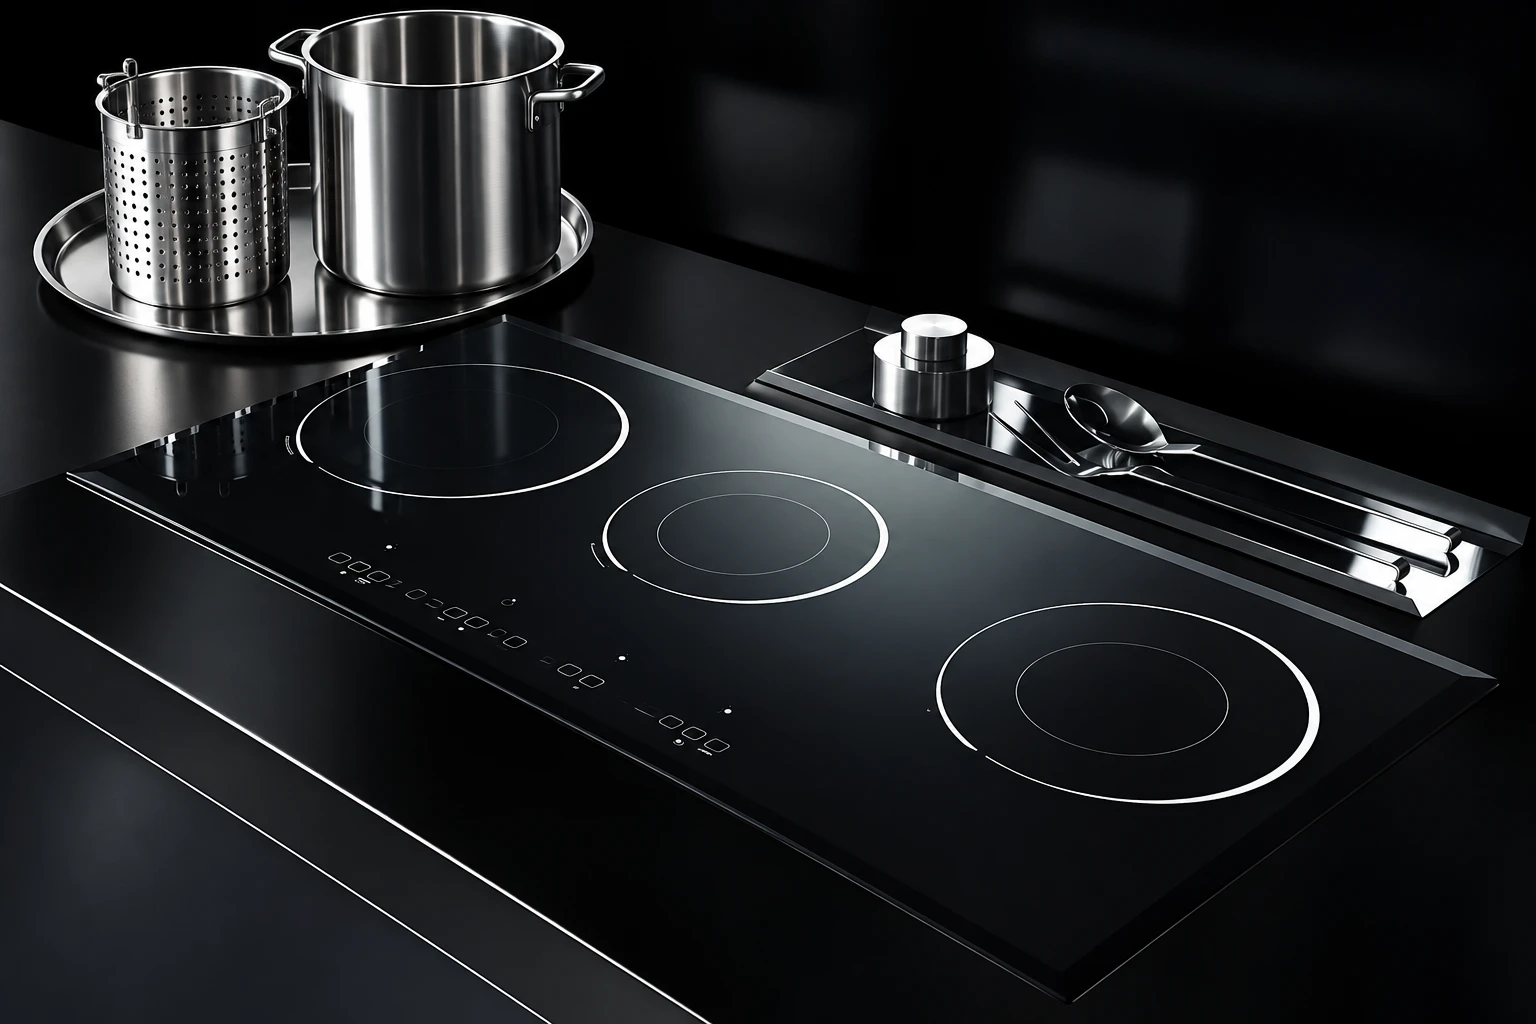
Consider the intended contents together with the weight and shape of the pot and insert. A product may offer generous nominal capacity while the complete task remains difficult for a particular user. Follow the documented fill and loading instructions and select a manageable setup. Do not attempt a hot trial solely to discover whether a fully loaded insert can be lifted.
Describe the real workflow to the supplier when comparing sizes. Explain whether the outer pot stays on the hob, whether the insert is moved to another surface and whether the user must carry the pot afterward. The answers can change the useful choice. A larger set is not automatically better when access, height or the route to the receiving surface is constrained.
Use the actual pot, hob and recipe guidance for the heating sequence and adjustment. This guide supplies no universal boost setting, boiling time or food-cooking prescription. A pasta insert does not establish that a particular appliance setting is appropriate, and the pot’s induction label is not a substitute for the maker’s operating instructions.
U.S. Fire Administration cooking-safety guidance advises attending cooking and keeping combustible materials away from the stovetop. Prepare the receiving area and tools before starting. A timer, lid or insert does not make the task self-supervising. Follow the relevant stopping instructions when an abnormal condition occurs. Keep controls accessible throughout the process instead of leaving the only clear space blocked by a spare lid or packaging.
Read how the maker intends the lid and insert to be handled during and after cooking, including any specified protective equipment. Do not assume an elevated grip stays cool or that a perforated vessel stops releasing hot liquid as soon as it leaves the pot. Keep the user and receiving arrangement within the product’s stated handling method rather than borrowing a demonstration for another design.
Do not reach across another active vessel or carry an insert through a crowded route. If the selected arrangement cannot be managed as instructed, stop and choose a suitable alternative process. Avoid modifying the insert or adding a makeshift suspension hook. The aim is a complete workable method for the actual product, not merely achieving a physical fit inside the outer pot.
Clean each component according to its own instructions. Check perforations and seating rims for retained food without using a tool or chemical that the manufacturer prohibits. An outer pot and an accessory can have different cleaning restrictions even when both look like stainless steel. Dry and store the matched parts so the next user can identify the intended combination.
Inspect a loose handle, distorted rim or damaged attachment before returning the set to use. Cleaning cannot establish that a damaged grip is suitable to lift a loaded insert. Lift the outer pot instead of dragging it across the panel, and use understanding glass surface marks as background for distinguishing residue from concerns requiring service advice. Follow the appliance instructions for the glass surface itself.
Retain the pot model, insert or lid model, size and hob model together with instructions and written supplier clarifications. Recheck compatibility when replacing only one part. Shared kitchens benefit from storing matched pieces together and making the handling method available to users. A loose accessory of similar appearance should not silently become a substitute for a documented component.
Kanger’s Kanger black glass-ceramic cooktop panel and black glass-ceramic material overview provide context for the glass surface beneath this cookware. They do not approve draining accessories, hot-water workflows or individual finished appliances. OEM buyers should define panel and integration requirements within their project, then validate the complete appliance through the responsible process. Keeping these records separate preserves accurate component claims while making the pasta-pot purchase easier to evaluate.
This neutral educational video explains induction heating and cookware geometry. It provides background for the lower pan base, not approval of a saute pan, pasta insert, screen or finished appliance.
Video: Induction cooking – but what about woks?, Technology Connections. Open the educational video on YouTube.
No. Verify the lower pot and its usable base against the hob instructions.
No. Confirm the intended rim seating, depth, grips and exact model combination.
Do not assume so. Check the intended purpose and liquid arrangement in the product instructions.
Rehearse the empty lifting route, clearance, grip access and intended stable receiving arrangement.