An induction hob glass lid is a cookware accessory above the pan, not the magnetic heating base beneath it. Choose the lid by its documented fit with the actual vessel, handle condition and permitted use. Check the pan’s induction suitability independently. A transparent lid can help you observe contents, but visibility does not establish a cooking temperature, a cool knob or permission to use the lid in an oven.
This guide addresses ordinary glass cookware lids, their matching rims and their handling and care requirements. It is separate from the glass-ceramic panel that forms the appliance’s cooking surface. The two components may both be described using the word glass while having different designs, functions and instructions. Neither a visual resemblance nor a shared nominal diameter makes them interchangeable.
ENERGY STAR guidance on electric cooking products explains induction heating through interaction with suitable magnetic cookware. That principle concerns the appropriate pan base. A glass lid is not required to become magnetic for the pan below it to be suitable. Conversely, putting a lid on a vessel does not correct an unsuitable bottom. Obtain the pan’s actual induction designation and compare its base with the hob instructions.
Keep accessory descriptions specific when shopping. A listing headed induction lid might mean a lid sold alongside induction cookware, not a special heating component. Read the actual product purpose and model references. Do not place a loose lid directly on a cooking zone to test whether it works, and do not use it as an adapter between the hob and a pan.
Check the manufacturer or supplier’s fit information for the exact pan and lid. Two parts carrying the same nominal diameter may use different seating profiles. An inner step, outer lip or multi-size design can change where the lid rests. Obtain the intended combination rather than assuming that a ruler measurement establishes the complete fit.
Inspect the cold, empty assembly on a stable surface following the supplied instructions. The lid should be used in its documented seating arrangement, without force or improvised packing. If the edge catches on a pouring lip or accessory handle, seek clarification. Do not grind the rim, bend a metal band or add a gasket to convert an ordinary accessory into a different design.
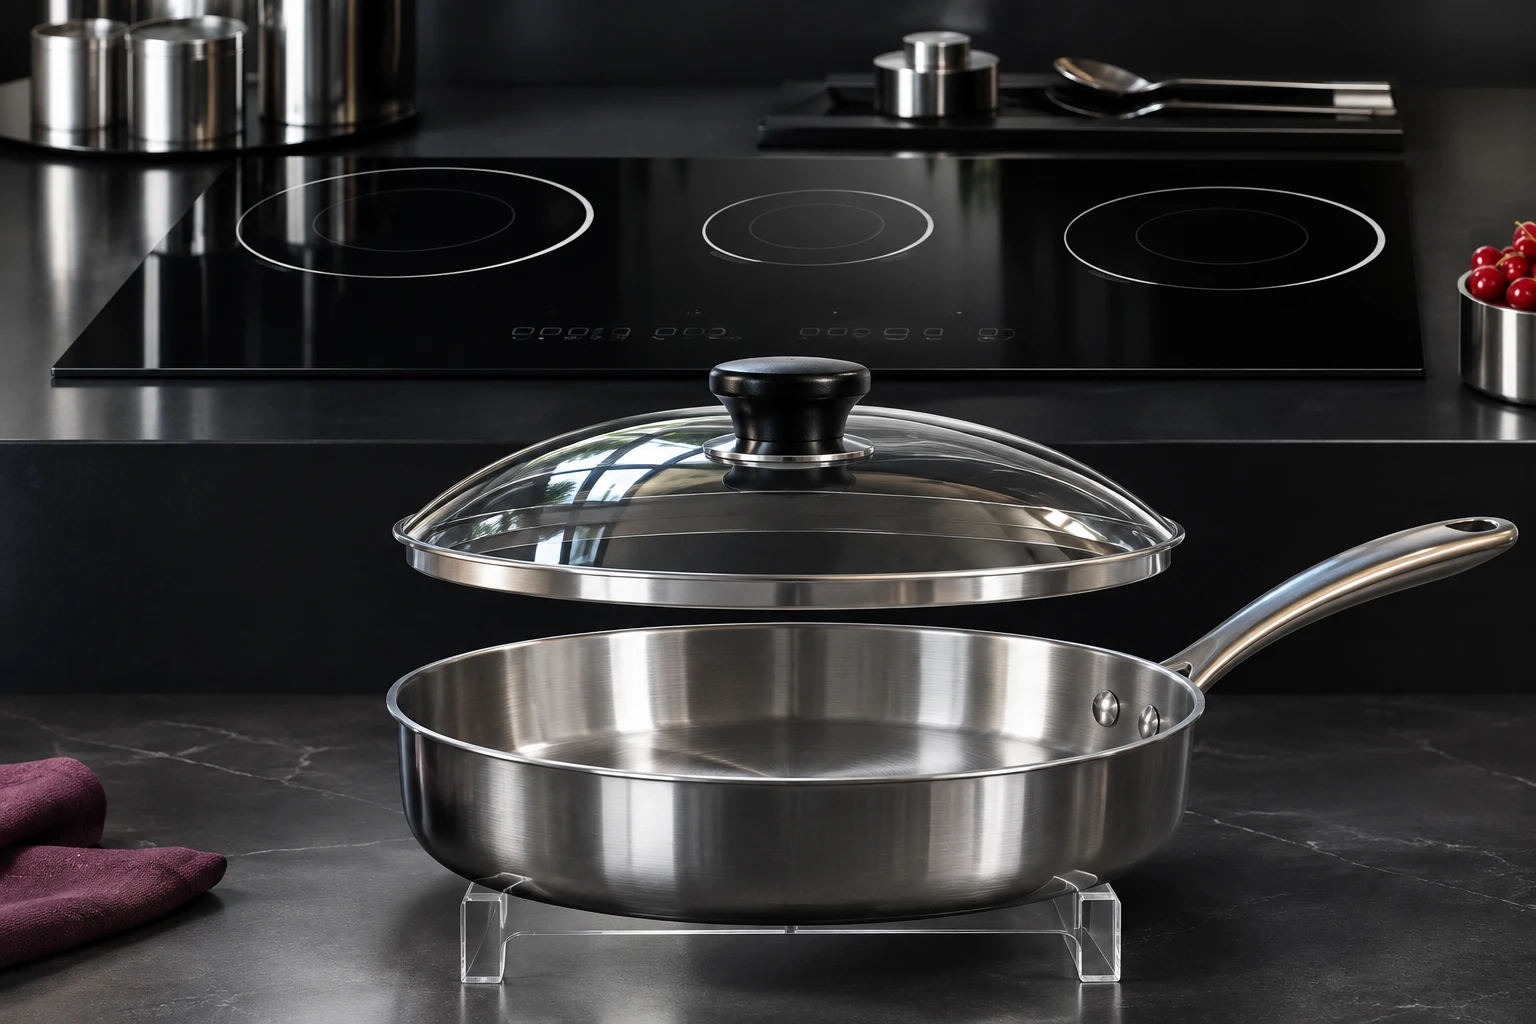
A clear lid offers a view of the vessel interior when condensation and contents permit. It does not replace food-temperature checks, a tested recipe or the equipment instructions. Droplets and fogging can change visibility during use; do not interpret the appearance of the glass as a calibrated indicator. This article gives no doneness, cooking-time or food-safety claim based on what can be seen through a lid.
If the task requires removing the lid for inspection or stirring, plan that step according to the actual directions. Do not improvise by tilting it into an unstable position or suspending it over another vessel. Keep the lid’s purpose distinct from the measuring tools needed for a recipe. A transparent accessory remains an accessory rather than a complete cooking-control system.
Record the knob or handle design and any care or heat-source restrictions supplied with the lid. A metal-looking fitting should not be presumed cool, and a dark knob should not automatically be assumed plastic or oven suitable. Read the actual material and handling guidance. Check the condition of the attachment through the maker’s prescribed inspection method.
A loose knob needs the appropriate support or maintenance process before the lid is used. Do not overtighten, replace screws with unmatched parts or add washers based only on appearance. The fitting interacts with the lid structure and should follow its documented assembly. Keep replacements traceable so a similar-looking accessory does not silently change the permitted use of the whole lid.
The magnetic-heating principle follows ENERGY STAR guidance on electric cooking products; the actual lid’s fit, handling and care requirements come from its own instructions. This table gives qualitative purchasing checks rather than unsupported glass grades, temperatures or thermal-shock limits.
| Question | Evidence to request | Action before use |
|---|---|---|
| Does it match the pan? | Exact vessel references and seating profile | Do not rely on nominal diameter alone |
| What is the grip arrangement? | Knob material, fittings and handling directions | Resolve loose or unidentified parts |
| Is there an intended vent? | Original design and operating instructions | Keep the documented arrangement unobstructed |
| Can it enter an oven? | Permission for glass, rim, knob and fittings | Do not transfer pan-body approval to the lid |
| How should it be cleaned? | Cooling, washing and inspection instructions | Avoid unapproved temperature changes and abrasives |
Some lids include a vent or a particular opening at the rim. Identify the actual design instead of assuming every lid works in the same way. Follow any instructions for orientation and use. Do not block an intended opening, add a weight or hold an ordinary lid down to change the cooking process. A non-pressure cookware lid is not a substitute for pressure equipment.
If a multi-size lid is being considered, read which rim step is intended for the actual vessel and how the maker defines compatibility. A flexible-looking edge does not prove that every diameter in a range is permitted. Keep lid-to-pan fit separate from the question of whether the pan’s bottom suits the hob. Each requires its own evidence and instructions.
With the equipment cold and the appliance off, rehearse the instructed lifting route. Check space above the knob and beside the pan, including clearance from neighboring handles. Our article on keeping cookware handles clear of controls explains the surrounding control and access questions. Avoid an arrangement that requires reaching across another active cooking position or shifting the pan from its permitted base placement.
Identify a stable receiving surface suitable for the lid under its actual instructions. Use a rest designed for the intended purpose where appropriate. Do not assume that every unused zone, control area or glass panel is a suitable landing spot for a hot or wet lid. Plan where condensation will go, and keep the receiving arrangement separate from active cooking positions.
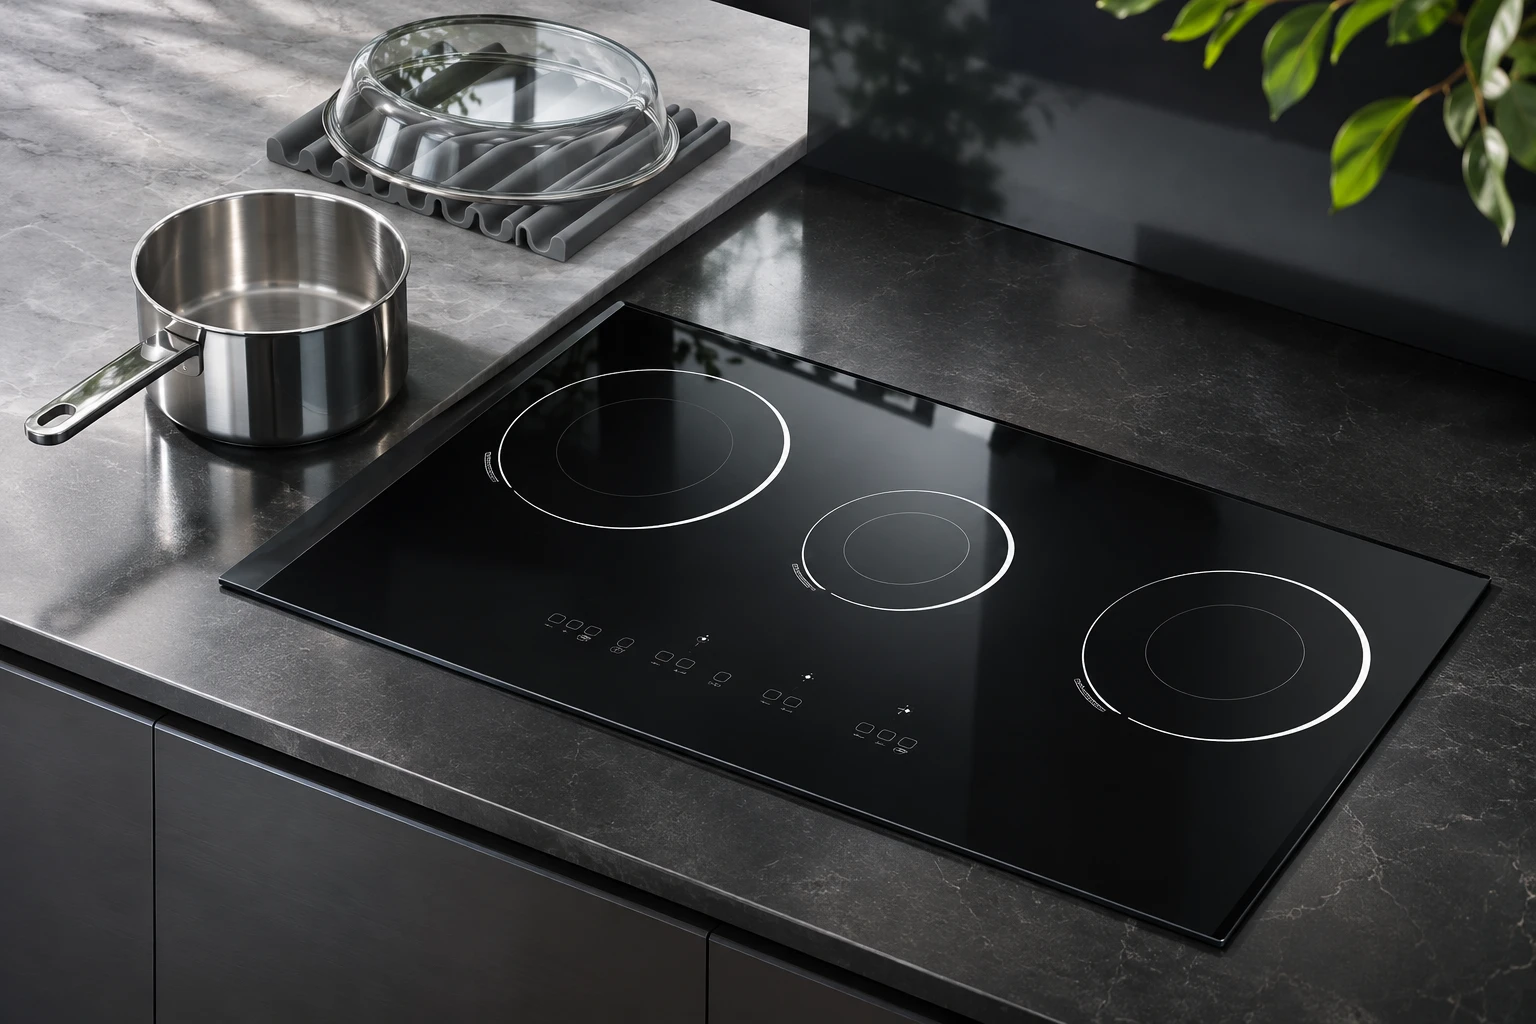
Follow the equipment maker’s directions for opening and handling a lid around steam. Choose the position and grip before beginning, rather than discovering a restricted route when the vessel is hot. This article does not provide a universal opening angle or protection specification. Use the actual directions and appropriate protection for the task, and keep other people out of the handling route.
Condensation can collect on the underside and drip when the lid is moved. Consider that during cold preparation of the receiving area. Do not rely on a decorative countertop stand without checking its intended use and stability. Avoid balancing the lid on a vessel edge or holding it over controls while deciding where it should go. An orderly layout is part of equipment selection, not an afterthought.
A pan body described as oven suitable does not automatically grant the same permission to its lid. Check the glass, rim, knob and fittings as a complete accessory, including any restrictions for the selected use. This guide deliberately supplies no generic oven-temperature limit. Keep written instructions for the actual item and resolve ambiguous listings with the responsible supplier.
Likewise, a lid removed for another heat source should not be assumed suitable for a grill, broiler or direct contact with a cooking zone. Those are separate uses requiring explicit guidance. Do not remove the knob or modify a fitting to extend a claimed heat range. Choose a documented complete combination if the intended recipe requires a different operating environment.
Use the maker’s cooling and washing sequence. Do not prescribe rinsing a hot lid with cold water, placing a chilled lid over a hot vessel or another sudden temperature change unless the actual instructions explicitly cover it. The word glass alone is not a verified thermal-shock rating. A sales description of one material does not supply a limit for every assembled cookware lid.
Use cleaning tools and products permitted for the surface, rim and fittings. Check instructions before using a dishwasher or disassembling a knob. Residue removal does not resolve a crack, chip or loose part. Refer suspected damage to the appropriate support process and keep the lid out of use pending the maker’s guidance, rather than trying a heating test to prove that the damage is harmless.
Lift cookware and accessories rather than dragging them across the panel. Our guide to understanding glass surface marks addresses the separate question of deposits and marks on the hob. Follow appliance-specific cleaning instructions for that surface, and lid-specific instructions for the accessory. A cleaner acceptable for the lid’s metal rim is not automatically suitable for the hob’s printed glass or its controls.
U.S. Fire Administration cooking-safety guidance advises attending cooking and keeping combustible items away from the stovetop. A covered pan still needs the supervision required by its instructions. Do not leave a towel, packaging or a storage protector on the hob while arranging a receiving area. Plan those materials on a separate suitable surface before heating begins.
When buying a replacement, retain the original pan reference, actual seating profile and the complete lid instructions. Record any supplier-confirmed substitute rather than treating visual similarity as approval. Shared kitchens should keep mismatched and damaged accessories from being returned to the same storage location as the intended set. Recheck the combination when any component changes.
Kanger’s Kanger black glass-ceramic cooktop panel and black glass-ceramic material overview concern the glass cooking-surface supply context. They do not identify the material in a separate cookware lid or certify a knob, rim or complete pan assembly. OEM buyers should document glass-panel geometry and integration requirements separately from cookware-accessory validation. Clear component records support useful purchasing decisions without turning a general glass description into an unsupported claim about every finished product.
This independent educational video explains magnetic heating and cookware geometry. It helps distinguish a heating base from accessories above it; it does not approve a particular preserving vessel, poaching rack or glass lid.
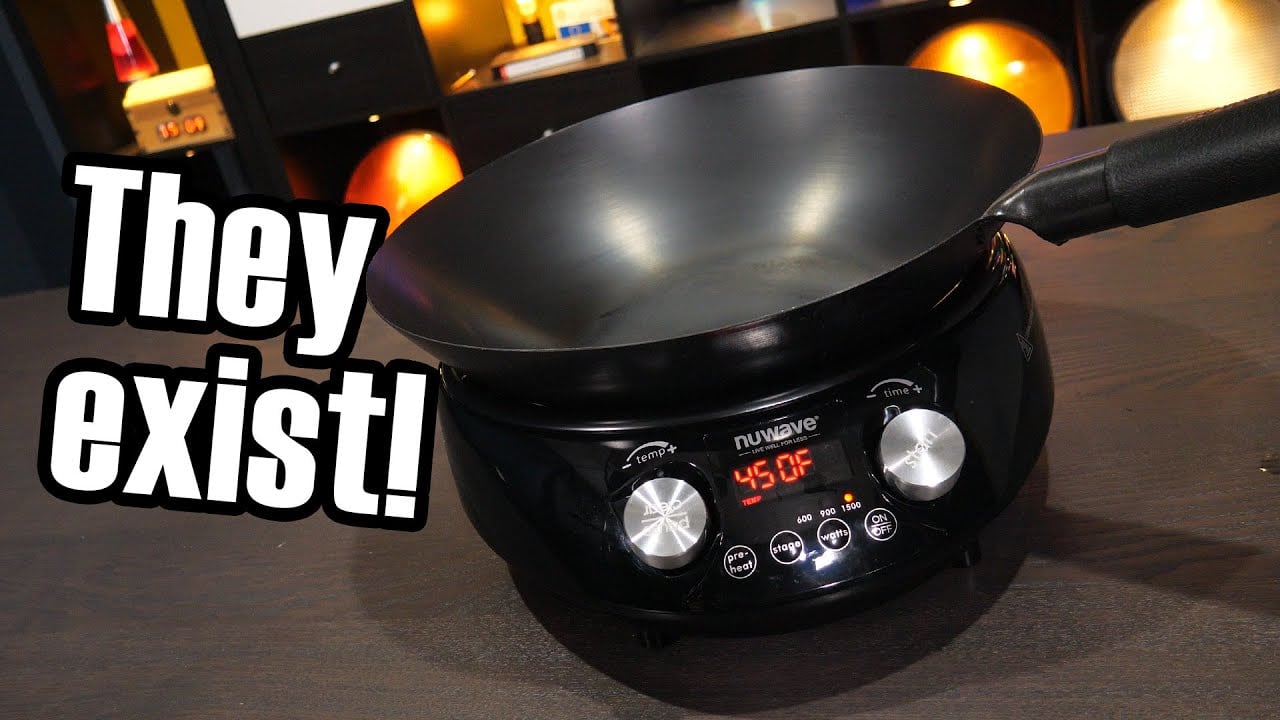
Video: Induction cooking – but what about woks?, Technology Connections. Open the educational video on YouTube.
The relevant heating component is the suitable pan base. Check the pan and hob instructions separately from lid fit.
Do not assume so. Match the actual seating profile and documented vessel references.
No. Check the complete lid, including glass, rim, knob and fittings.
Do not infer that. They are separate components with their own designs, purposes and instructions.