An induction hob pan lid holder should provide a suitable temporary resting place on a separate work surface while you cook. Check its fit with the actual lid, the stability of the complete arrangement and where condensation collects. A heat-resistant accessory label does not authorize placement on an active induction zone, and a metal holder should not be treated as cookware or as part of the hob.
This guide concerns a countertop rest used during cooking. It does not cover cabinet storage racks or whether a lid fits its pan. The aim is to keep a removed lid supported and accessible without placing a new object across the glass surface, blocking the controls or creating an awkward transfer route.
A cupboard rack can hold cool, dry lids for storage without being designed for a recently used lid and its drips. Conversely, a compact countertop rest may support one lid during cooking without being intended to store a stack. Read the exact accessory description and instructions. Similar wire shapes do not establish the same intended load, temperature conditions or cleaning method.
Identify whether the design supports the lid vertically, at an angle or in another documented position. Check the tray and feet as part of the complete product rather than buying an isolated wire frame. A photograph showing a lid balanced on an improvised support does not establish a stable arrangement. Obtain the exact model and settle missing information before introducing it into a hot cooking task.
Measure and identify the lid that will be placed in the holder, including its rim, dome and knob or handle. Two lids with the same advertised diameter can contact a holder differently. Our guide to matching a glass lid to its pan addresses the separate question of matching a lid to its pan. A holder should be assessed after that match is established, not used to justify an unsuitable replacement lid.
With everything cold and dry, place the lid in the accessory’s documented position on the intended stable worktop. Check whether the supported rim remains engaged and whether the grip is accessible without tipping the assembly. Do not deliberately rock or overload it as an improvised strength test. If the fit is uncertain, choose a documented alternative or ask the accessory supplier rather than relying on a precarious balance.
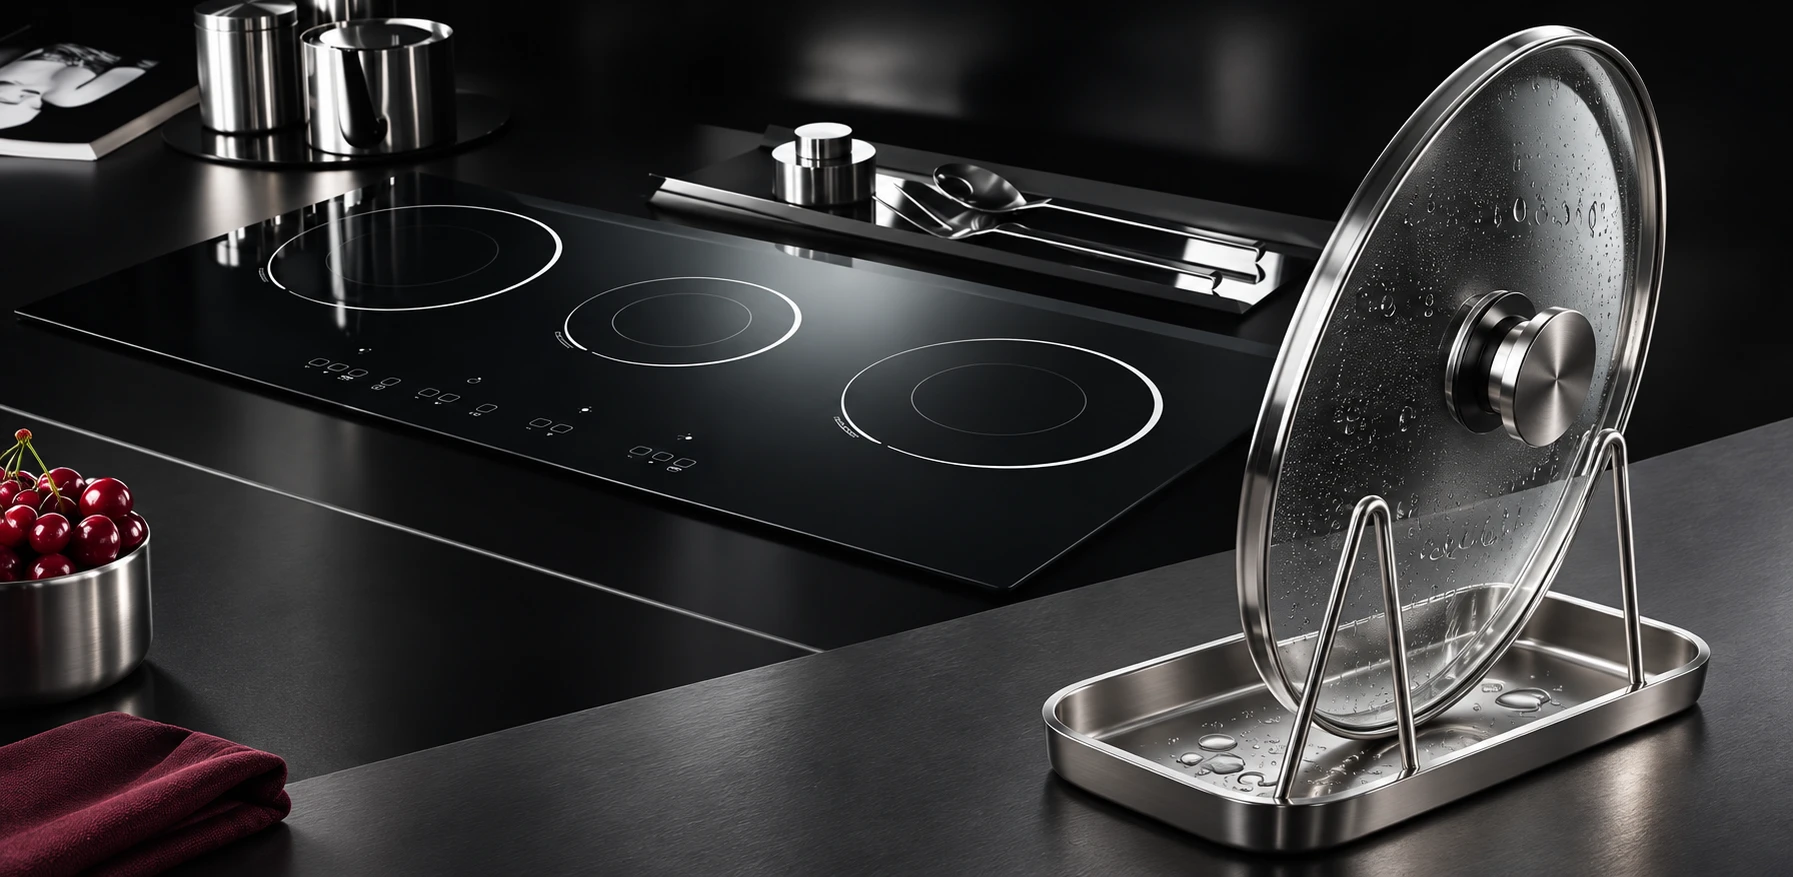
Keep the holder outside the cooking surface and away from the appliance controls, ventilation openings and hot cookware. ENERGY STAR electric-cooking guidance explains induction’s interaction with suitable magnetic cookware; it does not approve every nearby metal object for placement on a hob. An inactive-looking ring is not a designated accessory shelf, and a heat-resistant foot does not turn a rest into a cooking-zone accessory.
Check the worktop’s own care and heat restrictions as well as the holder instructions. The surface must support the complete assembly without an edge, seam or clutter causing instability. Do not position the rest where the lid projects into a walkway or where a child can easily reach a hot handle. Review the arrangement in the actual workspace, not only in a product photograph.
Decide which hand will remove the lid and where the permitted grip will be accessible when it is resting. Rehearse the route with the equipment cold and empty. Our guide to planning cookware-handle clearance explains the wider clearance issues around nearby vessels and controls. A holder that fits the lid can still be poorly placed if using it requires reaching across another active zone.
Leave the receiving position ready before cooking begins. Do not hold a hot lid while moving packaging, clearing a drawer or unfolding an unfamiliar stand. Follow the cookware instructions for lifting and handling, including any required hand protection. A cold rehearsal checks reach and available space; it does not establish that a knob stays cool or that the same grip is suitable when the lid is hot.
The magnetic-heating principle follows ENERGY STAR electric-cooking guidance, while U.S. Fire Administration cooking-safety guidance emphasizes supervision and keeping combustible materials clear of the stovetop. The table organizes accessory checks without inventing universal lid weights, temperature ratings or clearance dimensions.
| Check | Evidence or observation | Decision |
|---|---|---|
| Intended use | Temporary working rest versus cabinet organizer | Choose a product intended for the actual task |
| Lid fit | Rim, dome and handle in documented support position | Resolve poor engagement before hot use |
| Placement | Separate stable worktop and appliance restrictions | Keep glass zones, controls and vents unobstructed |
| Drips | Tray location and permitted cleaning method | Keep collected liquid contained and clean up safely |
| Grip route | Cold rehearsal of removal and return | Avoid reaching across neighboring cooking positions |
A lid can carry water or cooking residue onto the rest. Inspect how the documented support position directs those drips into the tray. A wide-looking base does not guarantee that every lid dome drains into it. Avoid claims that a holder eliminates all condensation or prevents every spill; the actual lid shape, position and task matter.
Keep the tray accessible for cleaning according to its instructions once the equipment can be handled safely. Do not lift a loaded rest over the glass panel to empty it. If liquid reaches the hob, follow the appliance stopping and cleaning procedure. A convenient accessory is not a substitute for responding properly to spills, and wiping around a hot vessel can create an additional handling problem.
Some designs combine a spoon rest and a lid support. Confirm how the actual product is intended to hold both at once. A long utensil can extend into the lid’s removal route, and piled tools can make the tray harder to use. Do not assume that every empty space on the accessory is a designated support point for another object.
Choose tools appropriate to the cookware and keep their handles accessible. A used spoon should not be balanced against a hot lid knob or pushed into the wire frame to stop the lid moving. If the combined accessory cannot accommodate the actual utensils and lid as instructed, use a separate suitable utensil rest. Simplifying the layout is preferable to building an improvised support arrangement during cooking.
Follow the cookware instructions for when and how the lid may be removed. A countertop rest does not authorize opening a pressure cooker, bypassing a lock or handling a lid before its prescribed safe condition is reached. This guide gives no steam-release method or opening sequence. Those requirements belong to the exact vessel and intended task.
For ordinary covered cookware, use the instructed handling method and appropriate protection. Keep faces and hands out of an unsafe approach to escaping steam according to the equipment guidance. Do not choose a holder position that forces another person into the removal route. Plan enough room to follow the actual instructions without twisting over the cooking surface or reaching between neighboring pots.
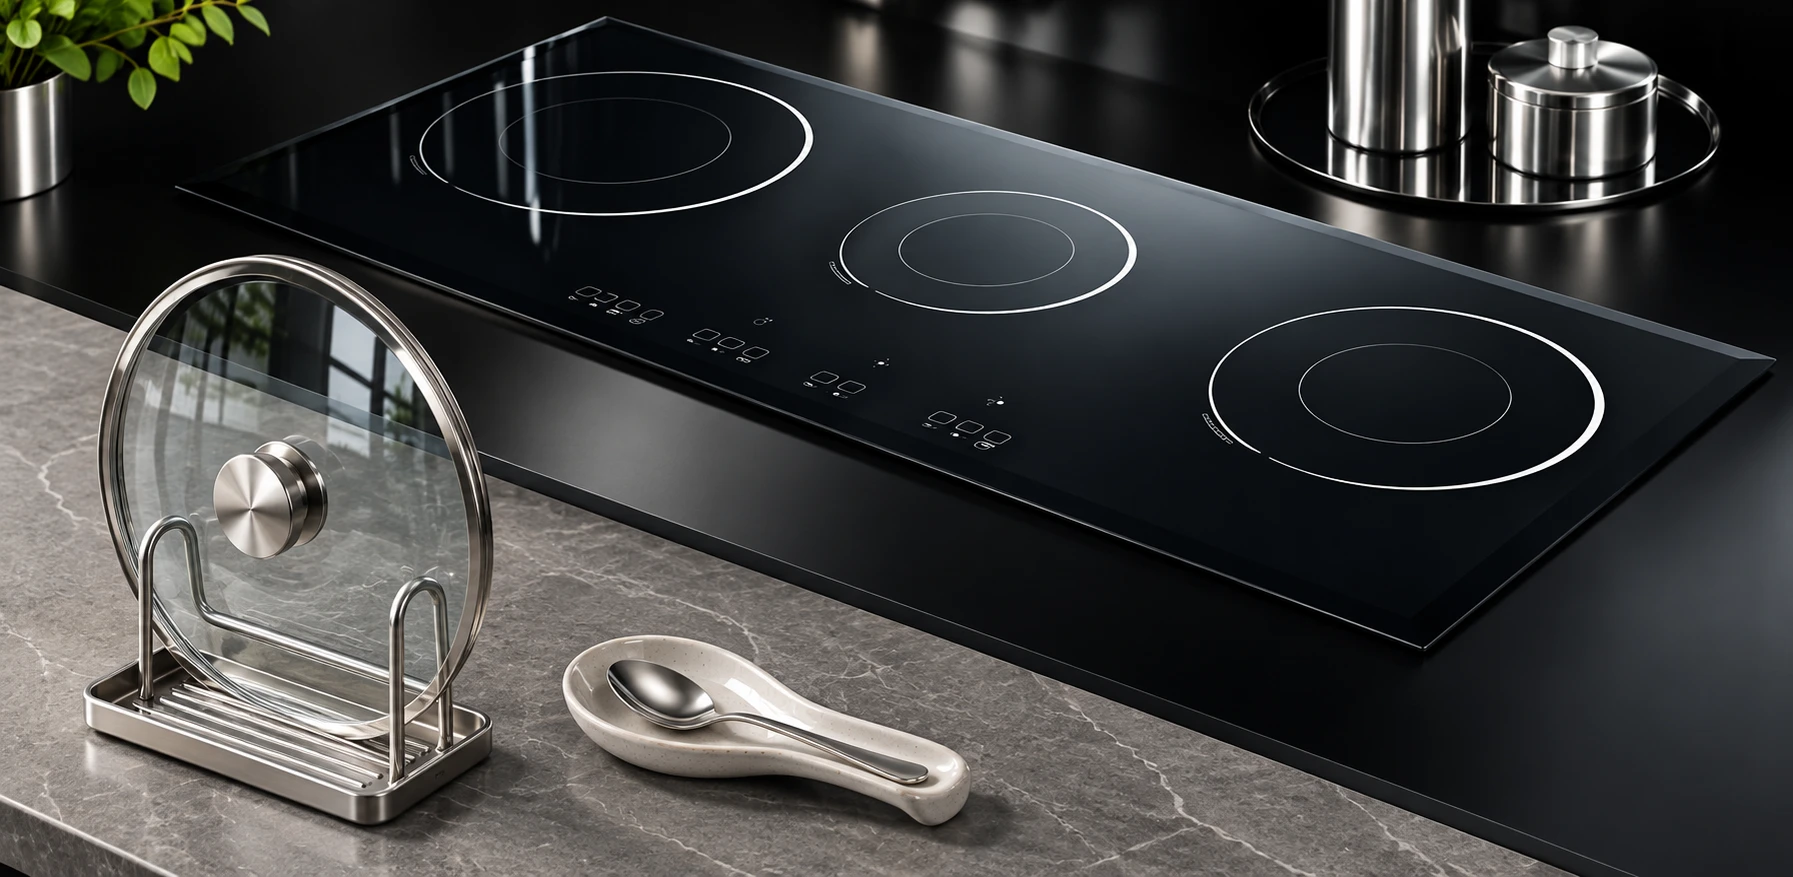
Check whether the complete accessory is suitable for the proposed washing method, including feet, hinges, coatings and tray parts. Stainless-looking metal does not prove dishwasher suitability or authorize abrasive cleaning. Follow the model directions for disassembly and drying. A hinged support should be returned to its documented working position before the next task rather than left partly folded.
Inspect for looseness, bent supports, missing feet or other damage that affects stable placement. Seek the supplier’s service or replacement advice instead of bending the frame to fit another lid or attaching improvised pads. Keep the glass surface care routine separate. Our article on distinguishing marks from glass damage explains why a deposit on the panel and physical glass damage need different responses; cleaning a holder does not assess the condition of the hob.
When worktop space is limited, it can be tempting to rest a lid on an unused zone or leave a metal accessory near the front controls. Reorganize the task before heating instead. Prepare only the equipment needed, provide a separate suitable lid position and keep packaging and towels away from the stovetop as advised by U.S. Fire Administration cooking-safety guidance.
Do not cover controls or vents to create a flat area for the holder. Do not infer from a dark display that residual heat or accidental operation is impossible. Follow the appliance’s actual guidance for nearby objects and surface use. If the available kitchen cannot accommodate the documented arrangement, reconsider the equipment layout rather than treating the glass panel as a general-purpose shelf.
Kanger’s Kanger black glass-ceramic cooktop panel and black glass-ceramic material overview describe the supplied glass cooking-surface context. They do not certify a lid holder, define its loading capacity or approve placing it on the finished appliance. OEM documentation should distinguish the panel component, complete appliance restrictions and accessory instructions.
For a useful selection record, retain the holder model, lid identification, documented support position, separate worktop location and cleaning directions. Recheck the arrangement when the lid, accessory or appliance changes. This makes the temporary-rest decision reproducible while avoiding unsupported promises about universal fit, cool handles, spill prevention or glass protection.
This independent educational video explains induction heating and cookware geometry. It is background for understanding the base of a vessel; it does not demonstrate pressure-cooker operation, enamel repair or approval of an accessory on the glass surface.
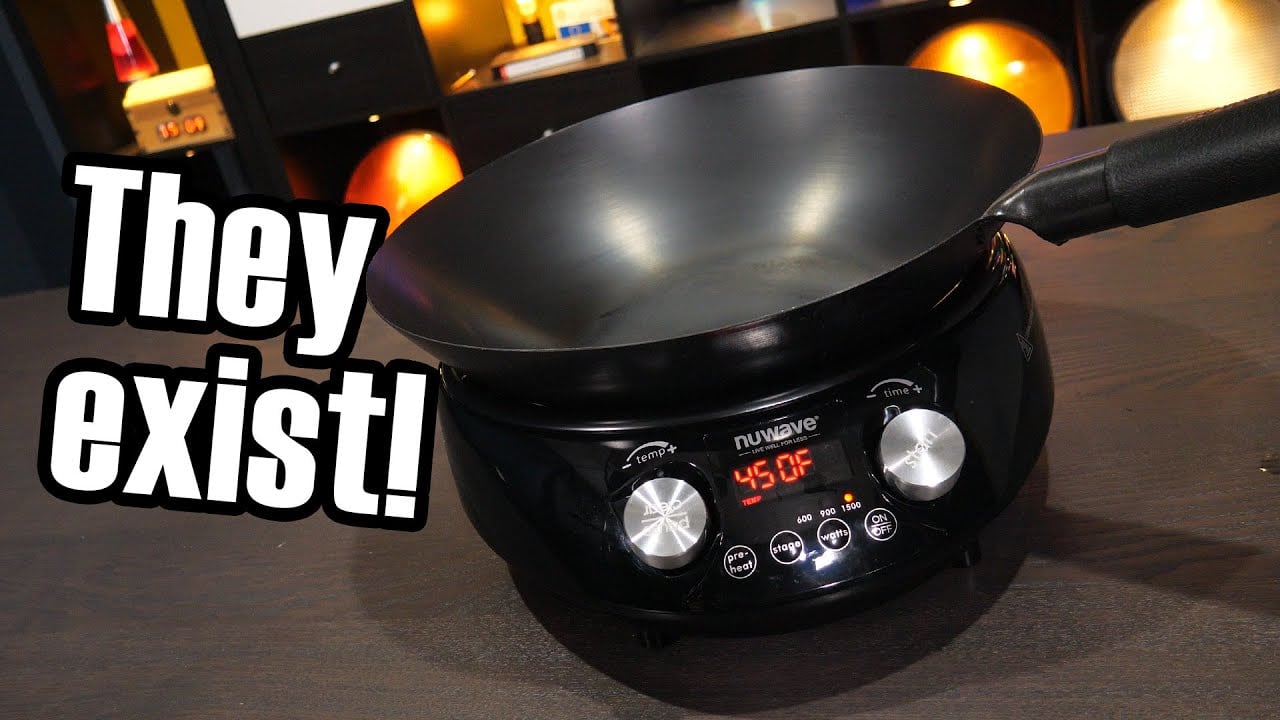
Video: Induction cooking – but what about woks?, Technology Connections. Open the educational video on YouTube.
Use a separate suitable worktop position and follow the appliance restrictions. An unused zone is not automatically an accessory shelf.
No. Check the actual rim, dome and handle in the documented support position.
No. Confirm that the accessory is intended for the temperature and temporary-resting task.
No. Follow the exact pressure cooker’s prescribed opening and pressure-release procedure.