Kanger Glass-ceramic Co., Ltd.
A glass cutting square guides a straight score relative to a reference edge; it does not by itself prove that the resulting blank is square, correctly sized, or suitable for tempering. Choose a guide that fits the sheet, work surface, and cutting method, then verify its reference contact and alignment. For OEM appliance glass, cutting is one stage in producing the finished geometry. The blank still needs the specified edgework, dimensional checks, and treatment sequence. Do not use a cutting square to modify an already tempered panel or treat a good-looking rectangle as a released first article.
Understand what the guide controls
A cutting square can help position and guide a scoring tool, but the final result also depends on the reference edge, guide seating, cutter condition, sheet support, and controlled separation. A guide resting against a damaged or irregular edge can transfer that error into the score. A cutter held differently by two operators can also follow different effective paths even when the same guide is used.
Identify the intended output: a rough blank for later grinding or a dimension closer to the finished part. Allowances should come from the approved process plan rather than an assumed offset. If the panel will receive polished edges, holes, or a complex profile, the cutting guide is not responsible for all of those features. Keep the blank definition distinct from the final drawing so each process has a measurable input and output.
Select a guide for the actual sheet and surface
Consider the guide’s usable length, reference arrangement, contact surfaces, handle position, and compatibility with the scoring tool. A short guide extended by eye across a large sheet is a different setup from a full supported guide. Confirm that the guide can seat without rocking and that its contact does not damage a coating or finished viewing surface. Follow the tool and workplace instructions for safe handling.
The table surface should support the sheet as required by the process. Debris under the glass, a damaged covering, or unsupported overhang can affect the cut and damage the surface. Review the movement path before placing a large sheet. An awkward reach that encourages the operator to lift the guide or change cutter angle can introduce variation even if the guide is nominally accurate.
Verify the reference edge before relying on it
Inspect the edge used to locate the square. Determine whether it is a controlled reference, a stock edge, or an edge produced in an earlier operation. Check for chips, irregularity, and a condition that prevents repeatable seating. If the process requires a prepared reference edge, make and verify that edge first. Do not assume every sheet supplied to the table already has a reliable datum.
Name the datum in the process instruction and keep orientation visible on the traveler or drawing. This matters when printed faces, coatings, or asymmetric features are involved. A correctly sized blank can still be wrong if its coated face or later artwork is reversed. The inspector should know which edge and face define the part orientation without making a judgment from the product photograph.
Check guide alignment using a repeatable method
Use an appropriate reference or measurement method to verify the guide before production and after events that could change its condition. The check should evaluate the actual locating surfaces, not merely the manufacturer’s label on the tool. If wear, a dropped guide, or a changed contact piece can affect alignment, include those events in the reaction plan. Record the guide identity when traceability is needed.
A reversal or comparison check can be useful when the setup and reference support it, but the method should be defined and understood. Measurement uncertainty and repeatability matter when evaluating a small angular difference. NIST’s general guidance helps explain why a displayed number is not the whole measurement result. The drawing and process plan, rather than a generic guide description, should set the acceptance requirement.

Coordinate the score and separation process
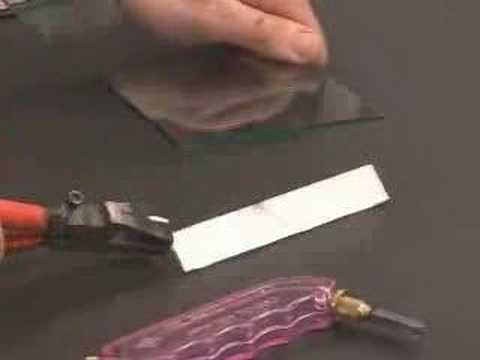
Scoring and separation form a process pair. The scoring wheel, approved lubricant where used, contact pressure, tool angle, and sheet condition can affect the score. Separation also depends on support and the intended method. A straight guide cannot compensate for an inconsistent scoring system or an uncontrolled break. Use the glass and tool supplier’s approved process instructions rather than experimenting on a finished appliance panel.
Record the setup used for the first article, including the reference edge, guide, cutter, sheet orientation, and downstream allowance. Observe the separated edge for departures from the intended line or damage that affects later finishing. When the result is inconsistent, investigate the stage where the variation appears. Changing guide alignment to compensate for a scoring problem can create a second error instead of resolving the first.
Inspect the blank rather than only the tool
Measure the produced blank at the points defined by the drawing or process plan. Check length, width, relevant diagonals, edge condition, and the relationship to the reference datum. Equal diagonals can be a useful observation in a rectangular inspection, but they should not replace all size and shape requirements. A blank can have a dimensional problem even when one comparison looks acceptable.
Use a fixture or measurement arrangement that supports the blank without forcing it into the desired shape. Identify the measurement condition and keep units consistent. If dimensions are checked before edge grinding, compare them with the blank requirement. After grinding, compare the finished part with the final drawing. Mixing the two stages can produce false rejects or allow a part without sufficient finishing allowance to continue.
Cutting-square and blank checklist
| Control | Setup question | Output check |
|---|---|---|
| Reference edge | Is the locating edge defined and suitable for repeatable contact? | Blank orientation and datum relationship are identifiable |
| Guide contact | Does the guide seat without rocking or damaging the surface? | No contact marks or unexplained score offset |
| Guide length and reach | Can the score be completed with the intended supported setup? | No change in direction caused by repositioning or awkward reach |
| Scoring system | Are cutter, wheel, lubricant, and method approved for the substrate? | Score and separated edge follow the intended process behavior |
| Blank allowance | Is downstream grinding or profiling included in the plan? | The blank supplies the required finished geometry without guessed offsets |
| Dimensional inspection | Are locations, instruments, units, and conditions defined? | Length, width, diagonals where relevant, and edge condition meet the stage requirement |
| Treatment sequence | Are all required cutting and machining steps resolved before tempering? | Finished-part fabrication follows the approved process route |
These are qualitative process controls. The table does not prescribe a scoring force, cutting speed, diagonal tolerance, or universal finishing allowance.
Keep tempering outside the adjustment loop
For conventional thermal-tempered flat glass, resolve cutting, holes, notches, and edge treatment before heat treatment. NGA’s fabrication guidance explains why post-treatment modification can weaken or break the pane. A cutting square is a guide for a suitable untreated cutting stage, not a way to resize a delivered tempered panel. When the final size is wrong, determine whether the correct part needs to be remade.
Verify the finished pane after the full process as well. The production component must meet its final dimensional, optical, and functional requirements. A successful blank inspection does not release every later stage automatically. Keep the pre-treatment result and finished-part result linked so a dimensional issue can be traced to cutting, grinding, treatment, or the measurement method instead of being assigned vaguely to “the glass.”
Troubleshoot a repeated out-of-square result
Suppose blanks repeatedly show a dimensional difference relative to the same datum. First confirm that the measurement method is stable and that the requirement belongs to the stage being checked. Then compare the reference edge, guide seating, tool alignment, scoring path, separation, and subsequent grinding. Use an identified sequence of checks rather than changing several settings at once.
If the error appears before grinding, inspect the cutting setup. If a satisfactory blank becomes incorrect after finishing, review that operation and its reference system. Retain representative samples or measurements from both stages. This is an investigation example, not a claim about Kanger’s equipment or yields. Its value is in isolating the process boundary where the geometry first departs from the requirement.
Prepare the supplier handoff for appliance panels
Send the finished drawing, material, treatment, surface orientation, edge finish, and assembly reference. Ask the processor to define any blank allowances and confirm how the final part will be inspected. An OEM buying glass should specify the required output and evidence rather than naming a manual cutting square as proof of capability. Different controlled fabrication routes may produce the same approved geometry.
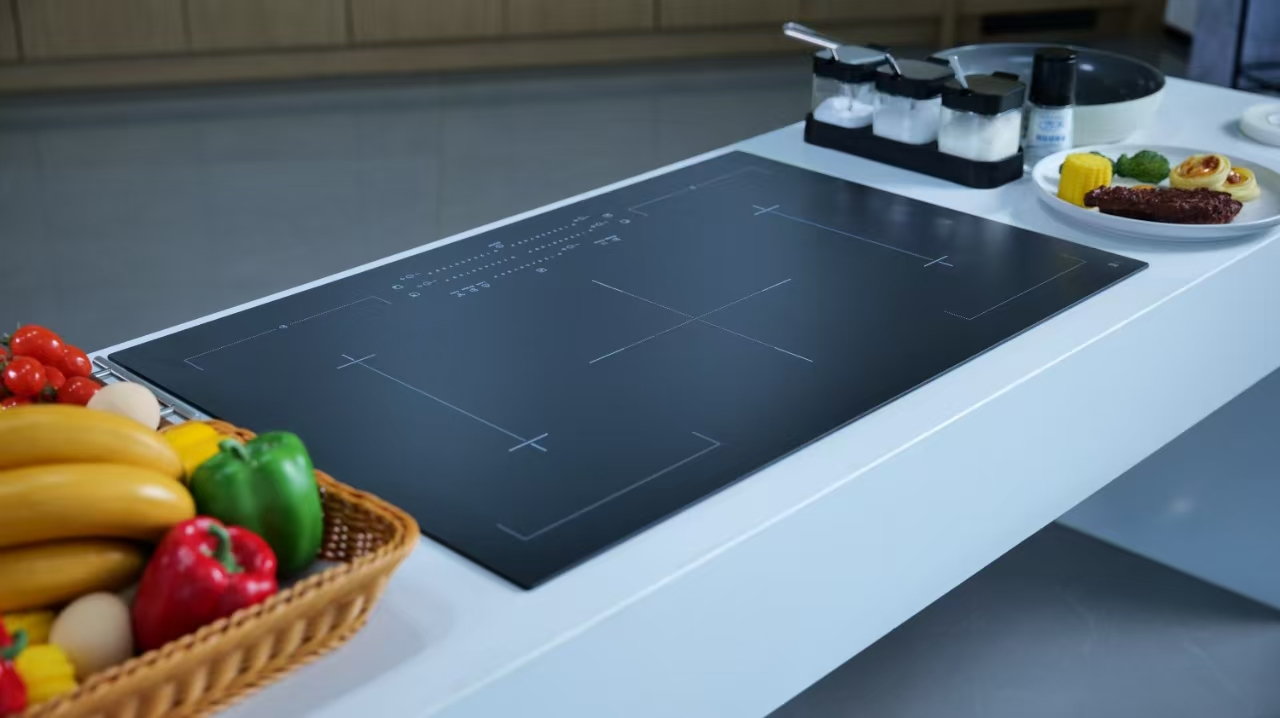
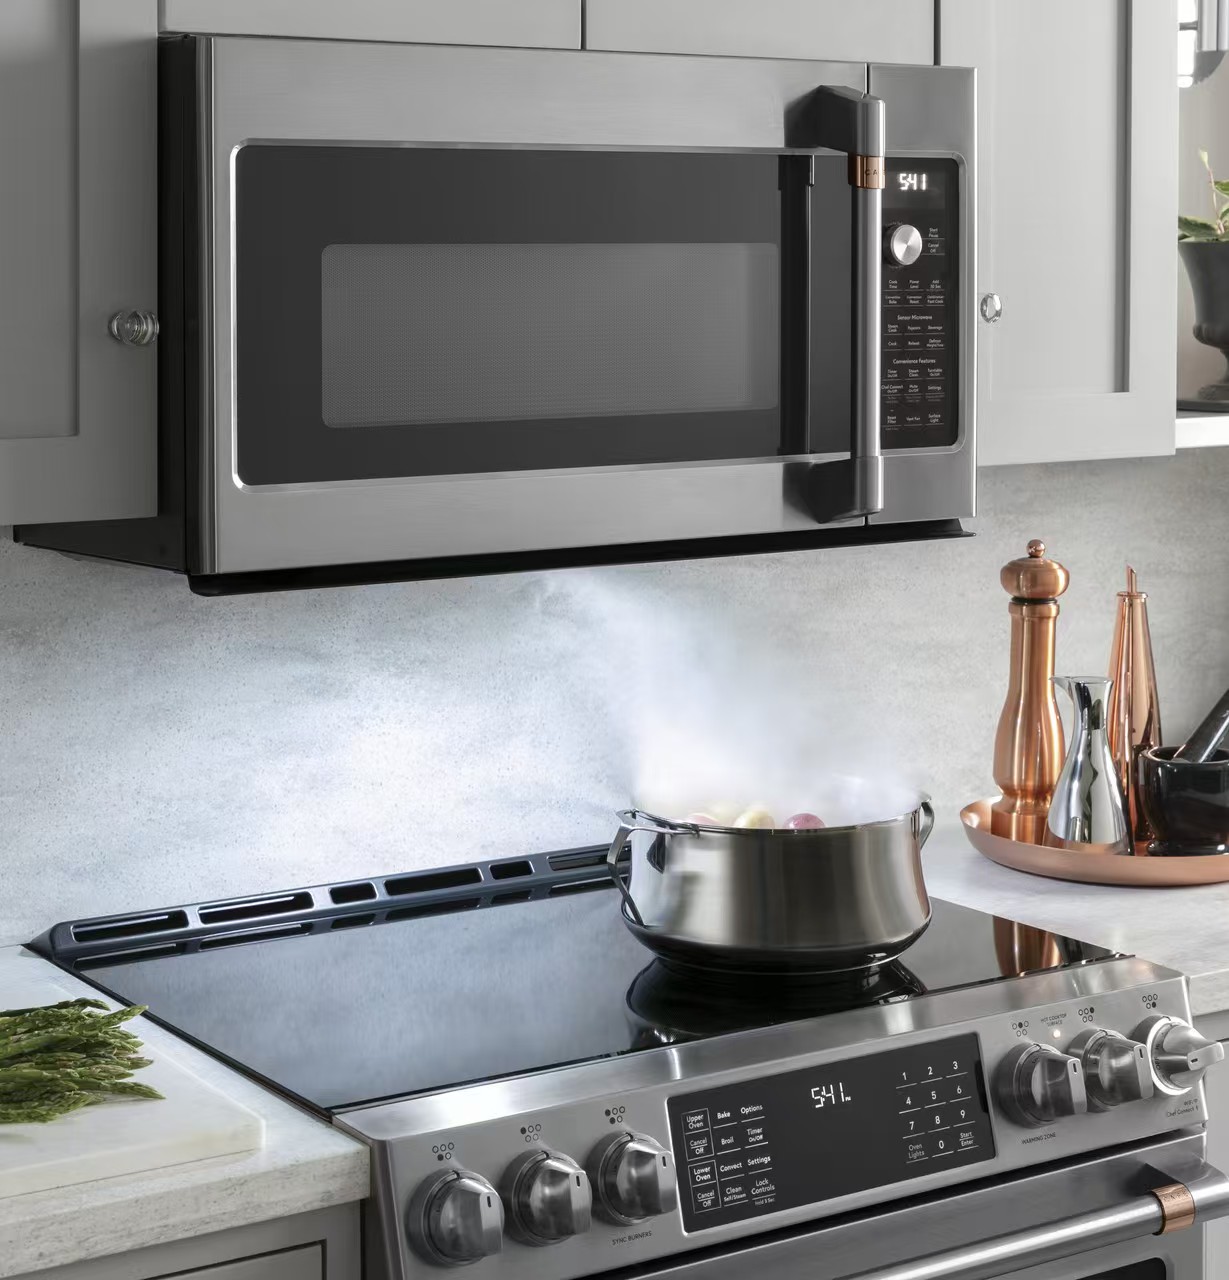
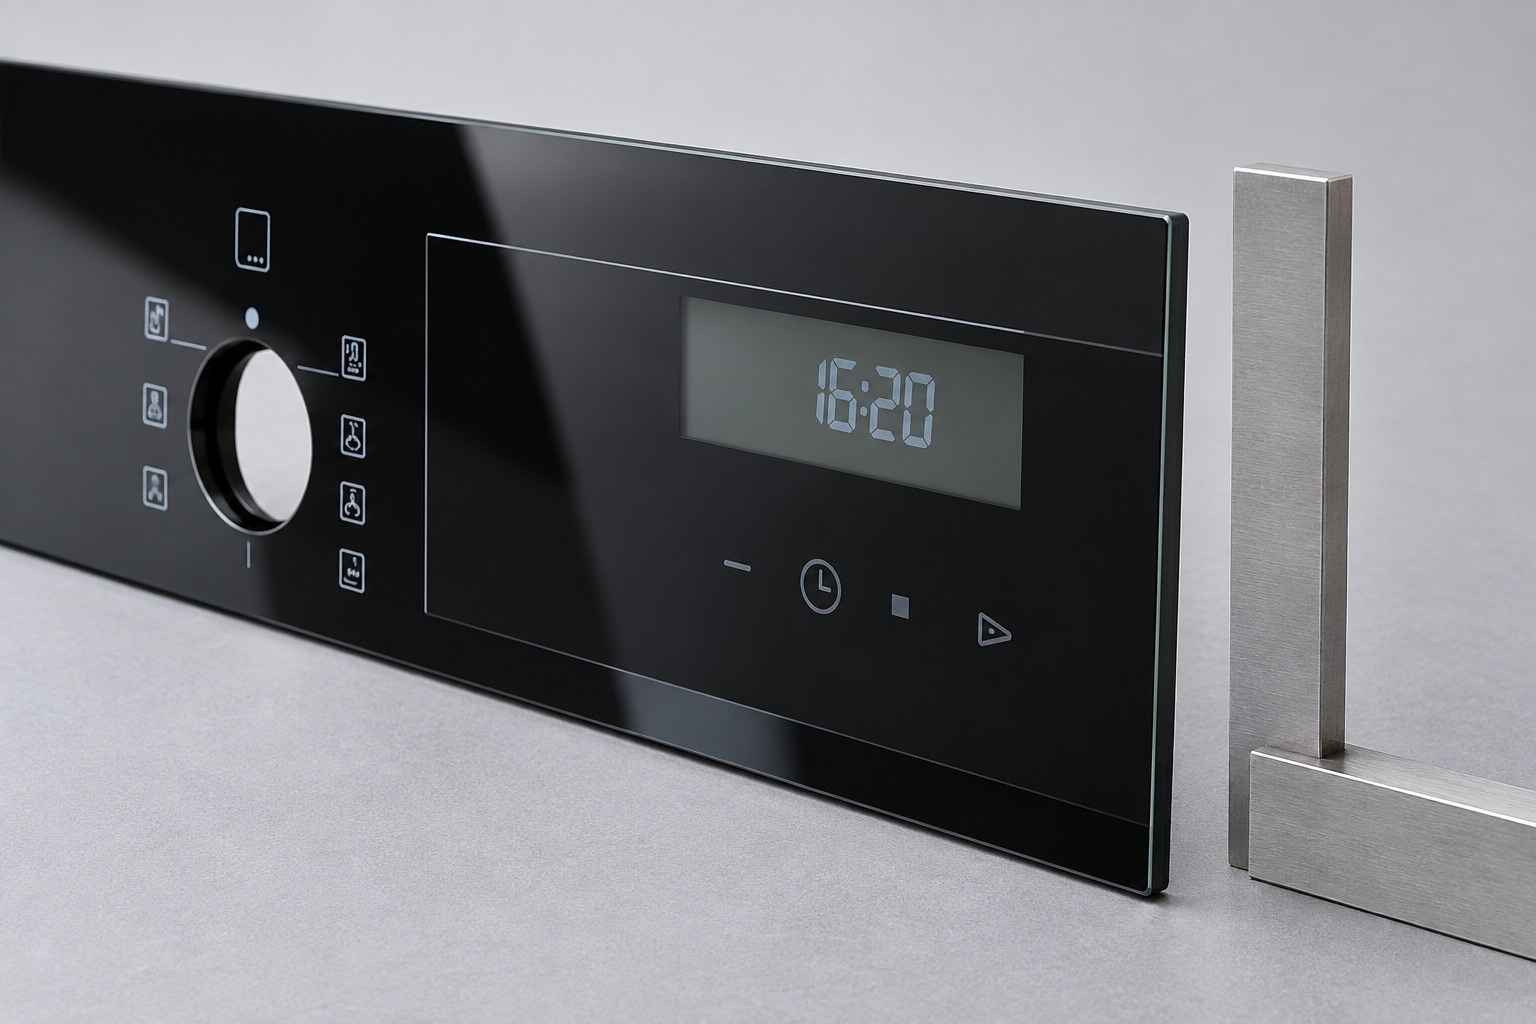
Kanger’s appliance-control glass provides a relevant finished-component context. Confirm the actual requested geometry, tolerances, finishing, and process feasibility in the supplier’s response. If the design changes, update the drawing and first-article plan rather than modifying an old guide setup informally. Clear stage definitions help the buyer and processor discuss a dimensional concern using the same reference and the same acceptance requirement.
Frequently asked questions
Does a cutting square guarantee a square glass blank?
No. The locating edge, guide seating, scoring method, separation, and downstream finishing also affect the result. Inspect the produced blank against the stage requirements.
Are equal diagonals enough to accept a rectangle?
They can be a useful check, but size, datum relationships, and edge condition still matter. Use the complete inspection requirement rather than a single comparison.
Can a cutting square resize tempered glass?
Do not plan ordinary scoring and resizing of conventional tempered panes. Required fabrication should be completed before thermal treatment; an incorrect finished part may need replacement.
Should the OEM prescribe a manual guide or the finished output?
Usually the buyer should define the finished geometry, material, features, and inspection evidence. The processor can propose a controlled route, which the buyer reviews against those requirements.
Related appliance-glass resources
- Thermal Shock Resisitance Tempared Glass For Household Appliances Panel Product
- Tempered Glass Appliance Panels: OEM Specification Guide
- Can Tempered Glass Be Cut? Limits, Risks, and Safer Alternatives
- How to Set Mounting Clearances for Appliance Control Panel Glass Under Thermal Expansion
Sources and further reading
- NGA — fabrication before heat treatment
- NIST — measurement uncertainty
- GGF Glazing Manual — architectural-glass context, not an appliance specification
Educational video: Cutting Glass
A museum demonstration of glass cutting introduces scoring and controlled separation. It is educational context, not a machine operating procedure.