A replacement cookware lid knob must match the actual lid, fixing arrangement and permitted use. A screw that seems to engage is not enough evidence of compatibility. Identify the cookware model and lid version, obtain the manufacturer's approved replacement information, and confirm the restrictions for the complete lid assembly before fitting anything. Do not drill glass, stack improvised washers, force a mismatched screw or assume a metal knob raises the lid's oven limit. For induction cooking, the knob is a handling component; it does not make the pan induction-compatible. This guide focuses on identification and approval before a lid returns to service.
A lid can have been swapped during years of use. Begin with the cookware's brand, collection, size and model, then confirm whether the lid belongs to it. Photographs of the complete lid, underside fixing area and existing knob can help the manufacturer identify the parts. Keep the original paperwork or order reference where available. A nominal pan diameter alone does not identify a particular knob or screw.
The underlying pan and appliance relationship is discussed in stainless-steel cookware base guidance. That heating question remains separate from whether a person can lift a lid reliably. Keep a lid with a loose or damaged grip out of use while identification is unresolved. Do not keep using it on the assumption that the contents will remain at a low temperature, or grip the exposed screw with a cloth as a routine substitute for an approved knob.
Request the approved knob part number and whatever screw, washer, gasket or other fitting the manufacturer specifies for that lid. Do not assume every lid uses the same parts. A seller's photograph of a black knob may conceal an entirely different thread or contact shape. Ask whether the replacement includes the fixing and whether any original part must be retained.
When documenting the existing arrangement, avoid dismantling a stuck or damaged fitting unless the manufacturer instructs you to do so. A seized screw or spinning insert is a service problem, not a reason to apply greater force around glass. Retain loose original parts in a labeled container away from the cooking area. If a part is missing, report that fact rather than silently replacing it with hardware from a drawer.
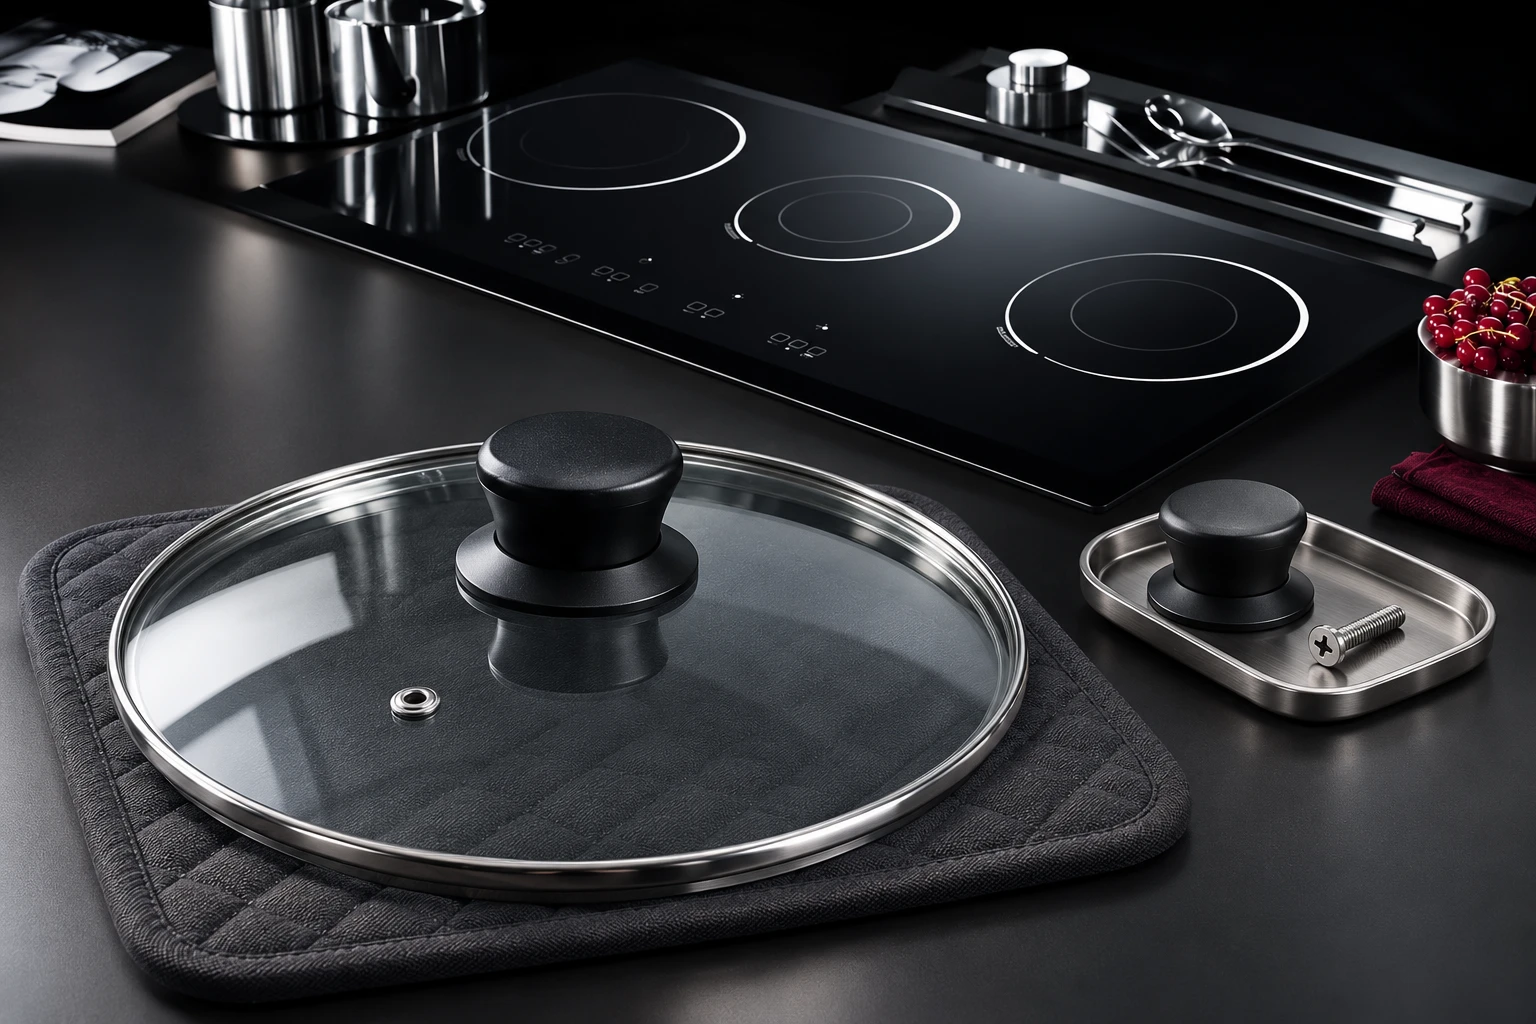
A polished metal knob and a black molded knob can have different handling and use instructions. Appearance alone cannot establish their material, heat rating or compatibility. Manufacturer instructions sometimes distinguish cookware ranges and lid materials as well as knob types. Read the rule for the identified assembly, including any restrictions on oven or grill use, instead of borrowing the highest number printed for another accessory.
The Le Creuset care information and its identified replacement-knob page illustrate why a precise product match matters. A replacement accessory described for particular cast-iron casseroles is not automatically approved for an unrelated glass lid. This guide gives no transferable temperature rating. If a supplier proposes an alternative, obtain the written compatibility and use conditions for your lid before purchase. Keep those conditions with the cookware instructions.
Inspect the cold lid under good light without pressing on questionable areas. Report cracks, chips near the fixing, distorted fittings or other damage to the manufacturer. A new knob does not repair the lid substrate. Do not enlarge a hole, grind an edge or drill tempered glass to accept a different screw. The right next action may be replacement of the complete lid rather than an accessory change.
Check whether the lid seats properly on its intended pan without rocking or being forced. That observation does not certify safety, but it can reveal that the wrong lid has entered the set. Photograph a mismatch for support rather than trying to alter the rim. Keep damaged components out of the shared storage drawer so another user cannot unintentionally put them back into service.
| Check | Evidence to obtain | Action if missing |
|---|---|---|
| Lid identity | Model, version and original lid match | Ask manufacturer with photos |
| Accessory | Approved part number and application | Do not rely on appearance |
| Fixing | Required screw and associated parts | Do not improvise a hardware stack |
| Lid condition | No unresolved damage at fixing | Request service assessment |
| Installation | Current fitting sequence and checks | Stop if parts do not seat |
| Permitted use | Restrictions for complete assembly | Do not transfer another rating |
This qualitative decision checklist uses the identified manufacturer and government sources below. It does not introduce universal operating limits or measured performance.
Use the manufacturer's fitting sequence and specified parts. Work with a cold, dry lid on a suitable supported surface and use only the tools described in the instructions. Do not invent a torque value or tighten harder because the knob looks slightly different from the previous one. If the parts do not engage or seat as the directions describe, stop and check the identity before proceeding.
An approved part can still be installed incorrectly. Watch for a screw that reaches a stop while the knob remains loose, a fitting that tilts, or an assembly that does not match the supplied illustration. Describe those observations to support. Avoid adhesives, thread compounds or spacers unless specifically instructed for that exact assembly; a generic repair suggestion is not evidence of food-contact, heat or structural suitability.
After a documented installation, carry out the checks in the manufacturer's directions before heating. A cold handling check should establish the intended grip and movement, without lifting the lid over a person or a fragile surface. If there is looseness, unexpected movement or uncertainty about the fitting, resolve it before use. Do not regard a single successful lift as proof of long-term approval.
Plan a safe place for the removed lid. Keep it away from the glass control area, counter edges and other objects that could tip it. Our dry oven glove grip preparation guidance discusses preparing dry heat protection and a clear landing area. A replacement knob's shape can change how a hand approaches the lid, so reconsider the route rather than relying on muscle memory from the previous grip. Follow the cookware instructions for steam and hot surfaces.
Induction heats compatible cookware, and the cookware and contents can heat other parts. A lack of flame does not mean a lid knob is safe to touch barehanded. Use the protection and handling method specified for the cookware. Avoid testing a hot knob with a fingertip or assuming a particular finish always remains cool.
The educational induction video below is background on heating and cookware interaction. It does not supply a knob temperature rating or a replacement installation procedure. U.S. Fire Administration guidance on keeping cooking areas clear also supports preparation of an unobstructed workspace. Keep loose packaging, tools and documentation away from the active hob when the approved cookware is returned to service. Finish the repair task before starting the meal.
Check whether the replacement changes the applicable cleaning directions for the lid. A decorative finish or different component may have its own restrictions. Do not assume a dishwasher statement for the pan body automatically covers every fitted accessory. If written instructions are unclear, ask before the next cleaning cycle rather than discovering damage after repeated washing.
Our cookware drying-rack preparation article addresses preparing cookware drying and storage space. For the lid, avoid hard contact with neighboring cookware and keep it supported as its manufacturer advises. Record any later loosening or visible change, and follow the specified maintenance or service process. Do not repeatedly tighten an assembly that has begun to move without investigating why. A recurring problem deserves a model-specific answer rather than a progressively tighter screw.
Send the product identity, lid photographs, original part details, observed problem and intended uses. State whether the lid will be used only on the hob or also in an oven, without assuming either is permitted. Ask for the exact replacement, required fixing parts, fitting guide and final assembly restrictions. Keep the response with the invoice and product instructions.
A procurement team should record the approved substitute as a controlled item rather than simply noting universal knob. Different lid sizes or product generations may require different answers. Keep unconfirmed alternatives separate from approved stock. If the original model cannot be identified, ask whether a complete identified replacement lid is available instead of treating a similar-looking accessory as sufficient. This reduces repeated uncertainty when another staff member needs a part later.
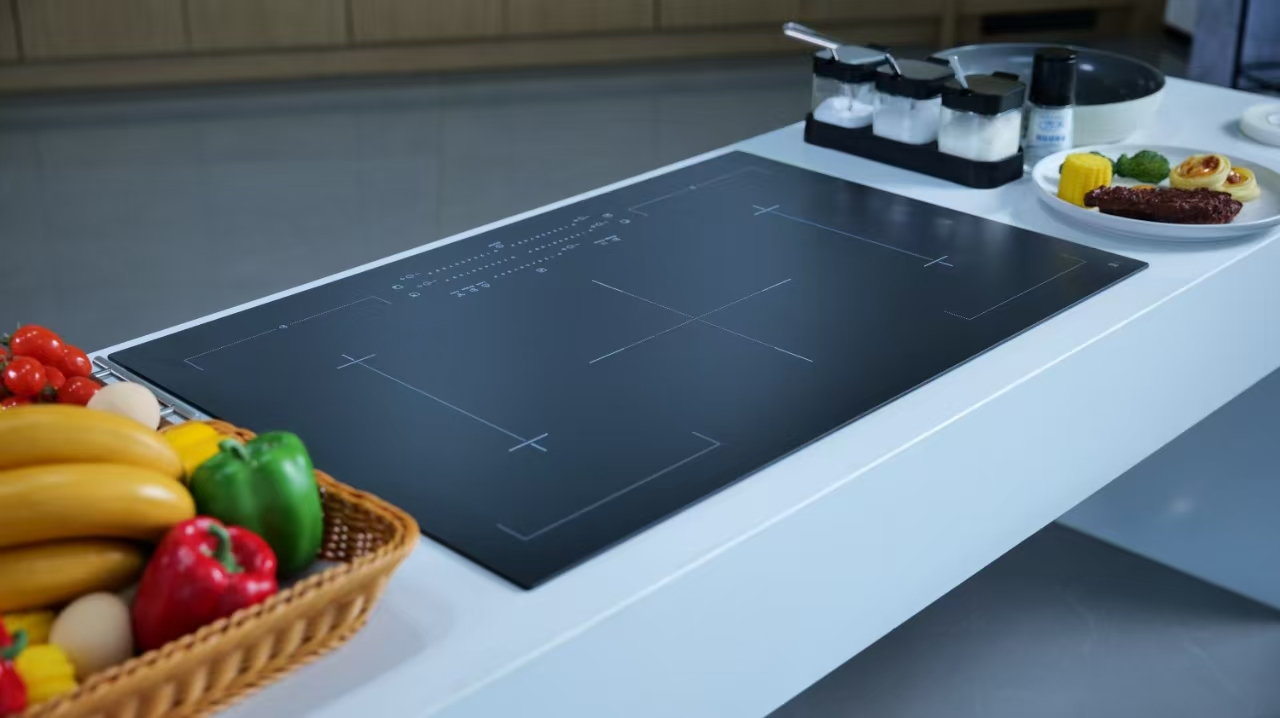
Kanger's black glass-ceramic cooktop panels provide context for the glass surface beneath cookware. They are not replacement cookware knobs and do not approve an accessory repair. OEM buyers should keep component specifications, finished-appliance instructions and cookware parts documentation in separate records. A component supplier's material information cannot replace the cookware manufacturer's fixing instructions.
For kitchen operators, this distinction is practical: protect the glass from loose hardware while the repair is being assessed, and do the work on a separate supported counter. Return only the identified, approved assembly to cooking. If the hob surface has been marked during handling, consult the relevant appliance instructions rather than using a cookware repair procedure on the glass. Clear boundaries between these tasks prevent one small maintenance job from creating a second problem.
Use the following neutral educational video to understand the relationship between an induction appliance and cookware. Its role is background only. The exact knob, screw, lid and permitted handling conditions still require the current cookware manufacturer's documentation.
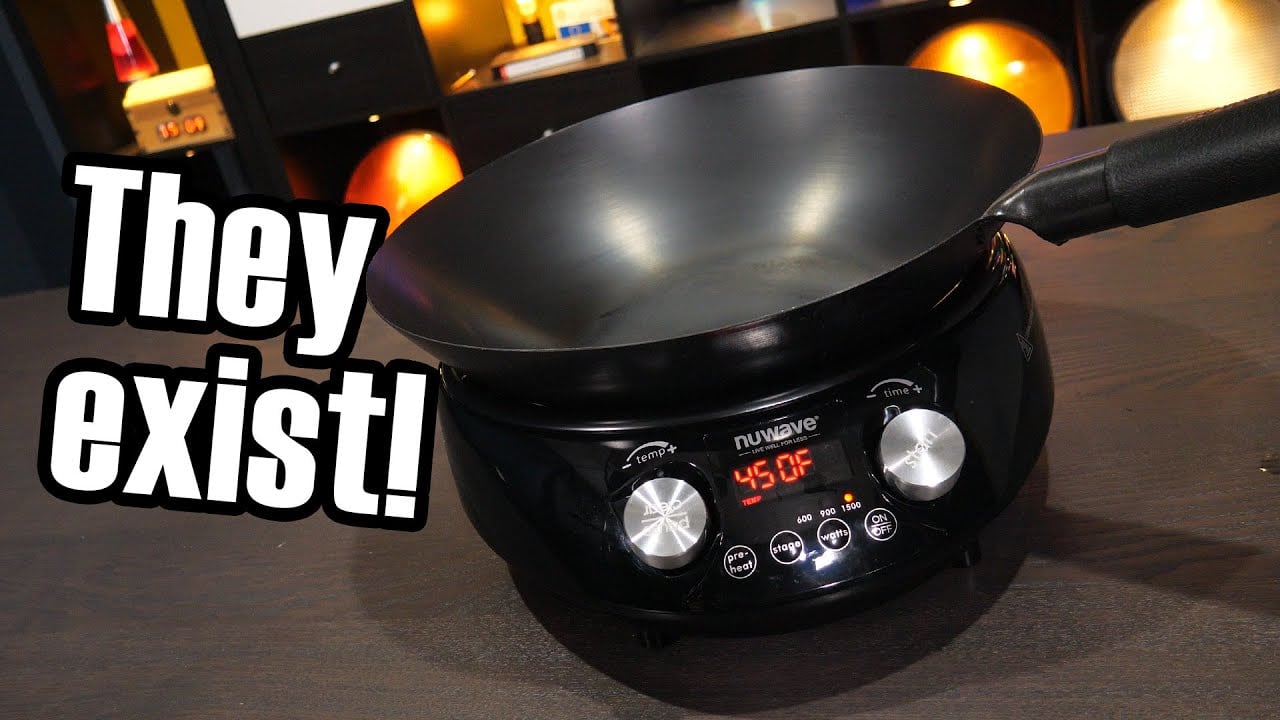
Video: Induction cooking – but what about woks?, Technology Connections. Open the educational video on YouTube.
No. Confirm the approved lid, knob, fixing parts and use conditions; apparent thread engagement alone does not establish compatibility.
No. Follow the restrictions for the complete identified lid assembly, including its material and fittings.
Do not modify the glass to accept an accessory. Ask the manufacturer for an approved part or complete replacement lid.
The knob is a handling component. Induction suitability still depends on the cookware and the finished appliance's requirements.
These sources explain their identified equipment or general heating and handling principles. Cookware makers are referenced for their own cookware documentation, not as glass-component suppliers or endorsements of Kanger. Exact model and appliance instructions control each application.