Kanger Glass-ceramic Co., Ltd.
Glass scratch resistance testing is meaningful only when the exposed surface, contact tool, applied force, movement and damage criterion are defined. A hardness label or an informal key demonstration cannot describe every cleaning, handling or assembly condition an appliance panel may encounter. Start with the actual surface construction, choose a laboratory method that addresses the expected damage, and report both the test conditions and the observed result. Bare glass, a coating, printed decoration and a protective film require different questions even when they belong to the same finished panel.
This guide helps appliance buyers prepare a test request and compare supplier evidence. It provides no universal passing load, claimed Kanger hardness or recommendation to scratch an installed appliance. Destructive work belongs on designated samples under a qualified laboratory procedure.
Identify the surface that the contact will reach
Begin with a section drawing and a surface description. Is the contact applied to bare glass, an anti-fingerprint treatment, another coating, a printed layer or a removable shipping film? Identify the side of the panel and the relevant drawing zone. Testing the protected rear decoration will not answer a complaint about marks on the user-facing surface.
Use production-intent parts where practical. Record the glass material, processing stage, coating or print revision, and sample history. If a small coupon is necessary for the equipment, ask the laboratory how its preparation and support differ from the finished component. A convenient coupon can answer a materials question without reproducing every assembly condition.
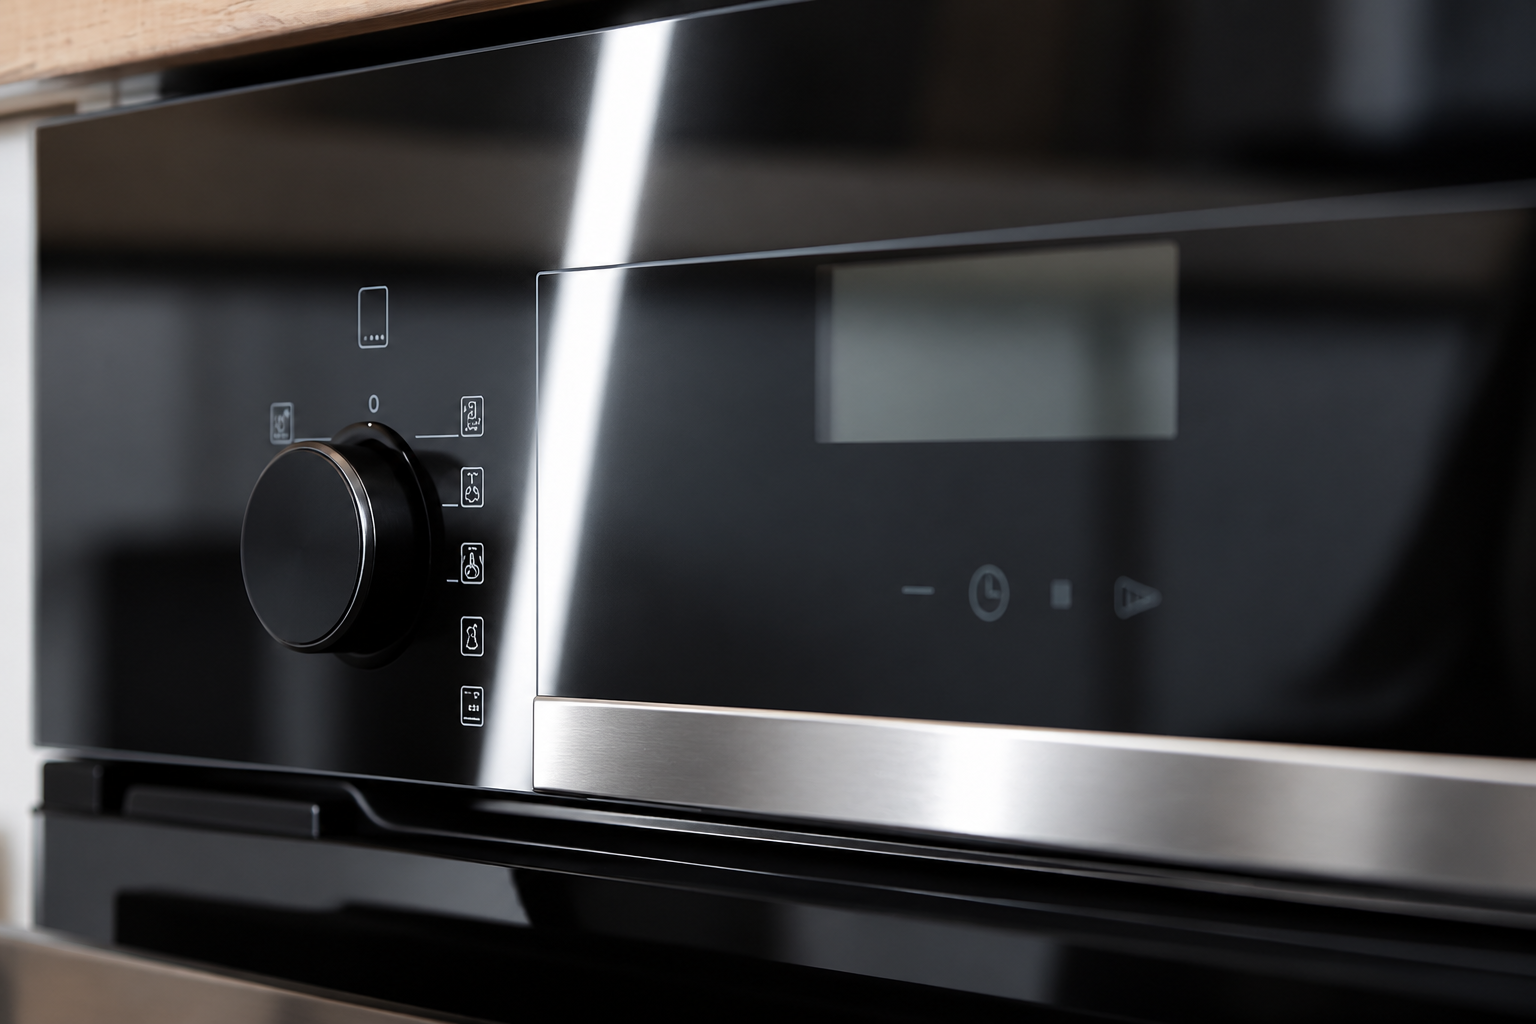
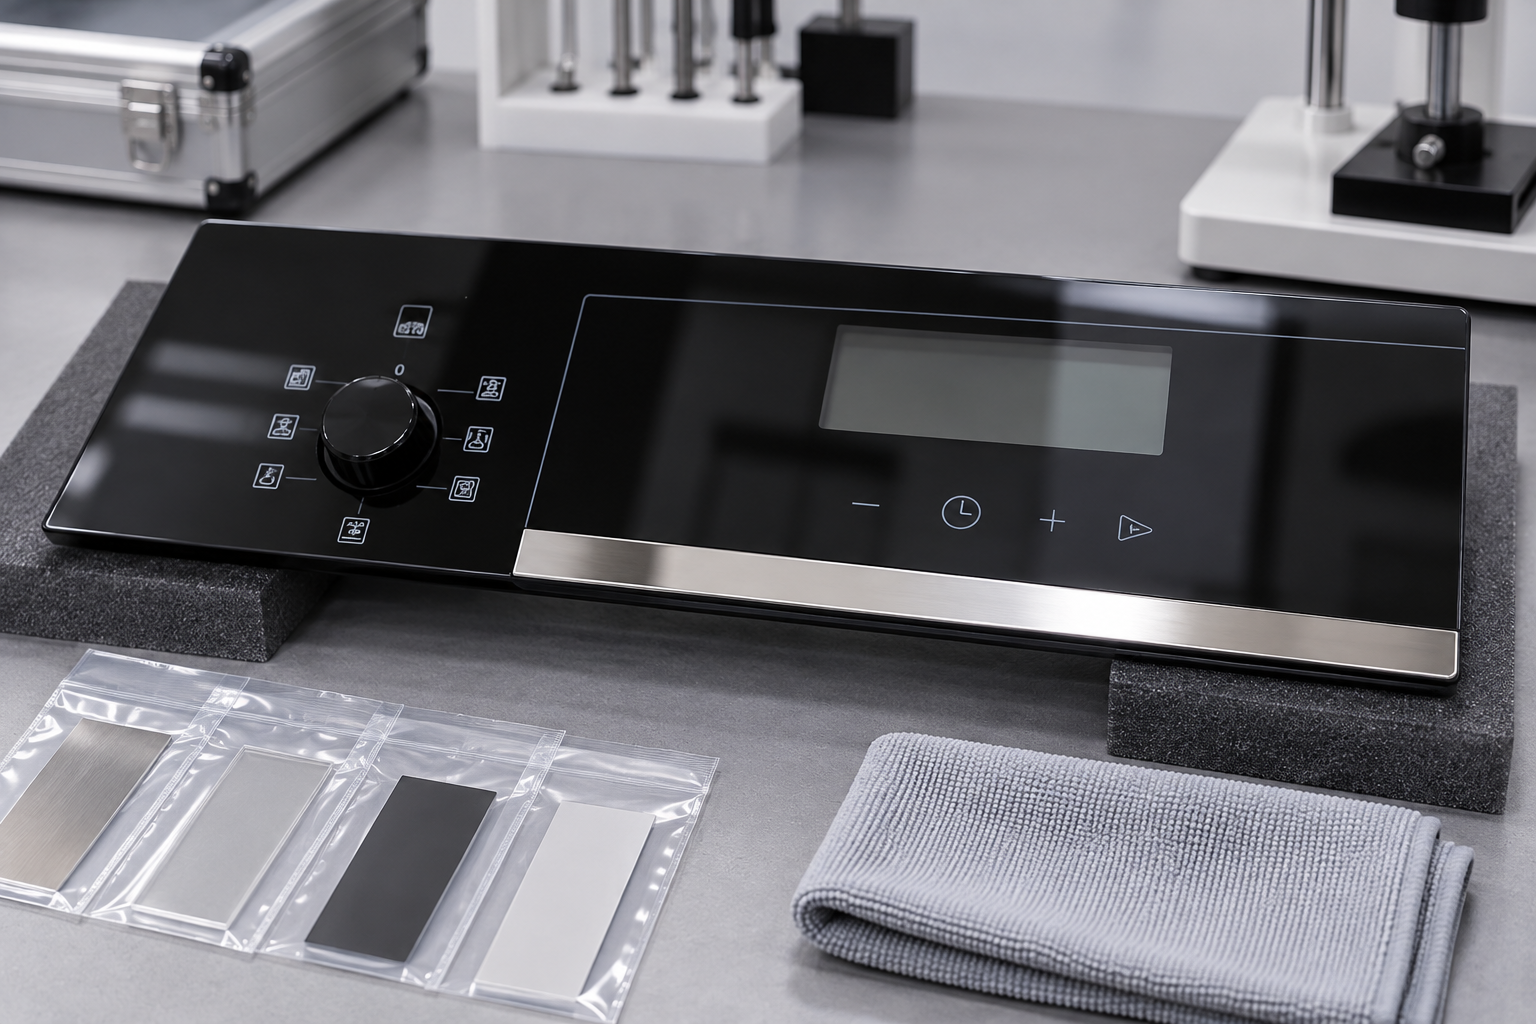
Kanger’s tempered appliance-panel product provides a component reference. Its photograph does not establish a scratch rating, coating chemistry or qualified test method. Those details must be agreed for the ordered construction and included in the purchase specification.
Separate hardness, scratching and abrasion
Hardness tests describe resistance under a particular method. The Sedgwick Museum’s mineral activities explain relative scratch hardness through mineral identification. That comparison is useful background, but it is not a complete service-life qualification for decorated appliance glass.
A single-point scratch test investigates a controlled contact path. Abrasion testing investigates damage from a defined repeated contact or abrasive process. A coating assessment may instead focus on cracking, detachment or another failure mode. The buyer should name the question before selecting a test, rather than choosing whichever demonstration produces the most attractive result.
Also distinguish appearance from structural performance. A visible mark may be unacceptable cosmetically without a strength value being known. Conversely, an apparently unchanged surface is not proof of unchanged strength. Any strength assessment needs its own specimens, method and interpretation by the responsible laboratory.
Choose a method within its actual scope
A method number is useful only when the material system and purpose fit its scope. ASTM C1624 concerns controlled single-point scratch assessment of certain hard ceramic coatings on substrates. It should not be presented as a universal test for every bare glass surface, soft coating, printed ink or appliance assembly.
Ask the laboratory to explain the selected method, specimen requirements and any deviations. For a coated panel, determine whether the intended observation is surface marking, coating damage or a particular failure event. For an uncoated panel, confirm that the procedure and interpretation address the actual glass and contact conditions rather than borrowing a coating claim.
Fraunhofer IST describes layer adhesion assessment as a distinct testing task. That distinction matters in procurement: a report about coating behavior should not silently become a claim about the durability of every layer or the complete appliance.
Build a test request that another laboratory can understand
| Report field | Information to define | Why it changes interpretation |
|---|---|---|
| Surface construction | Material, exposed layer, side and revision | A result belongs to that tested construction |
| Contact | Tool material, geometry and condition | Different contacts can create different damage |
| Loading and movement | Force program, path, speed and repetitions | Results require a common test basis |
| Preparation | Cleaning, conditioning and handling history | Residue or prior damage can confuse observations |
| Observation | Lighting, magnification and damage definition | Appearance and microscopic findings may differ |
| Sample plan | Lot, locations, number of specimens and controls | One selected track cannot describe a production population |
This is a planning checklist, not a set of operating parameters. Numerical settings must come from the applicable method and agreed laboratory plan. Record units explicitly; an unexplained force value without its loading program or contact geometry is difficult to compare.
Establish the baseline before making a track
Photograph the sample under the planned observation conditions and mark test locations on a separate drawing or image. Record any pre-existing marks, fingerprints or uneven appearance. Keep identification away from the working surface so a label, pen mark or adhesive does not alter the region being evaluated.
Define the approved preparation procedure and who performs it. If cleaning is necessary, confirm compatibility with the actual decoration and coating. A stronger solvent or aggressive wipe introduced only for the test can change the specimen and undermine its relevance to production.
Retain an untested comparison area or suitable control sample as the plan allows. Use it to distinguish an original feature from a test-induced observation. Controls are particularly helpful when a dark reflective surface makes small marks appear or disappear as the lighting direction changes.
Define the endpoint before seeing the result
Decide what observation will be reported: the first visible line under specified lighting, a microscopic change, coating cracking, exposure of another layer, or a different agreed event. Use descriptions and example images that the laboratory and buyer interpret consistently. Do not change the endpoint after seeing which condition a preferred supplier passes.
A progressive test may produce several events rather than one simple number. Retain the observations associated with those events and state how they were identified. Instrument signals can help the investigation, but a report should explain the relationship between a signal and the actual observed surface change.
Separate raw observations from the purchase decision. The laboratory may report where a defined event occurred, while the buyer’s acceptance rule considers visibility, affected zone and functional consequences. Keeping those steps explicit makes later disagreements easier to resolve.
Compare suppliers on an equivalent basis
Before ranking two reports, compare the specimen construction, contact, force program, movement, environment and endpoint. If these differ materially, ask for a common trial or a technical explanation of comparability. A higher reported number does not automatically mean better field performance when the test basis is different.
Request individual observations and representative images alongside any summary. Check whether the tested samples came from normal production and whether excluded results are explained. A single photograph of the best sample provides less information than a traceable record of the agreed specimen set.
Consider uncertainty and variation with the laboratory. Close results may not support a meaningful supplier ranking. If repeatability is poor, investigate the procedure and sample condition before increasing the apparent precision of the reported average.
Connect testing with actual handling and cleaning
Use the expected manufacturing and service contacts to decide what additional trials are necessary. Examples include packaging contact, assembly fixtures and the manufacturer’s approved cleaning process. Select representative conditions through the product team; a laboratory scratch test alone does not recreate every combination of particles, pressure and repeated handling.
The appliance-panel optical inspection guide helps define how visible marks are assessed. Keep those appearance conditions consistent between before-and-after comparisons. A change in lighting should not be mistaken for a change in material performance.
For decorated components, also review the screen-printing durability requirements. The outer glass surface and the printed layer can have different exposures and acceptance rules. Specify each rather than requesting one ambiguous “scratch-proof” panel.
Close the approval with a controlled record
The final package should identify the tested construction, sample population, laboratory, method, deviations, observations and acceptance decision. Attach the relevant images and keep the result linked to the drawing revision. State any conditions that were outside the trial so future teams do not extend the claim beyond the evidence.
Define when reassessment is required. Changes to a coating, surface process, preparation method, packaging contact or supplier can affect whether the earlier evidence still represents production. The tempered appliance-panel specification guide provides the broader purchase framework for recording these requirements.
When a customer reports a mark, retain the part identity and contact history where available. Compare the complaint with the approved inspection and test conditions before requesting a process change. That approach turns a vague appearance complaint into a question that a supplier and laboratory can investigate.
Further learning: relative scratch hardness
Geoscience educator Scott Brande demonstrates using a glass plate in mineral identification. The lesson explains relative scratching; it is not an appliance test procedure or a reason to try a scratch test on installed equipment.
Watch the educational demonstration on YouTube.
Frequently asked questions
Does a hardness number prove scratch resistance in service?
No. Identify the test method and the actual contacts, surface construction and acceptance criteria before applying the result to an appliance.
Can coated and bare glass reports be compared directly?
Only when the test basis and interpretation support the comparison. A coating failure result and a bare-glass surface observation can answer different questions.
Is a visible scratch a measured loss of strength?
An appearance observation alone does not quantify strength. Structural questions require an appropriate separate assessment.
Should buyers request scratch-proof glass?
Use defined test conditions and acceptance criteria instead of an unlimited claim. State the relevant surface, use conditions and evidence required.