Kanger Glass-ceramic Co., Ltd.
Pinholes in screen-printed glass are small unintended openings or thin spots in a printed area, but the visible symptom must be classified before its cause is assigned. A defect in the screen stencil, incomplete ink transfer, contamination, poor wetting, or a later process change can produce different patterns. Inspect the finished print under defined reflected and transmitted lighting, map the locations, and compare the screen, substrate, ink, and process records. Do not assume that every bright point is a glass crack or that adding more ink will solve the underlying problem.
For appliance fascia panels, the practical concern is often light leakage through a nominally opaque mask. A tiny opening beside a display may be more noticeable when the appliance is illuminated than on an unlit inspection bench. The acceptance method should therefore reflect the function of the printed zone as well as its ordinary appearance.

Distinguish stencil pinholes from missing coverage on glass
Screen printing transfers material through selected openings in a mesh and stencil. The Museum of Modern Art’s screenprint explanation describes that basic principle. An unintended opening in a stencil can allow unwanted ink through, whereas a gap in a printed solid area represents missing or insufficient coverage. Both may be called a “pinhole” informally, but they are not the same observation.
Begin the investigation with photographs of the finished result and a precise description. Is the issue an unwanted dot of ink, a clear opening in an opaque region, a crater-like feature, or a small area of different gloss? Note whether it is visible in reflected light, transmitted light, or only with the display illuminated.
Use neutral descriptions until the evidence supports a mechanism. Calling an opening a contamination defect before comparing samples can bias the investigation. A useful record allows the printing team, quality team, and customer to discuss the same feature without relying on an ambiguous nickname.
Map the defect pattern
Record the position relative to a stable drawing datum. Compare several parts from the same run. A repeated feature at the same location suggests a different investigation route from randomly distributed openings. This is a clue, not proof: the team should still check the screen and process evidence before deciding on corrective action.
Separate regions with different functions. An opaque border, a translucent symbol, a display window, and decorative artwork may have different intended transmission. A clear point inside a deliberately open graphic is not automatically a defect. Compare the observation with the approved artwork and mask definition.
Keep the inspected side and orientation consistent. Reverse-side printing can make a location description confusing when one team views the front and another views the back. Use annotated photographs or a drawing coordinate system so the same feature can be found again without touching or marking a critical surface.
Use a cause-and-evidence table
| Observed pattern | Investigation route | Evidence before adjustment |
|---|---|---|
| Same unwanted ink dot on repeated parts | Inspect the corresponding stencil region | Screen image, artwork and repeat-location comparison |
| Random gaps in a solid printed zone | Review surface preparation and transfer consistency | Substrate condition, handling and print-process records |
| Coverage changes across the panel | Review setup and deposit uniformity | Location map and production-intent comparison samples |
| Feature appears after cure or firing | Compare before and after process stages | Stage photographs and approved process parameters |
| Bright points appear only with illumination | Assess mask coverage in the actual lighting arrangement | Display state, viewing conditions and approved reference |
| Uncertain physical crack or glass damage | Isolate for qualified glass assessment | Part identity and damage record, separate from print diagnosis |
The routes are hypotheses to test, not a diagnosis of a specific production lot. Multiple causes can coexist. Avoid changing several unrelated variables at once unless the responsible process team has a clear reason and can still verify the resulting configuration.
Review the substrate and wetting conditions
Confirm the exposed surface that receives the ink. Bare glass, a coating, a prior print, and a handled surface are different starting conditions. Record the cleaning method and the time and handling steps between preparation and printing. A process can appear inconsistent when the surface history is not controlled.
NPTEL’s interfacial engineering material explains wetting as a liquid-surface interaction. That principle helps frame a printing investigation, but it does not establish a universal cleaning solvent, contact angle, or ink formulation for appliance glass. Use the ink and surface suppliers’ approved procedures for the actual materials.
Do not improvise stronger cleaning chemistry to remove a suspected contaminant. Confirm compatibility with the substrate, existing decoration, coatings, and process equipment. If surface analysis is needed, select a method that answers the specific question rather than treating an appearance change as chemical identification.
Review the screen and transfer process
Compare the screen with the approved artwork and inspect its condition using the printing team’s controlled procedure. Record relevant setup and maintenance information. If a defect repeats at a fixed location, preserve evidence of that location before repairing or replacing the screen.
Review the approved ink system, preparation, handling, and process window. An adjustment should follow the material supplier’s guidance and the qualified printing procedure. A generic article cannot safely supply a dilution ratio, cure schedule, or firing temperature for an unidentified ink and glass combination.
When a process change is tested, retain representative samples and record the change. Compare the intended improvement with other requirements such as edge definition, color, opacity, adhesion, and durability. Eliminating a visible opening is not a successful correction if the revised print fails another required function.
Check the finished illuminated assembly
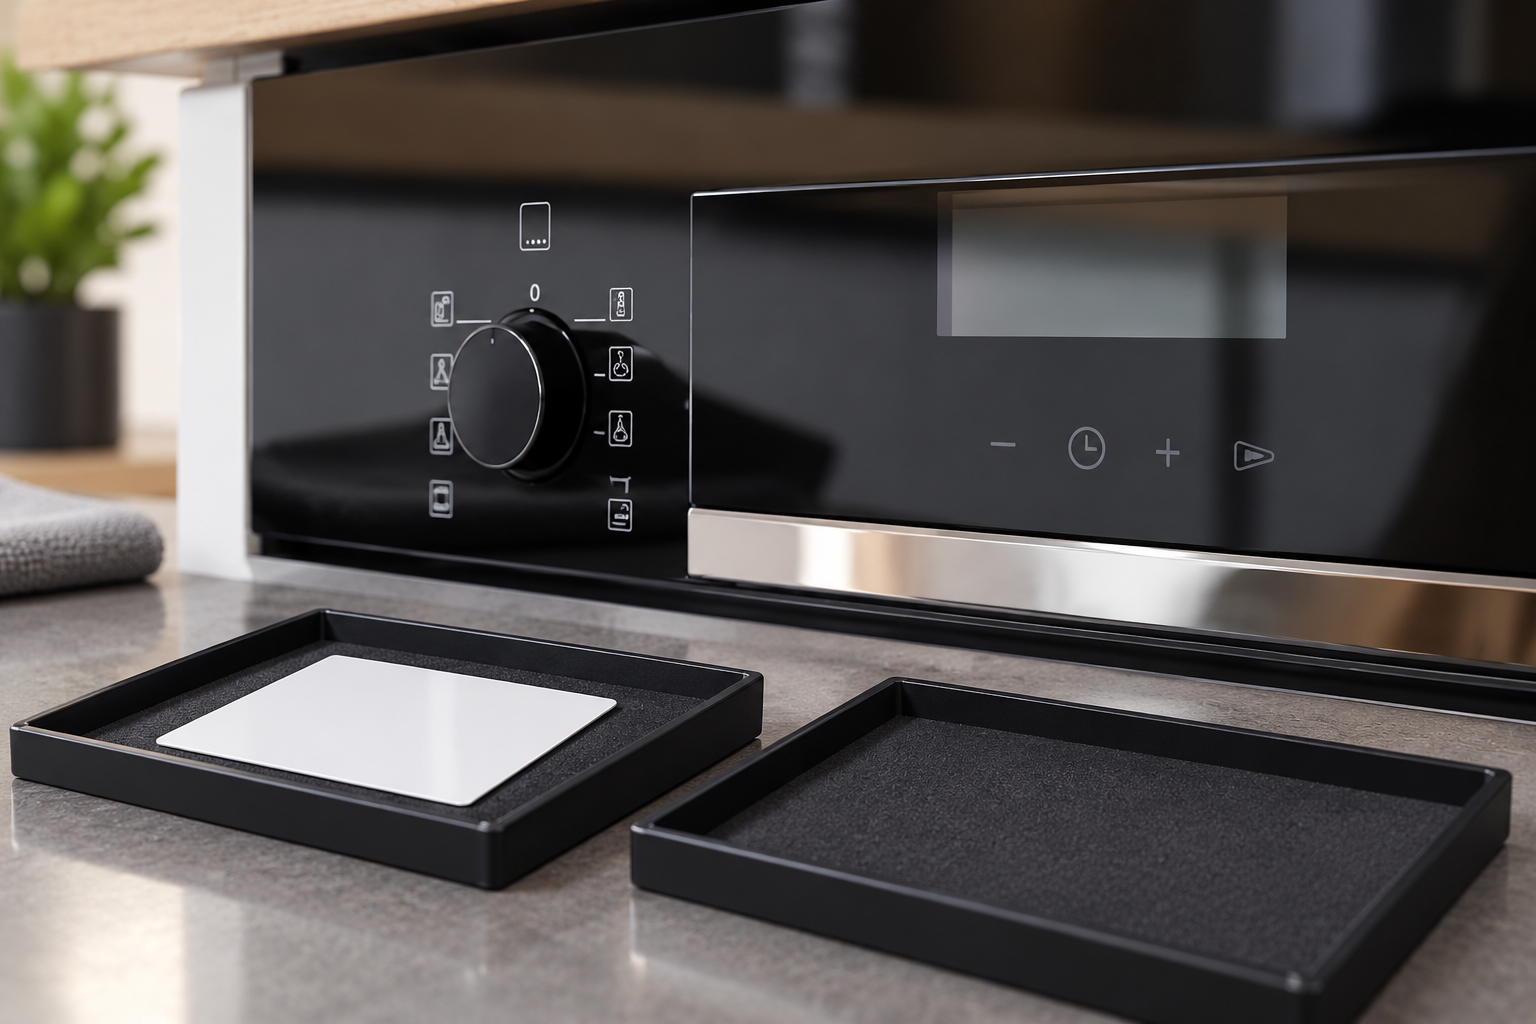
A printed mask may be intended to block stray light while leaving defined symbols visible. Evaluate that function using the specified light source, diffuser, display settings, and assembly geometry. A bright inspection lamp behind a loose panel can be useful diagnostically, but it should not silently replace the agreed appliance acceptance condition.
Record both illuminated and unilluminated observations. Identify whether the complaint concerns unintended light leakage, uneven symbol brightness, a color mismatch, or another feature. The backlit glass-panel guide covers the wider optical arrangement.
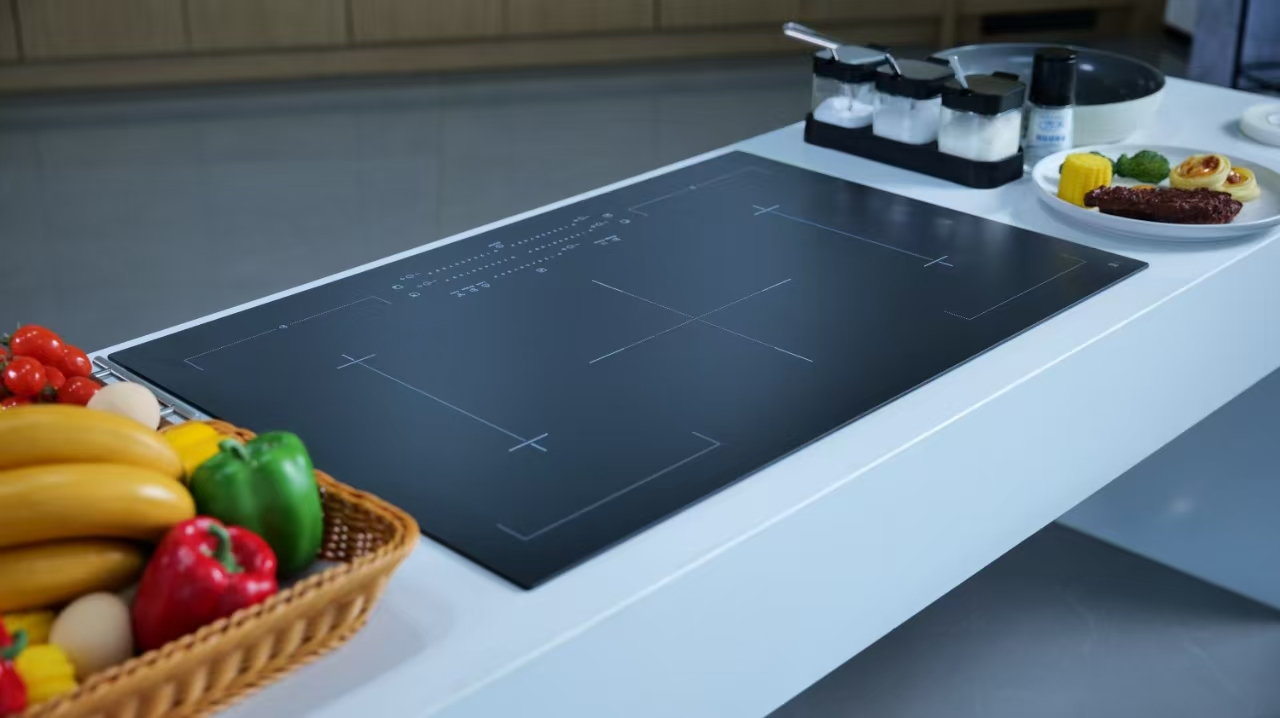
Use the actual material and decoration revision. Kanger’s tempered appliance fascia product provides the product context, but a reference image does not establish the opacity, ink system, or acceptance limits of an ordered panel.
Separate coverage from adhesion and durability
A continuous-looking print may still need adhesion and durability verification. Conversely, an adhesion result does not establish that a mask has no pinholes. Keep these requirements separate in the inspection plan so one successful test is not used to answer an unrelated question.
The screen-printing durability guide connects artwork and appearance with service requirements. Select any additional test methods with the responsible materials and appliance teams. Apply them to production-intent surfaces and state the limitations of the evidence.
For background on the printing process itself, MoMA’s printmaking resource explains screen-based image transfer. Its art-print context is educational; industrial glass inks, curing, and acceptance require their own qualified process.
Write an acceptance rule that can be repeated
Define the inspected zones, lighting, viewing position, magnification if used, and the reference samples or defect descriptions. Explain how multiple observations on one part are recorded. If numerical limits are required, derive and agree them for the actual function rather than borrowing an arbitrary size threshold from another product.
Train inspectors using the same approved examples and review disagreements. Keep the acceptance record linked to the drawing revision and relevant illumination configuration. A rule that changes whenever an inspector uses a different flashlight will create avoidable disputes and inconsistent production decisions.
For the complete purchase package, use the appliance-panel specification guide. Define who owns disposition, rework approval, and final release when a print defect is found. A touch-up should not be assumed acceptable unless the qualified process and customer requirements permit it.
Retain samples from the start, middle, and end of an investigated run when the process plan calls for them. This can reveal whether the symptom is stable or changes over time, which a single selected sample cannot show.
Educational demonstration of screen printing
Tate’s demonstration shows how a screen and stencil control ink transfer. It helps explain why screen defects and missing printed coverage are different questions. The paper-printing materials shown are not instructions for processing appliance glass.

Frequently asked questions
Are all pinholes caused by contamination?
No. Classify the visible feature and compare screen, surface, transfer and later processing evidence before assigning a cause.
Will a thicker ink deposit always solve the problem?
No. An unqualified adjustment can affect other requirements. Follow the approved process and verify the complete result.
Should backlit masks be inspected while illuminated?
Use the agreed inspection plan, including relevant illuminated conditions when light blocking is a functional requirement. Keep diagnostic lighting separate from acceptance lighting.
Does a pinhole mean the glass itself is cracked?
Not necessarily. Print coverage and glass damage are different observations. Isolate uncertain damage for qualified assessment rather than inferring safety from a photograph.