Kanger Glass-ceramic Co., Ltd.
White ceramic glass optical inspection needs two separate decisions: whether the opaque white base has the approved color and surface appearance, and whether functional graphics remain legible in the finished appliance. Set a physical master, lighting and viewing geometry, defect categories, measurement locations and acceptance rules before judging lots. Check the production-intent panel before and after the relevant fabrication or assembly steps. A generic transparent-glass haze or transmission limit does not describe an opaque white cooktop panel.
White surfaces make dark specks and local staining conspicuous, while glossy reflection can conceal a faint scratch in one view and exaggerate it in another. The inspection plan should reproduce the way the user sees the panel, but also include a controlled diagnostic condition for identifying the source of a defect. No universal color or scratch threshold is asserted here: the OEM and supplier must validate and agree their own.
Define what “optical” means for this opaque part
The intended product is a white glass-ceramic cooking panel, not a transparent viewing window. Transmittance and see-through haze may be relevant to another glass product, but they cannot replace the visible attributes of an opaque surface. Separate base color, gloss, reflective image quality, surface cleanliness, dark particle contrast, printed graphics and edge appearance. Note which attributes are purely cosmetic and which affect the user’s ability to read a cooking-zone or control mark.
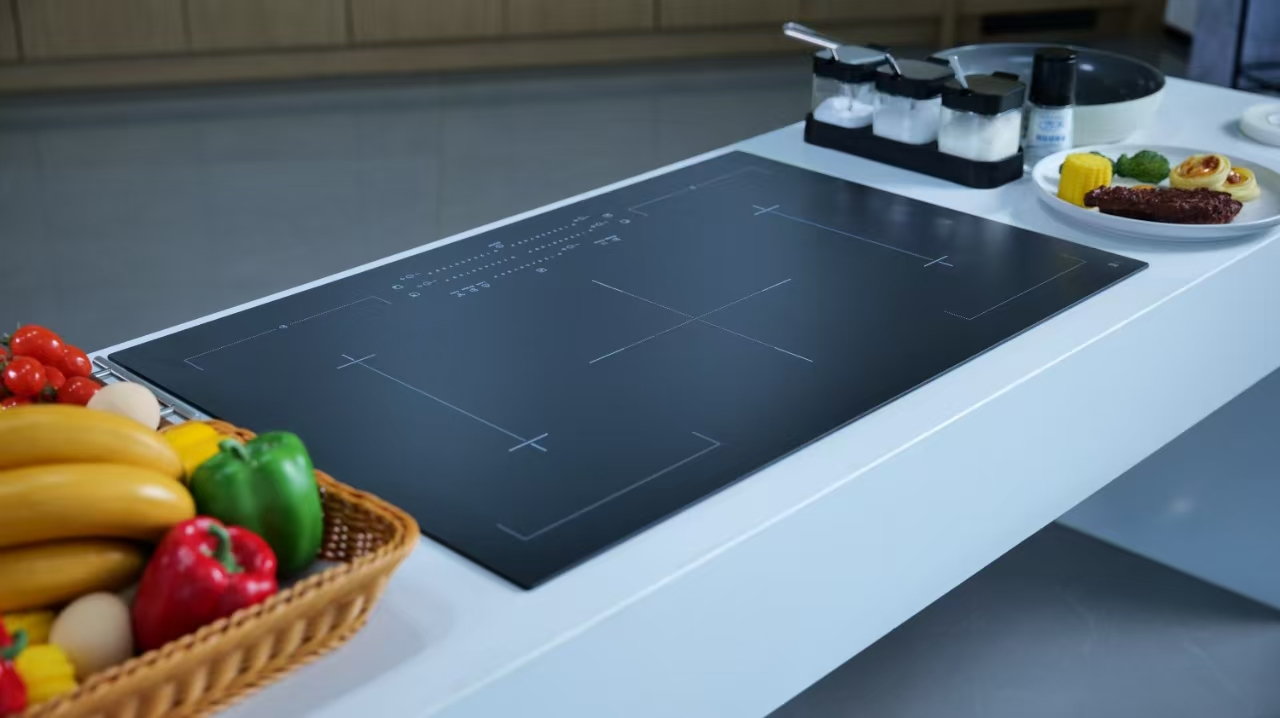
Inspect the actual Kanger white glass-ceramic product family using the part drawing and approved appearance sample. The product photograph helps identify the material and application; it cannot establish a numeric specification or certify a particular panel lot. For safety-related marks, the appliance maker must define the governing requirement and acceptance process.
A white base is not a single universal color. Substrate variation, texture, firing or finishing, reflection, printed decoration, and neighboring frame colors can alter the apparent shade. The first-article package should therefore include the exact production route, view side, approved lot or master, and a record of the lighting used for evaluation. Keeping the physical reference clean and protected is as important as writing a color value.
Control illumination, viewing angle and background
Give inspectors a repeatable viewing station: fixed light type and arrangement, background, panel orientation, viewing angle, distance, clean-up method, and stabilization time. Some marks become obvious under grazing light while diffuse light reveals broad color difference more clearly. Use more than one condition only when each has a defined purpose; mixing them informally makes supplier and buyer results disagree.
NIST explains that the apparent reflection of a material changes with the angles of the incoming and observed light, and that a white reference helps calibrate reproducible color measurement. NIST’s color-and-appearance overview distinguishes color, gloss and haze as different attributes. Those principles support a controlled method; neither source supplies a ready-made acceptance limit for Kanger’s white panel.
Before inspection, remove loose dust using an agreed method that will not scratch the actual surface. Record a persistent defect only after the cleaning procedure has ruled out removable residue. If the panel is normally mounted near dark trim, perform a supplementary review in that assembly; a white-on-white laboratory background alone may miss a visible edge mismatch in the finished appliance.
Measure color only with a complete method
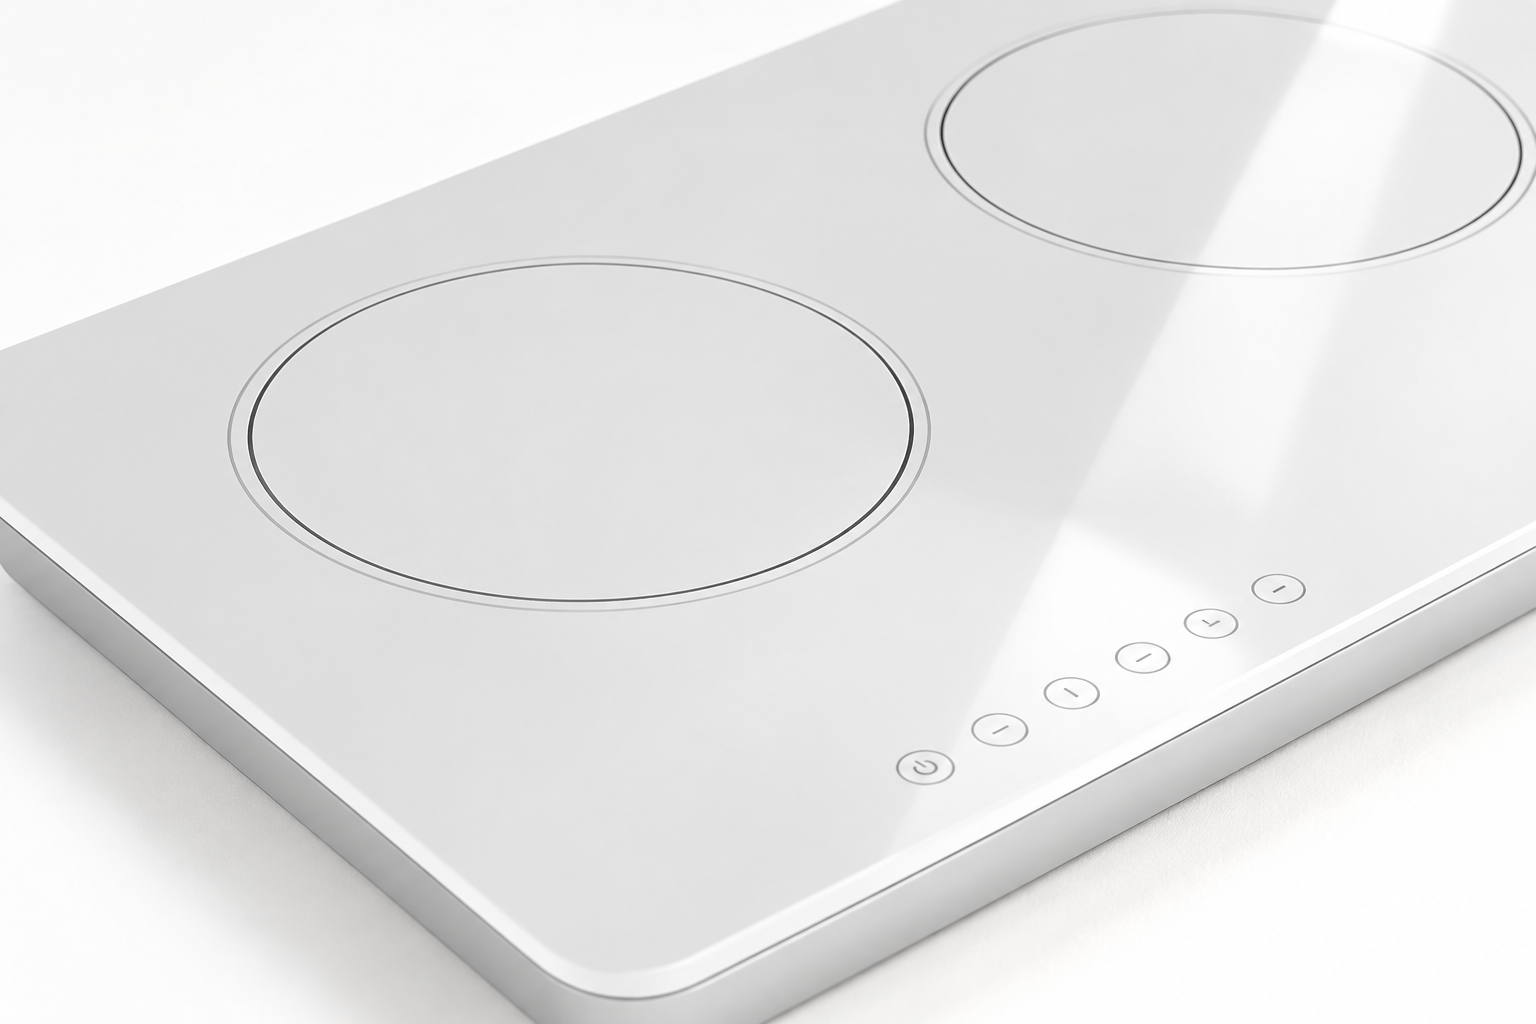
If the OEM needs an instrumental color criterion, specify the instrument, calibration, illumination and observation geometry, illuminant, observer convention, measurement aperture, positions, orientation and whether specular reflection is included. Record the base white area separately from any printed graphics. Use a stable physical reference or approved production lot so the supplier and buyer are comparing the same target.
NIST’s CIE color-measurement review describes standard illuminants, reflectance and CIELAB comparisons. A reported color difference is meaningful only alongside its measurement conditions. Do not lift a generic ΔE threshold from a screen, another glass grade or a competitor’s catalogue and call it an OEM limit. Determine an acceptable difference by viewing real first articles in the final use case, then make the instrumental rule correspond to that decision.
Measure several agreed locations if a broad panel may show non-uniformity. State whether the rule evaluates an individual reading, a range across one part, or a difference from an approved master. Retain the raw readings as well as the pass/fail conclusion. If the white surface has directionality, a glossy coating, or a texture, changing instrument orientation can change results; record and lock that orientation.
Classify defects before selecting a sampling rule
Use a defect catalogue with photographs taken at the agreed viewing station. Typical categories to distinguish include embedded dark speck, removable debris, scratch, scuff, local haze, stain, print dropout, print misregistration, edge chip and crack. Avoid counting the same physical feature twice under vague labels such as “haze and scratch” without locating it. The severity assignment depends on location, size, contrast, function and whether it can grow in service.
Unlike an appearance mark in a low-visibility corner, a crack or damaged edge may be a structural issue that requires an engineering disposition. A missing control icon is a functional graphics issue, even if its area is small. Define defect zones on the drawing: viewing field, heating area, control area and hidden edge. A zone matrix can prevent the inspector from applying a cosmetic concession to a safety-relevant feature.
A sampling plan is not an optical criterion. First establish what counts as an unacceptable defect on one part; then choose lot sampling and process controls based on risk and production stability. For a new process, examine first articles comprehensively and retain traceable samples. Agree whether incoming inspection uses unpacked panels, assembled panels, or both, because packaging marks and fit-related reflections may appear at different stages.
Practical inspection and disposition table
| Observation | First check | Decision evidence to retain |
|---|---|---|
| White shade differs from approved lot | Confirm light, instrument settings, clean surface and master condition | Measurement locations, raw color data and side-by-side reference photographs |
| Suspected haze or gloss change | Compare diffuse and grazing light; identify residue versus persistent surface change | Viewing geometry, cleaning record and any agreed gloss result |
| Dark speck or stain | Check whether removable, embedded in the base, or transferred after packing | Defect location, size, contrast and packaging/lot trace |
| Faint or broken printed symbol | Check white base contrast, print continuity and installed viewing state | Artwork revision, physical master and functional legibility assessment |
| Edge glint, chip or crack | Separate a harmless reflection from physical edge damage | Close-up views, drawing zone and engineering disposition before release |
These are process decisions, not numerical material claims. A controlled visual master and a repeatable method are more useful than a list of unverified limits. When a defect cannot be classified without destructive examination, quarantine the lot and record the investigative method and outcome rather than silently changing the inspection rule.
Check the printed rings and controls as a separate layer
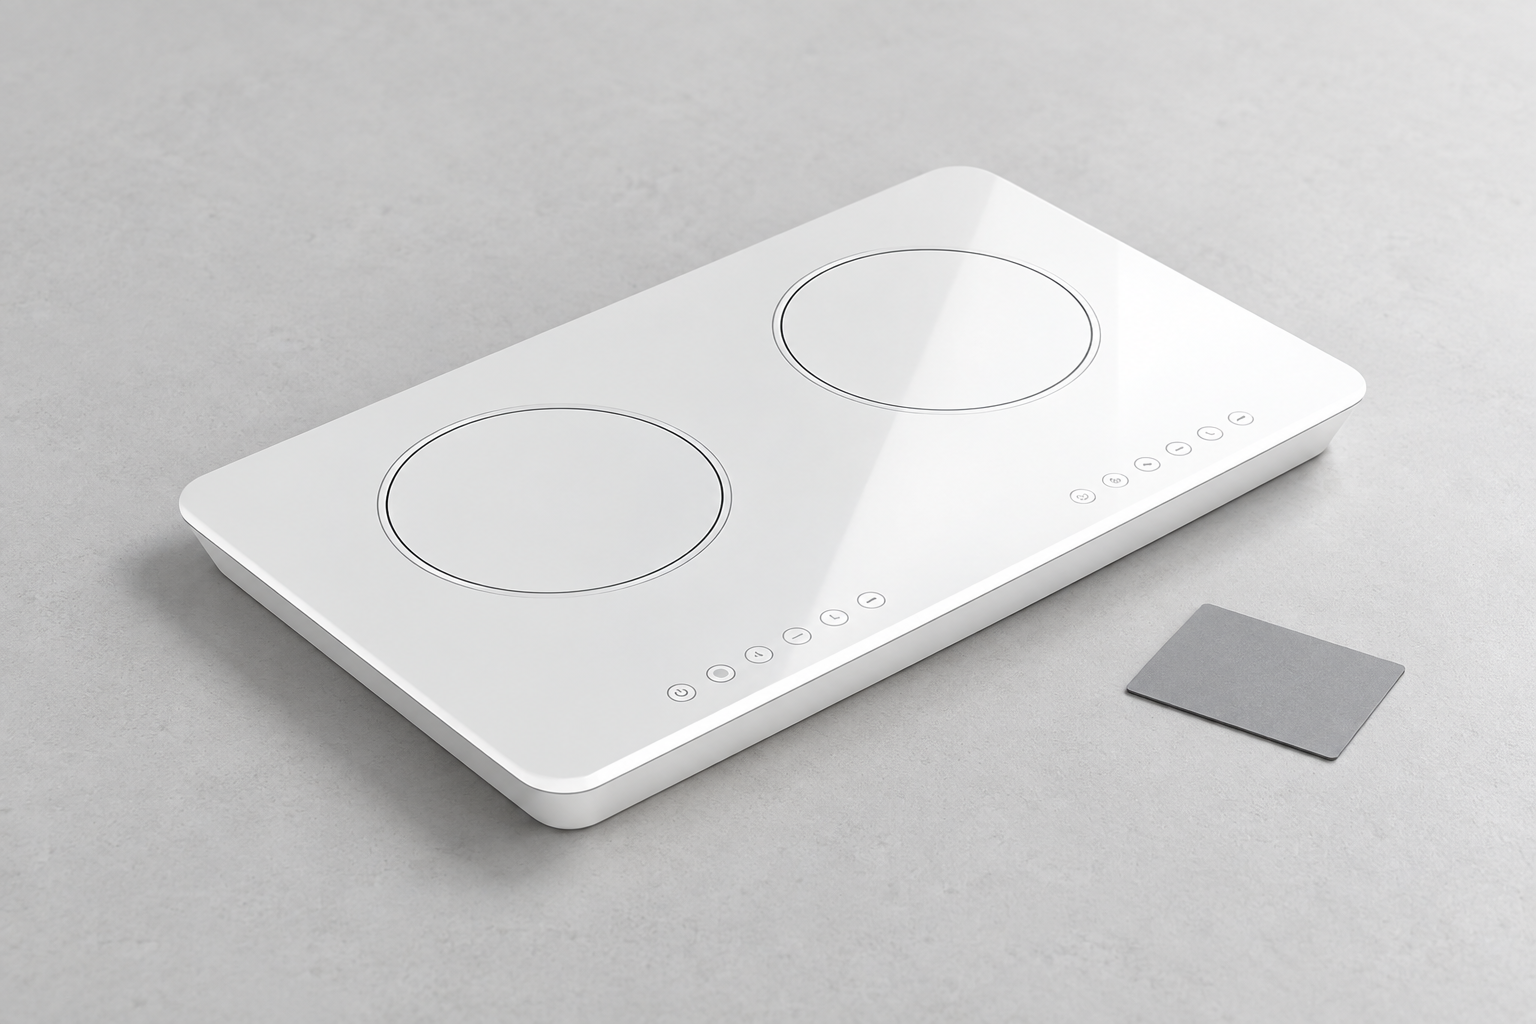
Printed gray cooking-zone rings can shift in apparent darkness as the white base or lighting changes. Check circle continuity, line width, registration relative to the panel datums, icon shape and contrast. For a powered appliance, observe the final installed state under the specified lighting and user angle. The detailed process qualification for the graphic layer belongs in the white-panel screen-print durability guide; this inspection page focuses on what must be visible and how to decide whether a delivered part conforms.
If a mark is difficult to distinguish, do not merely increase inspection brightness until it passes. Revisit the artwork contrast or the user environment and seek the responsible design authority’s approval. Distinguish normal variation in surface reflectance from true print dropout by viewing against the physical master from multiple agreed angles. The photograph below illustrates the visual category; it does not represent an actual defective Kanger lot.
Keep the evidence connected to production
Record part number, drawing and artwork revisions, material lot, print lot, inspection station, reference master identifier, instrument calibration, inspector, sample position in the package, and final result. For a failure, record whether the feature existed before cleaning, after packing, or after assembly. That timeline distinguishes fabrication defects from handling damage and prevents a misleading corrective action.
Supplier and buyer should exchange representative first articles, not only photographs. If a border is hidden by a gasket, the acceptance zone must reflect the controlled assembly drawing. A revision to the white base, decoration, surface finish, packaging separator, cleaning method or light source may require a new comparison. Retain rejected and borderline samples until the cause and disposition are established.
For context, the ceramic-glass materials guide provides the broader family, the color-architecture article addresses design selection, and the corner-radius drawing guide deals with geometry and edge callouts. Those pages complement, rather than duplicate, the optical acceptance method here.
Educational video: why “white” depends on the light
The following PBS Digital Studios / Physics Girl demonstration explains why light sources and human perception can make “white” an unreliable description without viewing conditions. It is general science education, not a test standard or a product claim.

Frequently asked questions
Can transparent-glass haze limits be applied to an opaque white panel?
Not automatically. Define the visible surface attributes and the measurement method for the actual opaque material and its use. A transmitted-light result from another glass category answers a different question.
Is a color-difference number enough to accept a lot?
No. It needs stated instrument conditions and an approved reference, and it does not capture scratches, print legibility, chips or local stains. Combine suitable quantitative and visual checks.
Which light should inspectors use?
Use the light arrangement specified in the approved inspection procedure, with a separate diagnostic condition where needed. Choose those conditions from the actual viewing and risk assessment, then keep them repeatable.
When should the appearance master be renewed?
Review it when the product’s material, color, finish, print, intended lighting or assembly changes, or when the master itself has aged or been damaged. Preserve the revision trail.