Kanger Glass-ceramic Co., Ltd.
Appliance control panel glass failure analysis should distinguish damage to the glass from problems in printing, bonding, housing, illumination, display, and touch electronics. Preserve the part and its assembly condition, record when the symptom appeared, compare affected and unaffected units, and test one plausible explanation at a time. A cracked fascia, an uneven bezel gap, a yellowed display window, and an unresponsive touch icon are different observations. They should not all be reported as bad glass without evidence identifying the affected layer or mechanism.
This guide concerns an appliance control cover or fascia. It is a diagnostic framework for OEM and supplier-quality teams, not a fracture diagnosis from a photograph or a substitute for specialist safety assessment.
Contain the affected population
Identify part number, drawing and artwork revisions, material batch, print batch, shipment, assembly date, adhesive, housing, display, and control-system version where relevant. Decide which related stock or units need containment under the site’s quality procedure. Preserve unfailed samples from the same population. A comparison with a different revision or supplier may introduce several variables and obscure the actual problem.
Keep the returned condition intact until the investigation plan is agreed. Photograph packaging, installed position, edges, fasteners, bonding areas, and visible marks before cleaning or disassembly. Use appropriate handling controls for broken glass and energized appliances. If the condition may affect safety, involve the responsible product-safety owner promptly. Do not continue energizing or handling a damaged module merely to obtain a more dramatic photograph.
Build a factual symptom timeline
Record whether the problem appeared during receiving, assembly, cure, transport, installation, first operation, cleaning, thermal exposure, or later service. Distinguish witnessed events from recollections and assumptions. A panel discovered broken after transport is not automatically proof that transport caused its initial damage. Earlier edge damage or assembly restraint may be relevant, but those explanations need evidence.
Obtain photographs and records from the nearest known good condition. Review any preceding drawing, supplier, fixture, adhesive, cleaning, or firmware change. If the symptom is intermittent, record the operating mode and conditions under which it appears. Keep the customer’s description, the inspector’s observations, and the engineer’s interpretation separate. This allows a later reviewer to understand which conclusions are supported and which remain hypotheses.
Classify the symptom by layer and function
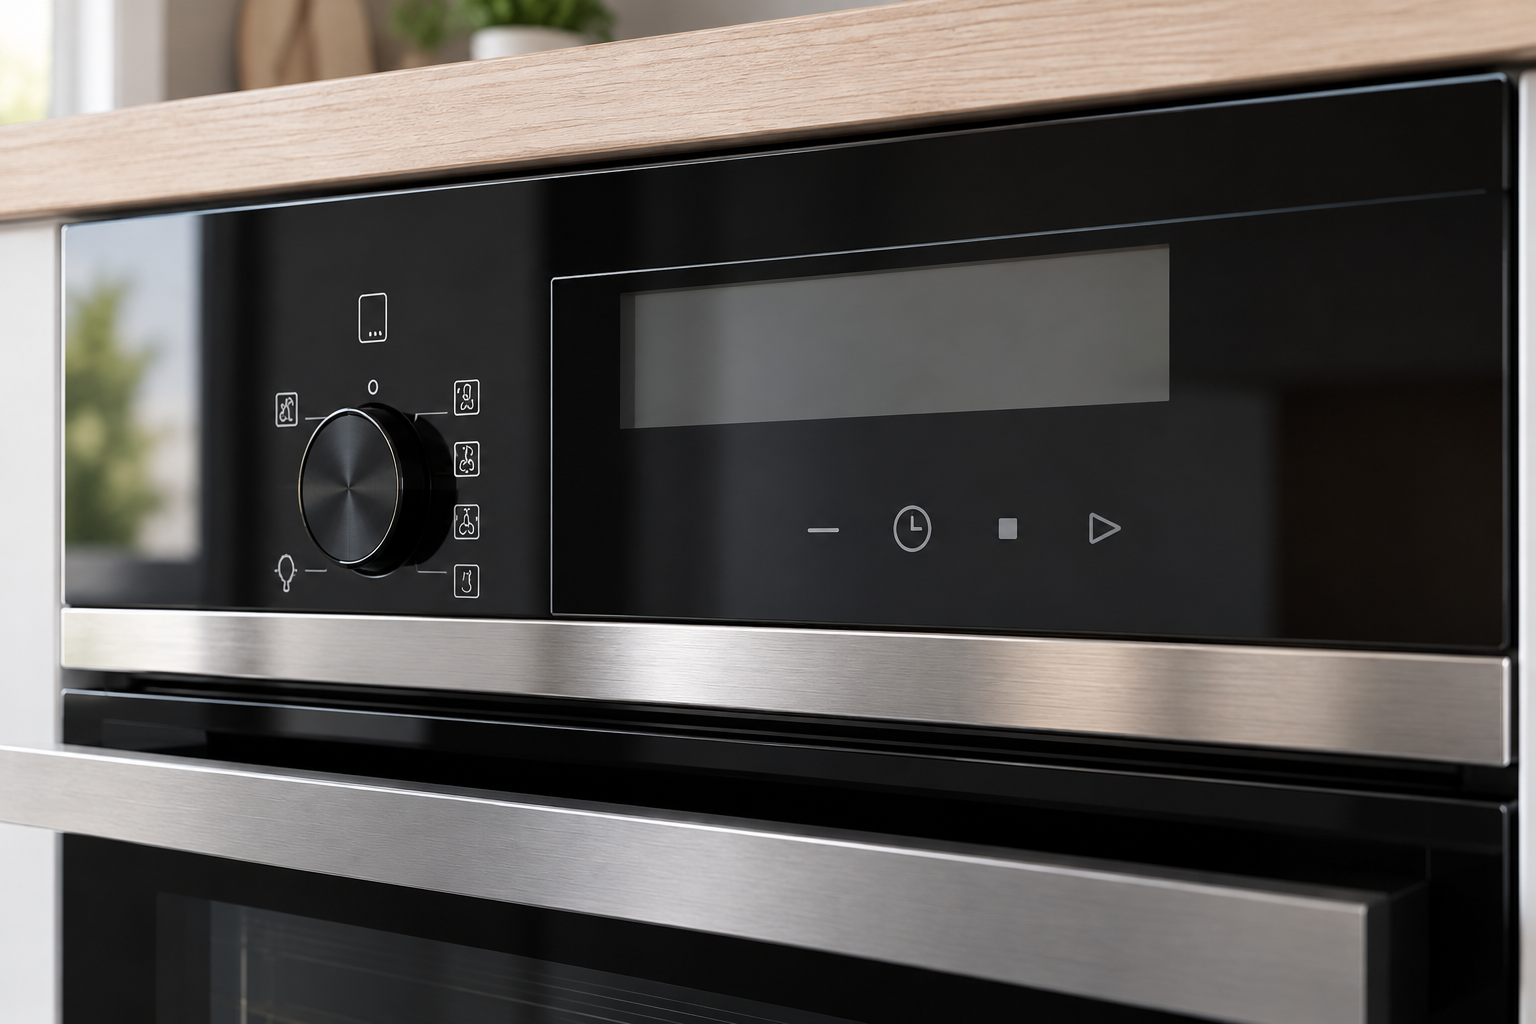
Start with observable categories: crack, chip, loose bond, gap change, surface mark, print change, window haze, light leakage, display failure, or touch response. Identify whether the observation persists on the loose cover or only in the assembled module. A dark region can result from a print mask, display setting, failed illumination, or contamination. Removing the glass without documenting the operating condition can lose that distinction.
Map the symptom on a controlled view of the panel. Record viewing face, print face, distance from relevant features, and relationship to holes, corners, mounts, and transparent windows. Use scale and consistent lighting for photographs. Avoid a premature root-cause label such as thermal shock or defective tempering. Those labels imply mechanisms that require material, process, assembly, and event evidence beyond the final appearance.
Investigate cracks and edge chips
Preserve fragments and their approximate assembly positions if safe and practical. Record visible edge damage, point contacts, fastener or fixture locations, and any unusual assembly force. Ask appropriate specialists to examine fracture evidence when needed. Do not assign an initiation location solely from the largest visible fragment or the most obvious crack in a photograph.
Review fabrication sequence, edge inspection, aperture geometry, handling supports, and packaging. The National Glass Association explains the importance of completing fabrication before heat treatment; its general guidance does not diagnose an individual appliance failure. Check whether unauthorized drilling, grinding, or other rework occurred after heat treatment. A discrepancy should become a documented investigation item, not an unsupported assumption that every breakage arose from that process.
Separate pane shape from assembly distortion
Measure loose panels using the agreed support and reference method, then compare the relevant assembled gaps. Record housing geometry, fixture loading, adhesive pattern, cure history, and hard contacts. A panel that appears warped after installation may be influenced by the support structure. Conversely, glass shape outside the agreed criterion can make assembly sensitive even when the housing is correct.
Do not flatten the specimen with an inspection fixture unless that is the defined condition. Compare raw profiles and point locations, not only one summary number. NIST’s uncertainty guidance supports assessing the full measuring arrangement. If removing a panel changes the evidence, document the installed condition first and plan the sequence with the investigation owner. A destructive disassembly is not a neutral observation.
Trace discoloration and haze to the right surface
Inspect reflected and transmitted light under controlled conditions. Document whether the change is on the exposed glass surface, print face, coating, adhesive, or the display beneath it. Try only the approved cleaning procedure after recording the initial condition. A mark that disappears under approved cleaning supports a different explanation from one that remains within the bonded interface.
Review cleaning agents, packaging-contact materials, exposure history, ink or coating batches, and adhesive cure conditions. Compare retained samples and unfailed units where available. Do not assume that every yellow or cloudy region proves substrate degradation. Likewise, do not accept a supplier’s statement that a mark is removable without preserving the method and demonstrating it on an appropriate sample. Record any treatment that changes the original evidence.
Diagnose touch and display symptoms separately
Check the appropriate module diagnostics under the appliance team’s approved procedure. Compare icon position with sensor position, window position with display position, and mask boundaries with illumination. A correctly made glass panel can be assembled over misaligned electronics. A changed glass or coating configuration may also require touch-system review. Neither explanation should be selected without a controlled comparison.
Record hardware, firmware, supply condition, operating mode, and environmental conditions relevant to the reported symptom. If a known-good cover is exchanged, document what else changed during the exchange. Moving connectors, resetting software, or changing mounting pressure at the same time can confound the result. A successful swap is a useful observation but may not isolate the glass as the sole cause.
Use a hypothesis and evidence matrix
| Observation | Possible area to investigate | Evidence to collect |
|---|---|---|
| Corner crack or chip | Edge damage, local contact or handling | Damage map, support and assembly records |
| Uneven bezel gap | Pane shape, housing or adhesive | Loose and assembled measurements |
| Hazy window | Surface, coating, adhesive or display | Controlled views before and after approved cleaning |
| Light leakage | Mask, registration or illumination | Artwork revision and illuminated-module comparison |
| Touch mismatch | Artwork, sensor, mounting or control system | Zone alignment and controlled diagnostics |
| Print discoloration | Print system and exposure | Retained sample, batch and exposure history |
These are investigation directions, not automatic diagnoses. Several causes may contribute to one failure, and one cause may produce several observations. State what would confirm or contradict each hypothesis.
Test corrective action without changing everything
Choose a comparison that isolates the suspected mechanism as far as practical. If support contact is suspected, compare the defined support change while keeping the pane, adhesive, and relevant duty comparable. If printing is suspected, retain the original and changed print-system records. Document unavoidable differences so reviewers understand the strength and limits of the conclusion.
Verify the correction with representative production-intent assemblies and the relevant validated procedure. A single successful prototype can show feasibility without proving sustained production control. Check that drawings, work instructions, inspection methods, and supplier controls reflect the approved action. For a Kanger investigation request, send part identities, symptom maps, initial photographs, assembly records, and comparison evidence rather than only an image of the damaged panel.
Frequently asked questions
Can the failure cause be identified from one photograph?
Usually not with defensible certainty. A photograph documents appearance but may omit the initial damage, assembly loads, material identity, thermal event, or affected layer. Preserve the part and collect the surrounding records.
Does an unresponsive touch icon prove that the glass is defective?
No. Sensor alignment, mounting, electronics, firmware, and environmental conditions can matter. Glass configuration may also be relevant. Use controlled diagnostics and comparisons before assigning the cause to a component.
Should a cloudy display window be cleaned immediately?
Document it first. Then use the approved cleaning method if appropriate and record the change. Unapproved solvents or abrasion can alter surfaces and remove evidence needed to identify the affected layer.
What should a final corrective-action report contain?
Include the affected population, observations, confirmed evidence, rejected and remaining hypotheses, verified correction, validation boundaries, updated controls, and release authority. Keep the conclusion proportional to the evidence actually obtained.
Related appliance-glass resources
Use the product overview to identify the component family and the engineering guides to define interfaces. These references support a drawing-led supplier discussion; they do not establish universal tolerances or replace validation of the intended appliance assembly.
- Thermal Shock Resisitance Tempared Glass For Household Appliances Panel Product
- Tempered Glass Appliance Panels: OEM Specification Guide
- How to Set Mounting Clearances for Appliance Control Panel Glass Under Thermal Expansion
- Designing the Sealing Interface Around Appliance Control Panel Glass
- How to Specify Durable Screen Printing on Appliance Control Panel Glass
Sources and method references
The linked references explain fabrication sequence, measurement principles or the stated inspection method. Apply their scope carefully: a general glass bulletin or instrument description is not certification of a Kanger part and supplies no project-specific acceptance limit.
- NGA: fabrication before heat treatment; general principle, not an appliance tolerance
- NIST: measurement uncertainty
- NIST: metrological traceability and fitness for purpose
Educational video: Annealing and Tension in Glass
This museum explanation introduces glass stress and thermal history. Annealing and tempering serve different purposes. The demonstration provides material background, not an appliance qualification cycle or a Kanger process claim.

Watch Annealing and Tension in Glass from Corning Museum of Glass