Kanger Glass-ceramic Co., Ltd.
A glass epoxy adhesive should be selected for the complete joint: the actual glass surface, the other material, the load path, the curing process and the service environment. A clear appearance or a strong result on a different substrate does not qualify an appliance-panel bond. For an OEM glass component, start by identifying what the adhesive will contact and how that interface will be inspected. Then ask the adhesive supplier to demonstrate an appropriate formulation and controlled process on representative parts.
Define what the bond is supposed to do
Decide whether the joint positions a component, transfers a structural load, retains a trim, supports a seal or performs several functions. These are different requirements. Record the consequence of a failed bond and whether another retention feature remains effective. A safety-related application needs a qualification plan approved by the people responsible for the complete assembly.
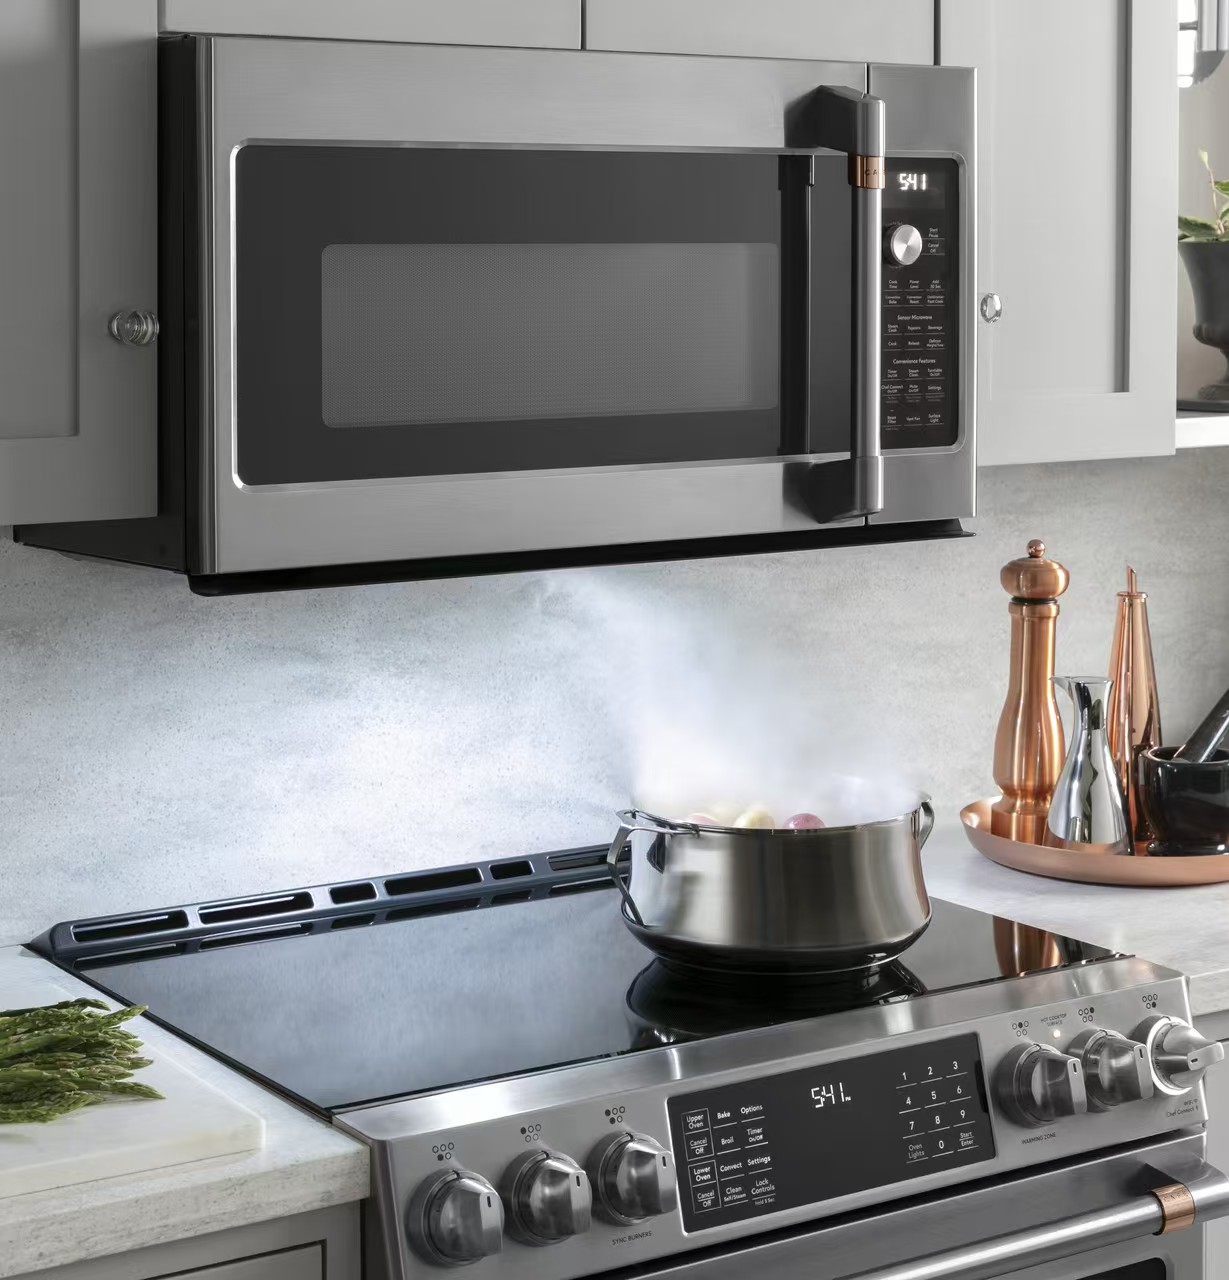
For a finished control fascia, the relevant component may be Kanger’s tempered appliance-control glass. The product photograph shows the finished interface context; it does not reveal an internal adhesive joint or establish that an epoxy was used. Specify the glass component and the assembly bond separately, so that a quotation for one is not mistaken for qualification of the other.
Write the requirement in observable terms. Instead of asking for the “strongest glass glue,” describe the joint geometry, expected movement, exposure, appearance requirement and inspection method. This gives a supplier a basis for evaluating candidates and explaining exclusions.
Identify the real bonding surface
Distinguish bare glass from a printed region, coating, protective film or another applied layer. When an adhesive contacts decoration, the assembly depends on more than adhesion to the underlying glass. Ask which interface is intended to carry the load and whether the glass supplier permits bonding in that region.
Record the surface identity on the drawing or controlled process document. A black-looking region is not a material specification, and a surface that looks clean may still have an unapproved treatment or residue. Obtain the relevant supplier instructions before selecting cleaning, abrasion or priming steps. Do not improvise a preparation method on a delivered finished panel.
The appliance-panel screen-printing durability guide is a useful companion because the decoration itself needs a defined role and service requirement. It does not, by itself, qualify a bond to that decoration.
Compare adhesive routes by their requirements
Epoxy describes a family of adhesive systems, not one universal set of properties. Obtain the technical data sheet for the exact candidate and its intended curing route. Many products require controlled mixing and curing; the applicable instructions depend on the formulation. Do not assume that every epoxy has the same flexibility, colour, working time or resistance to a service environment.
| Candidate route | Question that determines suitability | Evidence to request |
|---|---|---|
| Epoxy adhesive | Can the exact formulation, preparation and cure produce the required joint on the actual surfaces? | Technical instructions and representative assembly qualification |
| Light-curing adhesive | Is the required curing light able to reach the complete bond region through the actual material and decoration? | Verified light path, compatible equipment and a demonstrated cure process |
| Flexible sealant or adhesive | Does the exact product provide the required movement capability and retention or sealing function? | Product-specific joint design and service-exposure evidence |
| Mechanical retention | Can supports and restraints retain the component without an adhesive-dependent load path? | Assembly drawing, tolerance review and physical validation |
This table is a selection worksheet, not a ranking of adhesive chemistry or a claim that one route is interchangeable with another. A proposed alternative may change geometry, inspection and manufacturing requirements.
Review the joint geometry before comparing strength figures
Define the contact region, bond-line arrangement, adjacent edges and the position of restraints. Explain how the assembly transfers its load rather than quoting an adhesive strength value without a joint description. The real assembly may combine different loading directions or introduce local stresses that a simplified coupon does not reproduce.
Include the tolerances that affect the interface. A drawing should explain how variation in the glass and the mating part is accommodated and how the relevant dimensions are checked. Do not use an arbitrary bond thickness or clearance simply because it appeared in an unrelated application.
Review the control-glass sealing-interface design alongside the bond requirement when an adhesive also supports a seal. Retention, sealing and thermal movement should be considered together, while the exact adhesive properties remain product-specific.

Separate handling readiness from a qualified cure
Ask the adhesive supplier to define the relevant process stages and the evidence needed to release the assembly. A part that can be handled is not automatically ready for every later operation or service load. Keep the formulation, preparation, application and curing instructions together, with a clear rule for identifying a part that has not completed the approved process.
Control the identity and condition of the materials used in a trial. Record the adhesive product, batch, storage history and applicable shelf-life information supplied by its manufacturer. If the process requires mixing, use the supplier’s specified system and verification method. This article does not supply a substitute ratio, temperature or curing schedule.
Also consider the production sequence. A downstream cleaning, printing, heating or assembly operation may require a separate compatibility review. Place the bond step in the complete route instead of qualifying it as an isolated activity that never encounters the rest of the process.
Build a trial around representative parts
Use samples with the actual glass material, surface treatment, mating material and intended geometry. A convenient clear glass coupon can help investigate a question, but it should not be the only evidence for a printed appliance fascia with a different contact region. State what each sample represents and which conclusions it cannot support.
Include an unbonded or otherwise appropriate reference when it helps identify a change introduced by the process. Inspect the glass condition before assembly so that a later mark or chip can be investigated against a recorded starting point. Retain enough information to connect a failed specimen with the materials and conditions used to make it.
NASA’s dated materials and processes standard, NASA-STD-6016B discusses bonding contamination controls and cleanliness inspection in an aerospace context. These are useful examples of questions for a controlled bond process. That document is not an appliance specification, evidence of a Kanger qualification or a declaration that the same requirements apply to this joint.
Specify service exposure and the failure decision
List the conditions the completed assembly is intended to encounter: the relevant temperature history, moisture, cleaning agents, mechanical movement and other application-specific exposure. Have the responsible specialists turn that description into a justified test plan. Do not replace the application history with an adhesive brochure’s highest advertised temperature.
Define what will be observed after exposure and what constitutes an unacceptable result. Possible observations include the location of separation, a change in appearance, damage to a surface layer or movement of a retained component. These are categories for a project-specific review, not acceptance limits supplied by this article.
Record the failure location as carefully as the headline test result. Separation at an interface, damage within a material and damage to the glass are not interchangeable observations. Investigating where the assembly failed helps the team decide whether to change the formulation, surface preparation, geometry or another part of the route.
Keep cleaning and chemical safety instructions distinct
A product technical data sheet describes the application and performance conditions supplied by its manufacturer. A safety data sheet addresses hazards and handling information. Obtain both for the exact materials used; one does not replace the other. The site must establish its own applicable chemical-handling procedures and training.
The Canadian Centre for Occupational Health and Safety’s safety-data-sheet overview explains product hazard, handling and emergency information under Canada’s WHMIS system. It is background on reading SDS information, not a statement of US compliance requirements. Use the current product documentation and requirements applicable to the actual workplace. No glove material, ventilation setting or chemical recipe is prescribed here.
For the glass surface itself, keep the preparation instruction specific to the approved component and adhesive route. The tempered appliance-panel specification guide helps identify the delivered component before any assembly process is proposed. A delivered decorative surface should not be altered without the relevant supplier agreement.

What a useful adhesive inquiry should include
Provide the glass drawing, the mating-part identity, the intended contact region, the joint function and the service description. Ask the adhesive supplier for candidate-specific preparation and curing instructions, the basis for its recommendation and a proposed representative trial. Ask the glass supplier separately to confirm the delivered surface and any constraints on preparation or bonding.
Compare recommendations against the same requirement sheet. Record which features have been demonstrated, which remain assumptions and which are excluded. A supplier’s willingness to supply a sample is not evidence that the complete assembly has been qualified.
When a formulation, surface treatment, drawing or process changes, review the approval boundary. Keep the earlier result attached to the configuration it actually tested. This gives purchasing and production a clear way to distinguish an approved repeat order from a new combination that still needs evaluation.
Educational video: why adhesives have different bonding behaviour
TED-Ed’s lesson explains the basic adhesive mechanisms behind glue and tape. It supports the contact-surface and cured-joint distinctions in this guide; it is neutral science education, not an epoxy recipe or a qualification result for a glass assembly.

Watch Which is stronger: Glue or tape? – Elizabeth Cox
Frequently asked questions
What is the best epoxy adhesive for glass?
There is no universal best formulation. Select a candidate for the actual surfaces, joint geometry, load, curing route and service conditions, then qualify representative assemblies with the responsible suppliers.
Can an epoxy be applied over printed appliance glass?
Do not assume that it can. Identify the intended contact layer, obtain the relevant supplier agreement and evaluate the exact surface-and-adhesive combination. A bond to decoration depends on the decoration’s own attachment and suitability.
Does a clear cured bond prove that it is strong enough?
No. Appearance does not establish the required retention or service performance. The assembly needs the agreed inspection and qualification evidence for its actual function and exposure.
Can an adhesive strength value on metal be used as a glass-joint rating?
No. A result belongs to its tested materials, geometry and conditions. Use it to understand the candidate’s published evidence, then establish appropriate evidence for the proposed glass assembly.