Kanger Glass-ceramic Co., Ltd.
Glass gloss measurement compares reflected light under a defined instrument geometry; the number is useful only when the surface, geometry, backing and reference are controlled. For an appliance panel, identify the exact region and side being assessed, agree the measurement method, and retain a visual master alongside the instrument record. A glossy photograph, a color-difference value and an unexplained gloss reading are different kinds of information. None should silently substitute for a repeatable appearance specification that both buyer and supplier can apply.
This guide concerns measurement planning for appliance glass and decorated panels. It does not assign a universal gloss limit, select an instrument for every glass construction, or claim measured performance for the product shown. The laboratory and product team should confirm the method’s suitability before qualification.
Understand what the instrument is comparing
A smooth-looking surface can direct light toward a narrow range of viewing directions. The University of Iowa’s specular and diffuse reflection demonstration provides useful background on these different reflection behaviors. A gloss instrument uses a controlled optical arrangement rather than the changing position of a person and room light.
ASTM D523 describes specular gloss measurement and comparison with a black-glass standard. Its published explanation also makes clear that the surface’s refractive properties matter. A gloss number should therefore be reported as a method-dependent result, not an all-purpose percentage of surface quality.
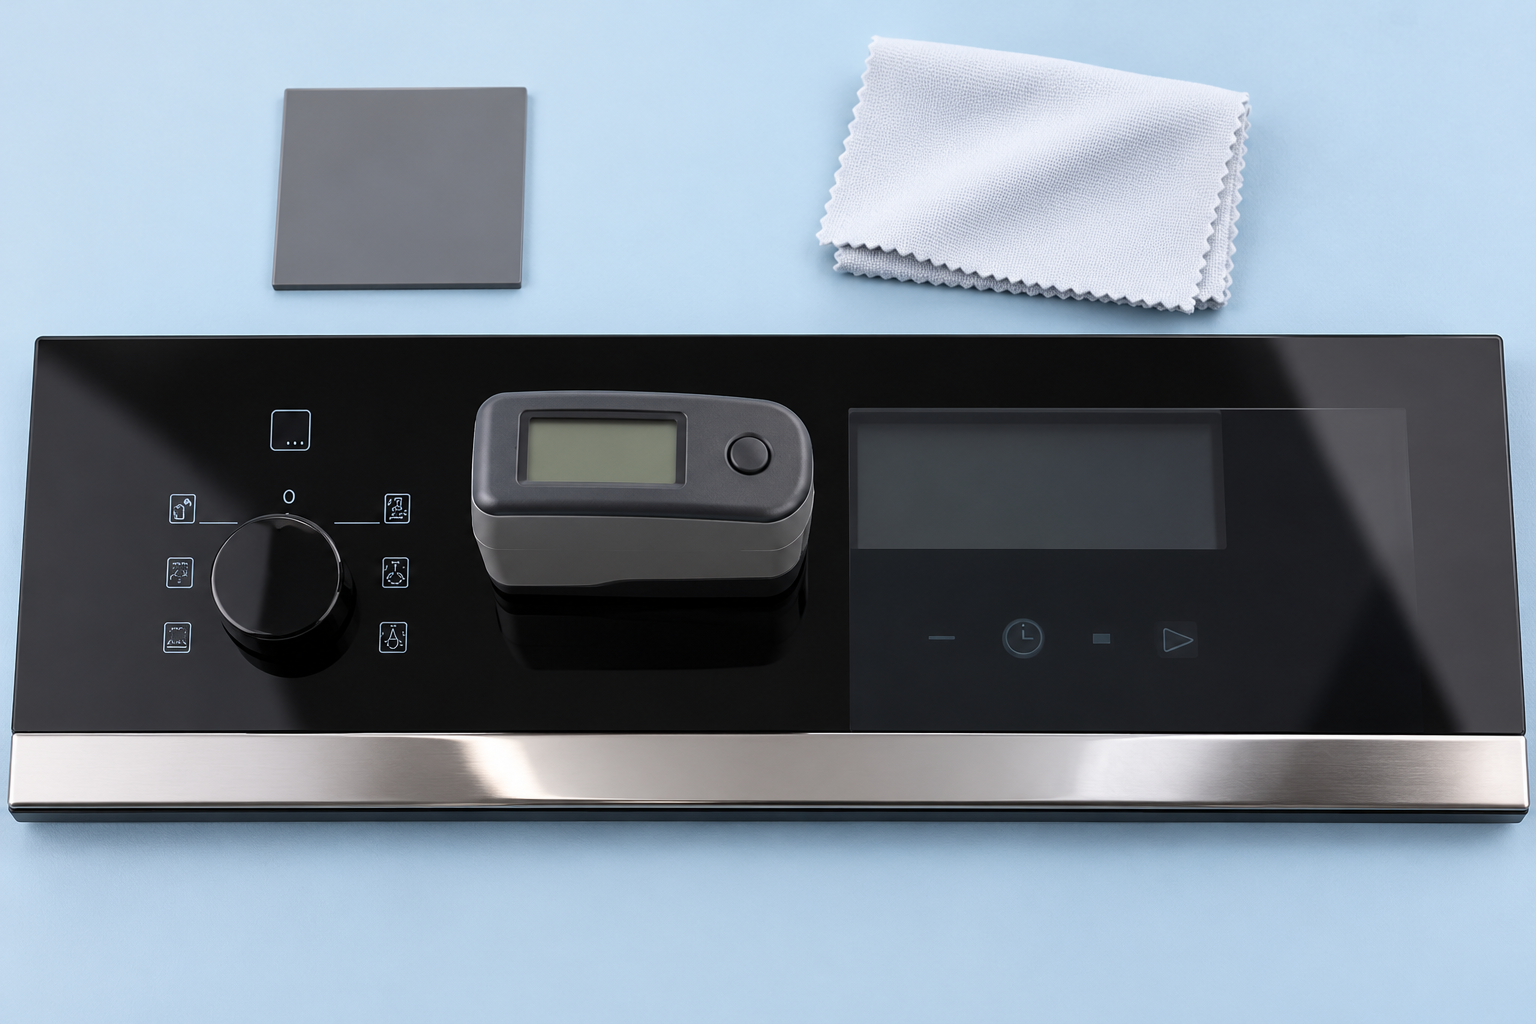
Use the instrument manual and chosen method to establish geometry, calibration and specimen requirements. Confirm that the instrument can measure the intended zone without collecting an adjacent graphic, edge or opening. The convenient place to set down a meter may not be the place that represents the customer’s appearance requirement.
Keep gloss separate from color, haze and distortion
A panel may differ in color while producing a similar gloss result. It may also show reflection haze, surface texture or distorted reflected images that a single gloss value does not fully describe. Write these as separate requirements when they matter, with a method or controlled visual assessment for each.
The glass color and Delta E guide addresses color comparisons. Its measurement settings and reference controls complement gloss measurement, but a passing color result does not establish a matching reflective appearance. Keep each result labeled so reports remain understandable after the original project team changes.
Similarly, the roller-wave inspection guide concerns reflected-image distortion. Do not diagnose a panel’s waviness from an ordinary gloss reading. Identify the observed complaint before deciding which measurement will answer it.
Define the surface and sample construction
Record the material, exposed side, coating, print and production revision. An opaque printed region, an unprinted transparent region and a display opening can behave differently. If an acceptance requirement applies to several zones, define their locations rather than averaging whichever areas the operator happens to reach.
Transparent constructions require particular care about what lies behind the sample. Ask the measurement specialist how front-surface, rear-surface and backing contributions are handled in the selected method. Keep the backing material, contact arrangement and sample orientation consistent whenever they affect the measurement.
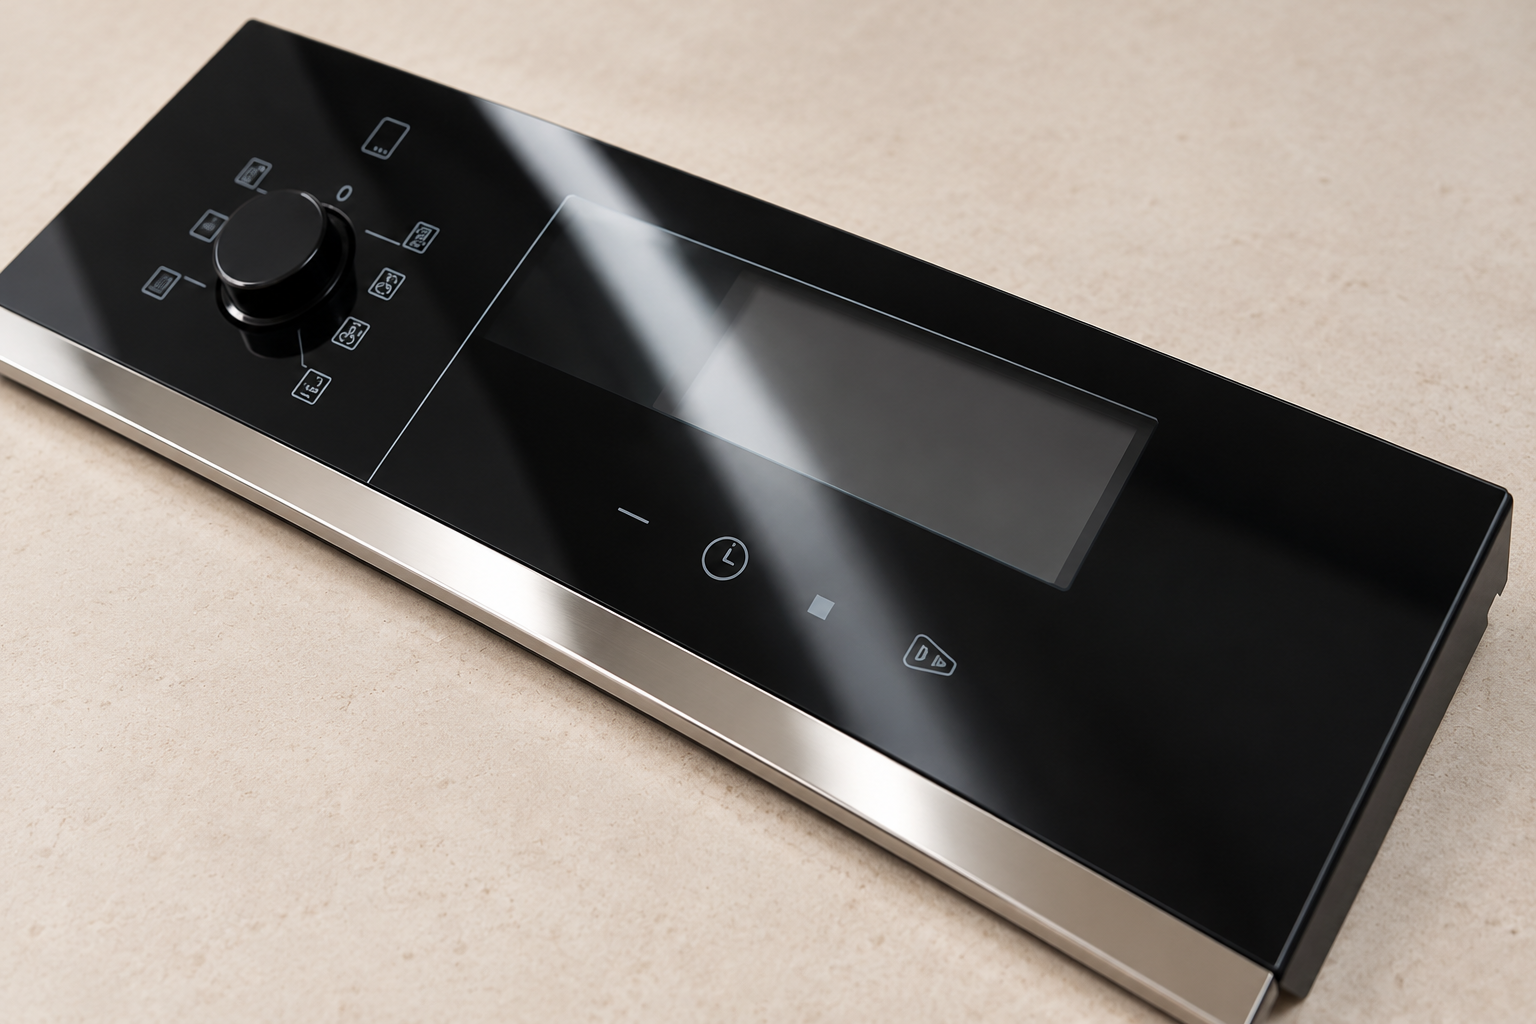
Kanger’s household-appliance fascia product illustrates why one component can contain several visually different areas. The product image establishes the application context, not a gloss value or instrument configuration. Confirm the construction of the actual ordered panel.
Use a measurement record with the necessary context
| Record item | What the team should agree | Error it helps prevent |
|---|---|---|
| Method and geometry | Named procedure, instrument setup and any deviations | Comparing values collected on different optical bases |
| Measurement zone | Drawing location, exposed side and orientation | Mixing printed, clear and edge regions |
| Sample construction | Material, layers, backing and revision | Comparing unlike panel stacks |
| Reference | Calibration record and approved comparison sample | Unnoticed instrument or master changes |
| Preparation | Approved cleaning and handling procedure | Recording fingerprints or residue as production variation |
| Sampling | Locations, repeats, lots and retained individual readings | Hiding local variation inside an unexplained average |
The table defines the information needed for comparison. It deliberately provides no universal angle selection, acceptance band or number of readings. Those choices should match the method, product geometry and decision the measurement must support.
Prepare the sample without changing the finish
Agree the surface preparation procedure before the trial. Remove contamination only through a method confirmed suitable for the surface. Avoid polishing, aggressive wiping or experimental solvents that could change the coating or finish while attempting to make the sample appear clean.
Handle the part outside the measurement zones where practical and document any preparation exception. A fingerprint can be locally important even when the rest of the panel looks unchanged. If the finish cannot be cleaned reliably without affecting it, resolve the preparation question with the supplier before collecting a larger data set.
Allow the sample and instrument to meet the applicable method’s conditions. Retain the relevant environmental and timing information when the procedure requires it. Repeatability depends on a consistent process, not just recording more decimal places in the final spreadsheet.
Check the instrument and the reference
Follow the manufacturer’s verification and calibration instructions using appropriate reference standards. Record the instrument identity and reference identity so a later reviewer can trace the result. An approved product sample and an instrument calibration reference serve different roles and should not be confused.
Store and handle the approved appearance master under a controlled process. If it becomes dirty, damaged or unavailable, establish a documented replacement rather than allowing a convenient new sample to redefine acceptance. Keep the relationship between the physical master and its historical measurement record.
When two instruments disagree, compare their configurations, verification status and specimen arrangements before attributing the difference to production. A transfer trial on the same identified samples can help the responsible specialists understand whether the measurements are comparable.
Measure a planned set of locations
Use drawing datums or a location map so another operator can measure equivalent regions. Confirm that the instrument aperture fits within each zone and that the part is adequately supported. Avoid placing the meter over a graphic boundary or close to an edge unless the method and purpose allow it.
Retain the individual readings and locations, alongside a useful summary. A single average can hide a region that matters visually next to a display. Conversely, an isolated unusual reading should prompt a check of location, contamination and instrument seating before it is used to characterize the whole production lot.
If the sample has a directional finish or the method is orientation-sensitive, control orientation explicitly. An operator should not rotate the part until a preferred number appears. Describe any justified alternative orientation and retain the reason in the report.
Agree acceptance with the finished appliance in mind
Use representative panels and agreed viewing conditions to relate the measurement to the intended appearance. Establish whether the requirement concerns panel-to-master consistency, consistency within a panel, or matching adjacent trim. These are different comparisons and may require different location plans.
The American Institute for Conservation’s glossimetry resource offers additional measurement background. Its conservation context is useful for understanding terminology, while appliance acceptance still needs a product-specific agreement. Do not adopt an unrelated application’s criterion simply because it uses the same instrument.
Write a clear response to an out-of-range result. This might include confirming the reference, repeating the defined locations, reviewing sample preparation and submitting the part for material review. Changing the backing or geometry solely to obtain a passing number breaks the comparison basis.
Investigate disagreements in a consistent order
First confirm that everyone is evaluating the same feature. A customer describing “dullness” may be observing residue, color, haze, scratches or a change in reflection shape. Obtain photographs under stated conditions and compare with the approved physical sample before choosing a corrective action.
Then compare the measurement records: part revision, side, zone, preparation, backing, geometry and reference. Resolve differences one at a time where practical. If those controls agree and the difference persists, the production team has a much stronger basis for investigating materials or processing.
The appliance-panel specification guide helps place gloss within the full approval package. Keep color, print durability, dimensions and functional requirements connected to the same revision, while retaining their separate acceptance evidence.
Keep the approval useful after a production change
Record which changes trigger review: exposed coating, decoration, cleaning process, supplier or measurement equipment, for example. A previous approval remains useful only while its tested construction and measurement basis still represent production. Keep the earlier report so the effect of a change can be evaluated.
For routine receiving inspection, use the approved procedure and retain sufficient location-level data to identify trends. Investigate a sudden shift in the reference and instrument checks as well as the incoming material. This prevents unnecessary production adjustments when the comparison system itself has changed.
Further learning: specular and diffuse reflection
Khan Academy explains how light reflects from different surfaces. The lesson supports understanding of gloss, but it does not prescribe an appliance acceptance limit or replace an instrument-specific method.

Watch the reflection lesson on YouTube.
Frequently asked questions
Is a gloss reading a percentage of quality?
No. Interpret the reading through its method, calibration reference, specimen and geometry. It does not summarize every aspect of appearance.
Can Delta E replace gloss measurement?
No. Color difference and gloss describe different properties. Specify separate checks when both matter to appearance.
Does transparent glass need a defined backing?
Discuss backing and rear-surface contributions with the measurement specialist. Keep the approved arrangement consistent and record it.
What gloss limit should an appliance panel meet?
Use a criterion agreed for the actual finish, application and method. No universal passing value is asserted here.