Kanger Glass-ceramic Co., Ltd.
Glass fractography examines fracture surfaces and associated evidence to help identify where a break began and how it developed. For an appliance failure investigation, useful preparation starts before fragments are cleaned, mixed or discarded. Document the installed part, preserve its orientation and identity, record the surrounding assembly and event history, and agree a collection plan with a qualified analyst. A crack photograph alone rarely supplies every piece of information needed for a defensible cause assessment. The objective is to preserve evidence and test explanations, rather than assign responsibility from the first visible pattern.
This guide is for OEM quality teams preparing a professional investigation. It is not a consumer glass-handling procedure or a remote diagnosis. Keep damaged equipment out of use and follow the manufacturer’s service process. Collection and examination of sharp or unstable material require appropriate trained personnel and controls.
Distinguish the fracture origin from the full cause
The NIST fractography guide describes examination of fractured glass and ceramics as a practical engineering discipline. Fracture surfaces can provide information that is not available from the overall crack pattern alone. The quality of an investigation depends in part on whether relevant evidence survives.
Finding an apparent origin is not necessarily the same as explaining the complete failure. The analyst may also need the load history, component construction, assembly constraints and prior damage information. A local feature and an operating event can be related without either being sufficient by itself to establish the full sequence.
Agree the investigation question at the outset. Is the team trying to locate an origin, assess a suspected contact, compare failed parts, or evaluate a proposed mechanism? A focused question helps the analyst request relevant evidence and prevents a broad “why did it break?” request from becoming an unsupported single-cause conclusion.
Preserve the scene and the part identity
Before authorized removal, document the part in its installed position where this can be done safely. Capture overall views and relevant details without moving unstable material for a better photograph. Record the appliance model, component revision, production or lot identification and the date the condition was first observed.
Describe what is directly known about the event and what comes from a witness account. Note the operating state, reported contact, recent assembly or service work, and the sequence of observations. Keep uncertain times and assumptions labeled instead of converting them into precise facts during report preparation.
Retain surrounding components when the analyst requests them. Supports, fasteners, seals, trim and contact surfaces may help explain the mechanical context. A glass-only shipment can omit information that was easy to document while the assembly was still available.
Keep orientation and fragment relationships traceable
Use a drawing, photograph or separate diagram to identify the front, rear, top, bottom and relevant mounting features. If trained personnel collect fragments, the collection plan should preserve location information where practical. Do not rely on someone remembering which side faced the user after materials have been transported.
The NIST glass evidence collection resource illustrates why collection and packaging deserve their own procedure. Its trace-evidence setting differs from an OEM failure investigation; ask the selected analyst for the actual industrial collection requirements.
Avoid mixing material from different incidents, lots or locations into a single unidentified container. Keep the record of who collected, stored and transferred the material. This traceability makes it possible to relate a later microscopic observation to the correct appliance and event.
Send an evidence package, not only a close-up
| Evidence group | Useful record | Question it helps address |
|---|---|---|
| Identity | Part number, material, revision and lot | Which component and construction failed? |
| Orientation | Installed views and a location map | Where did a feature lie within the assembly? |
| Event history | Observed sequence and separately labeled accounts | What conditions preceded discovery? |
| Assembly | Supports, gaps, contacts and relevant hardware | What constrained or contacted the panel? |
| Fragments | Analyst-approved collection and individual identity | Which examination surfaces remain available? |
| Comparison material | Unfailed parts and production records when requested | How does the failed item compare with the intended construction? |
The table is a request-planning aid. It does not authorize untrained collection or specify a universal packaging method. Consult the analyst before changing, cleaning or marking potentially important material.
Protect examination surfaces from avoidable changes
Do not clean fracture faces, apply adhesive or attempt a cosmetic repair before the analyst confirms what is acceptable. An action intended to make a specimen easier to handle or photograph may change the surface that needs examination. If emergency handling has already occurred, describe it accurately rather than presenting the material as untouched.
Keep identification on suitable packaging or associated records rather than directly on an examination feature unless instructed otherwise. Ask about separation and restraint during transport so fragments do not rub against one another. Follow the qualified site’s handling and shipping requirements for sharp material.
If only a subset can be retained, discuss selection with the analyst. The most visually dramatic piece is not automatically the most informative. Record what was not recovered, discarded or altered so the eventual report can state its limits.
Give the analyst the actual construction and assembly
Provide the controlled drawing, material identification, thickness and relevant processing information. Include coatings, print, holes, cutouts and edge details where they matter. Avoid substituting a general catalog description for the construction of the part involved in the incident.
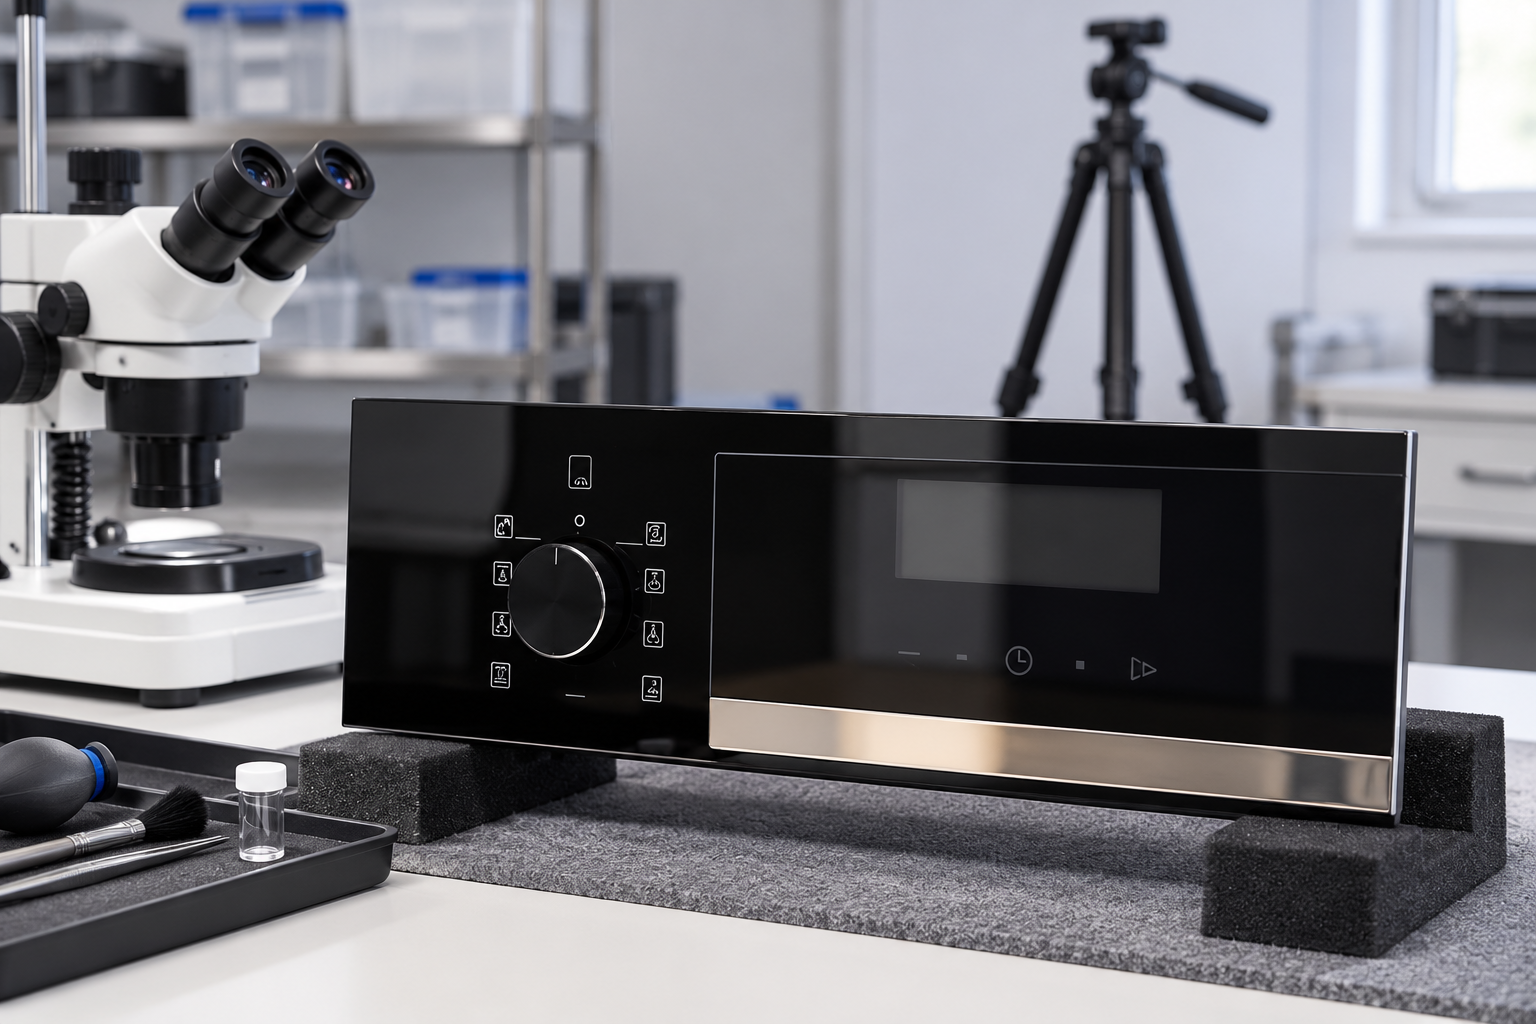
Kanger’s tempered household-appliance panel provides product context for this workflow. Its image cannot establish the material revision, residual stress, fracture origin or loading condition of a different failed component. Those facts require records or examination.
Share the intended mounting arrangement and the observed installation separately. The mounting-clearance guide identifies complementary assembly questions. An investigator needs to know whether the supplied drawing actually represents the installed hardware and support conditions.
Ask what the examination supports and what remains uncertain
Request a report that separates observations, interpretation and conclusions. Photographs should identify the relevant specimen and feature with suitable context. If an origin is proposed, ask how it was located and what evidence supports the interpretation, while allowing the analyst to describe uncertainty.
ASTM’s glass standards listing includes a practice for interpreting glass fracture-surface features. Review the applicable method and edition with the laboratory. Naming a standard does not prove that the necessary specimen or evidence was available in a particular case.
Missing fragments, altered surfaces or incomplete history can limit conclusions. A useful report states those limitations explicitly. “Consistent with” a mechanism should not automatically be rewritten as proof that the mechanism occurred, especially where more than one explanation remains plausible.
Keep different investigation routes separate
An investigation of a particular failed component differs from a study of production breakage frequency. The glass breakage-rate guide concerns how incidents are counted and compared. A population trend may justify further investigation without establishing the mechanism of one selected failure.
Likewise, the spontaneous-breakage evidence guide addresses a particular complaint category. Do not use the absence of a witnessed impact as automatic proof of one internal cause. Preserve competing explanations until the evidence permits them to be evaluated.
Strength testing on comparison samples can answer another question, provided the method and population are appropriate. It does not recreate the exact history of a failed part by itself. Discuss which additional testing would discriminate between the remaining hypotheses before commissioning a large unrelated test program.
Turn the findings into a verifiable corrective action
Connect each proposed change to the finding it addresses. A packaging change, mounting adjustment or process review should have a stated reason and a verification plan. Avoid changing several unrelated variables merely to demonstrate activity; it can become difficult to learn which change affected the outcome.
Define the follow-up population, observation period and evidence needed to judge the action. Keep individual investigations connected to production and receiving records through stable identifiers. If a revised process produces no incidents for a short period, report that observation without claiming it proves permanent elimination.
Update the controlled purchase and assembly documents when findings justify a change. The appliance-panel specification guide provides the broader framework. Retain the old revision and investigation report so future reviewers can understand the reason for the change.
Arrange the laboratory handoff early
Before shipping, agree the examination scope, available material, documentation and handling instructions. Tell the analyst if another party needs to observe destructive work or retain material. A clear handoff reduces the chance that a specimen is changed before every interested team has agreed on the plan.
Keep a record of what was delivered and what remains at the site. Confirm receipt and resolve missing identifiers promptly. The most useful investigation package allows the analyst to connect the physical specimen, installed orientation and event record without guessing.
Further learning: stress and rapid glass fracture
SmarterEveryDay uses high-speed imaging to explain fracture in a Prince Rupert’s drop. The educational example illustrates why glass construction and stored stress matter. It is not an appliance test, a diagnosis of a failed panel or an experiment to reproduce during service work.
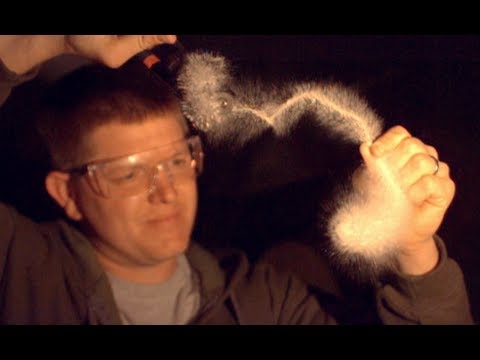
Watch the educational fracture demonstration on YouTube.
Frequently asked questions
Can a photograph establish the cause of glass failure?
A photograph can document useful evidence, but it may not reveal the necessary fracture features, material history or assembly conditions. Ask a qualified analyst what further evidence is required.
Should fragments be cleaned before examination?
Consult the analyst first. Cleaning or adhesive can alter information needed for the investigation; document any handling already performed.
Does locating an origin identify every contributing cause?
Not necessarily. The loading, prior condition and surrounding assembly may still need investigation before the complete sequence can be explained.
What if important fragments are missing?
Record the missing material and seek an assessment of what the remaining evidence supports. A responsible report states the resulting limits.